How to digitize old family recipes (without losing what makes them special)
A practical guide to turning handwritten recipe cards, cookbook annotations, and family recipe collections into searchable digital copies you can cook from. Covers photo scanning, AI import, and preserving the originals.
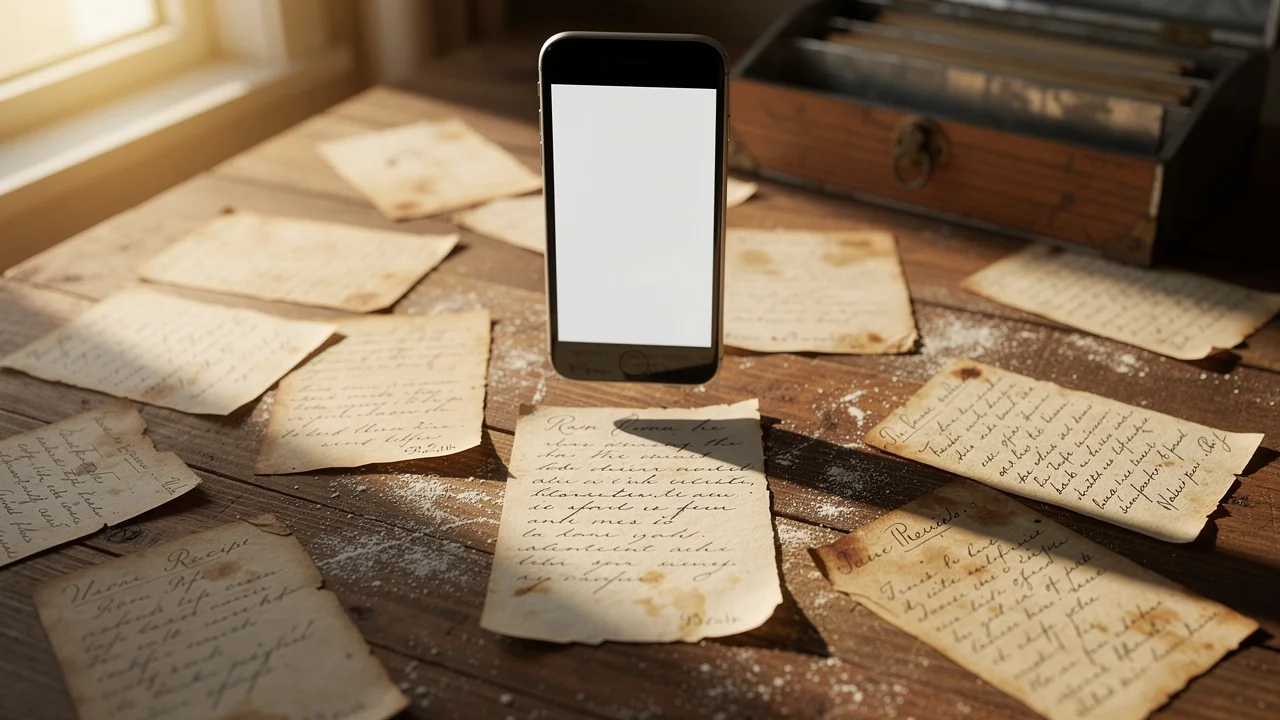
There's a recipe card in your family that everyone knows about. Maybe it's your grandmother's pie crust, written in pencil on a yellowed index card. Maybe it's your uncle's barbecue rub, scrawled on the back of an envelope. The card has flour stains and a grease spot in the corner. The measurements say "a handful" and "some" and "cook until it looks right."
That card is irreplaceable. And it's one spilled glass of water away from being gone forever.
Digitizing family recipes isn't about replacing the originals. It's about making a copy you can actually cook from — searchable, scalable, and safe from kitchen disasters — while the original stays protected.
Here's how to do it without losing what makes those recipes special.
Why family recipes need a digital backup
Paper deteriorates. Index cards yellow, ink fades, and handwriting that was once crisp becomes harder to read with every passing year. Recipe cards stored in kitchen drawers face heat, humidity, grease, and the occasional spill.
Beyond physical decay, there's the access problem. Grandma's recipe box sits in one house. If you want to make her cornbread, you either need to be in that kitchen or hope someone can text you a photo. Family recipes locked in one location are one house fire, one move, or one estate cleanout away from being lost.
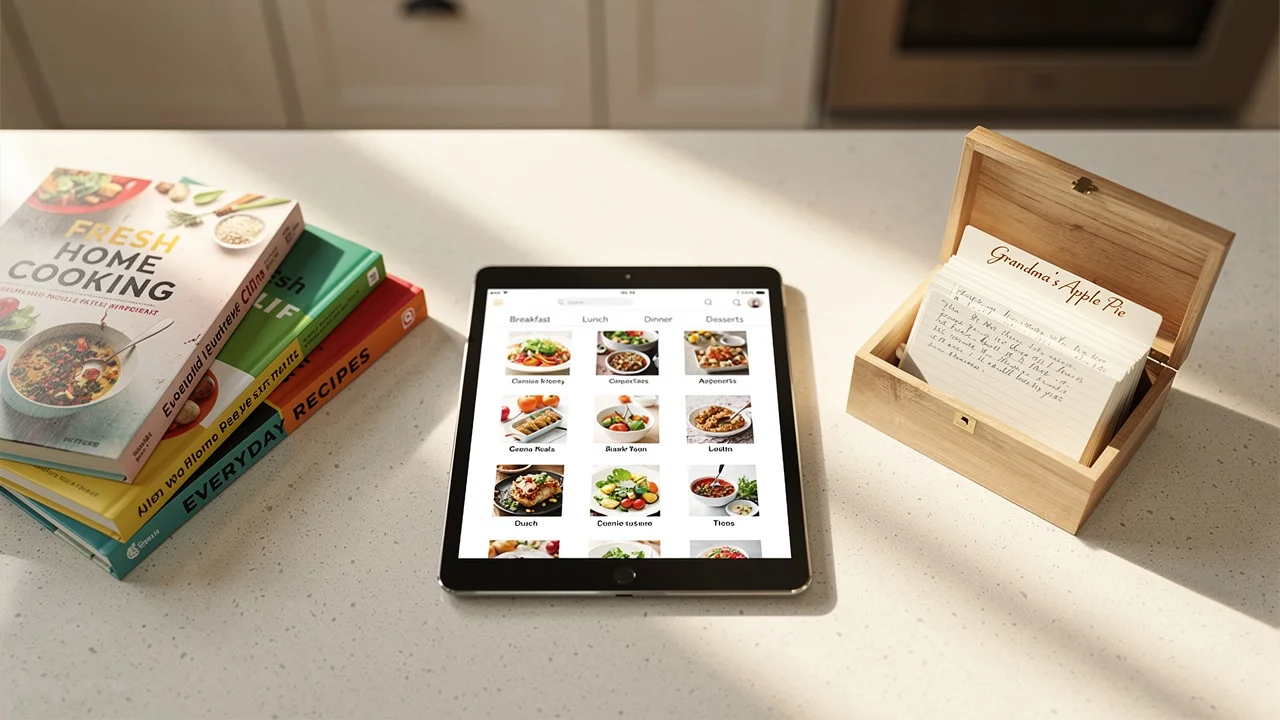
A digital copy solves both problems. The recipe lives on your phone, backed up to the cloud, accessible from anywhere. The physical card can be stored safely, handled less, and preserved longer because you're not pulling it out every time you cook.
Method 1: Photo import with a recipe app
The fastest way to digitize recipe cards is to photograph them and let AI do the reading.
How it works:
- Take a photo of the recipe card or cookbook page
- Upload it to a recipe app with photo import
- AI reads the text in the image — handwritten or printed
- The app creates a structured digital recipe with separate ingredients and steps
- Review and correct any misreadings
This takes about 30 seconds per card for the photo, plus 10-15 seconds for the AI to process. For a box of 50 cards, you're looking at roughly an hour.
What AI handles well:
- Printed recipe cards and cookbook pages
- Clear handwriting in pen or dark pencil
- Standard recipe formats (ingredients listed, steps numbered)
- Common abbreviations (tsp, tbsp, oz, lb)
What needs manual review:
- Faded pencil or light ink
- Cursive shorthand and personal abbreviations ("marg" for margarine, "sm" for small)
- Vague measurements ("some butter," "a pinch," "enough flour to make a soft dough")
- Notes in margins that aren't part of the recipe itself
- Stains or damage covering part of the text
After AI import, always read through the result. Fix any misread words, clarify vague measurements if you know what they mean, and add any notes your family passes down orally ("Mom always doubled the vanilla").
Tips for better photos
The quality of the digital recipe depends on the quality of the photo. A few seconds of care here saves editing later:
- Use natural light or a bright lamp. Avoid overhead kitchen fluorescents — they cast shadows.
- Flat surface, dark background. Place the card on a dark countertop or cutting board. The contrast helps AI read the edges of the text.
- Shoot from directly above. Hold your phone parallel to the card, not at an angle. Tilted photos warp the text and make it harder for AI to read.
- Fill the frame. Get close enough that the card fills most of the photo, but leave a small margin around the edges.
- No flash. Flash creates glare, especially on glossy, laminated, or grease-stained cards. Natural light or a desk lamp works better.
- One card at a time. Don't try to photograph two cards in one shot. The AI needs a clean, single image to parse correctly.
Method 2: Manual typing
If you have a small collection (under 20 recipes) or the handwriting is too difficult for AI to read, typing recipes in by hand works fine.
The advantage of manual typing: you can interpret as you go. "Cook until done" on the card becomes "roast at 375F for 35-40 minutes, until the internal temperature reaches 165F" in the digital version — if you know from experience what that means.
The downside: it's slow. Typing a detailed recipe takes 5-10 minutes per card versus 30 seconds with photo import.
A hybrid approach works well for difficult cards: photograph the card for AI import, then manually fix the parts the AI couldn't read. You get speed where the text is clear and human judgment where it's not.
Method 3: Scanner apps for archival photos
If you want a visual archive of the original cards — not just the recipe text but the actual handwriting, stains, and all — use a dedicated scanner app.
Apps like Apple's built-in document scanner (in Notes or Files), Adobe Scan, or Microsoft Lens take a photo and automatically crop, straighten, and enhance the image. The result is a clean, high-resolution scan suitable for printing or archiving.
This method preserves the look of the original card but doesn't create a structured recipe. You still need to type or photo-import the recipe separately if you want it in a searchable, scalable format.
When to use scanner apps:
- You want to preserve the visual appearance of handwriting and stains
- You plan to print copies for family members
- The card has sentimental value beyond the recipe itself (drawings, notes from a relative who has passed)
When to skip it:
- You just want a cookable digital recipe
- You have 50+ cards and need to move fast
Handling tricky cards
Faded ink or pencil
If the text is too light to read in a normal photo, try increasing your phone's exposure before shooting. On most phones, tap the screen to focus on the card, then swipe up to brighten the image. You can also try photographing under a very bright desk lamp positioned at a low angle to create contrast between the ink and the paper.
Vague measurements
Family recipes are famous for unmeasurable ingredients. "A little of this," "enough to make it right," "cook until it smells done." These aren't mistakes — they're how experienced cooks work. But they make a recipe hard to follow if you didn't grow up watching Grandma make it.
When digitizing, add notes to fill in the gaps:
- "A handful of flour" → add a note: "approximately 1/3 cup based on Grandma's hand size"
- "Cook until done" → add a note: "about 25 minutes at 350F; edges should be golden brown"
- "Some butter" → add a note: "Mom uses about 2 tablespoons"
These annotations are the real value of digitizing. You're capturing not just the written recipe but the oral knowledge that goes with it. Ask older family members to cook the recipe with you and take notes on the specifics they don't bother writing down.
Recipes in multiple languages
Many family recipes are written in the original language — Italian, Spanish, Yiddish, Chinese, Arabic. AI recipe importers can typically read text in major languages, but culinary terms and handwriting styles vary.
For these cards, the best approach is photo import followed by manual review with a family member who reads the language. Preserve the original language in a note field and add the translation as the main recipe text.
Damaged or stained cards
Grease stains, water damage, and torn edges are common on well-used recipe cards. If part of the text is obscured:
- Photograph what you can read
- Import it and let AI fill in what's visible
- Manually add the missing parts from memory or by asking a family member
- Note which parts were reconstructed so future cooks know
A partially digitized recipe is better than no recipe at all.
What about cookbooks with sticky notes?
Most families have a few cookbooks with dog-eared pages, sticky notes, and handwritten modifications in the margins. "Use half the sugar." "Add cayenne." "This was Dad's favorite."
To digitize these:
- Photograph the recipe page
- Photograph the notes separately if they're on a sticky note
- Import the main recipe via photo import
- Add the margin notes and modifications as annotations in your digital version
The margin notes are often more valuable than the printed recipe. They represent years of family adjustments. Make sure they survive the digitization.
Organizing digitized family recipes
Once your cards are digital, organize them so they're findable:
- Tag by family member: "Grandma Rose," "Uncle Mike," "Mom's side"
- Tag by occasion: "Thanksgiving," "Christmas cookies," "Sunday dinner"
- Tag by origin: "Italian," "Polish," "Southern"
- Create a collection: "Family recipes" as a dedicated collection keeps them together while tags make individual recipes findable in your broader library
If you're building a meal plan from your recipe collection, family recipes slot right in. That lasagna isn't just sentimental — it's Tuesday night dinner.
Sharing with family
One of the biggest benefits of digitizing family recipes is sharing them. Physical recipe cards require photocopying or photographing and texting. Digital recipes can be shared instantly.
Options vary by app, but common approaches:
- Share a link that anyone can view the recipe
- Invite family members to a shared workspace where everyone can access the full collection
- Export as PDF for family members who prefer to print
Consider making digitization a family project. A holiday gathering where everyone brings their recipe contributions turns a solo task into a shared memory. Older family members provide the oral knowledge ("Grandma never actually used a whole cup of sugar — it was more like 3/4"), younger members handle the phones and apps.
A realistic digitization plan
Don't try to digitize everything in one weekend. That's how the project stalls and never finishes.
Week 1: Start with the 5-10 recipes your family makes most often. The ones you actually cook. Digitize these first because they deliver immediate value — you can cook from them this week.
Week 2: Do the holiday and special occasion recipes. Thanksgiving stuffing, Christmas cookies, birthday cake. These are the ones that would hurt most to lose, and they're only needed a few times a year so there's no rush — but get them done.
Week 3-4: Work through the rest of the box at whatever pace feels comfortable. A few cards per day while you're waiting for coffee to brew. There's no deadline.
Ongoing: When a family member shares a recipe in a text or at a gathering, add it to the collection immediately. The system only works if new recipes go in as they appear.
After a month, you'll have a digital copy of every recipe that matters to your family. The cards go into safe storage. The recipes go on your phone, ready to cook from, share, and pass down to the next generation.
That's what digitizing family recipes actually means. Not replacing the originals. Making sure they survive.
Frequently asked questions
Yes, but with caveats. Modern AI-powered recipe apps can read most handwritten text, especially if the handwriting is reasonably legible. Very old cards with faded ink, cursive shorthand, or stained paper may need manual corrections after import. Take the best photo you can and expect to review the result.
No. The digital version is for cooking. The originals are for keeping. Many people store the physical cards in an archival box or photo album after scanning. The handwriting, the stains, the notes in the margin — that's the part a digital copy can't fully replace.
Use natural light or a bright lamp. Place the card on a flat, dark surface to create contrast. Hold your phone directly overhead to avoid angle distortion. Make sure the entire card is in frame with a small margin around the edges. Avoid flash — it creates glare on glossy or laminated cards.
Open the book flat and photograph the page. If the binding makes it hard to lay flat, gently press the pages down or use a book weight. Photograph one page at a time. Most recipe apps with photo import can read printed text from cookbook pages with high accuracy.
Yes. Treat them like recipe cards — photograph them on a flat, contrasting background with good lighting. Yellowed newspaper is readable by AI as long as the text isn't too faded. If the clipping is fragile, place it behind a clear glass or plastic sheet before photographing.
With a photo-import recipe app, each card takes about 30 seconds to photograph and 10-15 seconds for the AI to process. A box of 50 recipe cards takes roughly an hour. You don't have to do it all at once — many people digitize a few cards per week while cooking from them.