 Bastien
Meal prep containers: how to choose the right material and size
A practical guide to choosing meal prep containers by material, size, and use case. Covers glass vs plastic vs stainless steel, container sizing for different meals, what features actually matter, how to organize prepped meals, and food safety storage times.
You spend Sunday afternoon cooking four dinners, portioning lunches, and prepping snacks for the week. Monday morning, you open the fridge. Three containers have leaked. The lids don't match. One container absorbed last week's tomato sauce so thoroughly it looks permanently stained orange. And the chicken you portioned smells faintly like the garlic hummus stored next to it.
Bad containers don't just make your fridge look chaotic. They leak, waste space, and make reheating harder. The right meal prep containers fit the way you carry, store, freeze, and reheat food.
Best meal prep containers: glass vs plastic vs stainless steel
There isn't one best material for every meal. Glass suits reheating, plastic keeps a packed lunch light, and stainless steel works well when durability matters more than microwave use. Check the manufacturer's markings before using any container in a microwave, oven, freezer, or dishwasher.
Glass containers
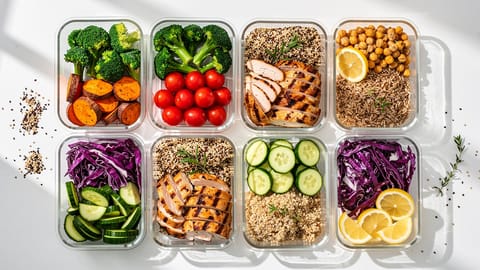
Glass meal prep containers are easy to see through and generally resist food stains and lingering odors. Models with locking lids and removable gaskets can work well for saucy meals, but the lid design determines whether a container is leak-resistant.
Best for: Meals you plan to reheat, tomato-based dishes, and home storage where extra weight isn't a problem.
Drawbacks: Heavier than plastic or steel and breakable when dropped. Oven, freezer, and thermal-shock limits vary by product.
Choose a shape that stacks in your fridge, then verify the temperature limits printed on the container or supplied by its manufacturer. "Glass" alone does not mean a container can move directly from freezer to hot oven.
Plastic containers
Plastic containers are light, inexpensive, and less likely to break in a work bag. Food-contact, freezer-safe, microwave-safe, and dishwasher-safe are separate use claims. Look for the relevant marking instead of treating "BPA-free" as a blanket safety label.
Best for: Packed lunches, cold foods, snacks, and kitchens where low weight matters.
Drawbacks: Some plastics stain or retain odors, and scratched, cracked, cloudy, or warped containers should be replaced. Single-use takeout packaging should not be reused for microwave heating.
The USDA's microwave guidance says to use cookware made and labeled for microwave use. If the marking has worn off or the instructions are unclear, move the food to microwave-safe glass or ceramic.
Stainless steel containers
Stainless steel is durable, light for its strength, and resistant to stains and odors. It cannot go in a microwave, and opaque sides make it harder to identify leftovers at a glance. Oven, stovetop, freezer, and dishwasher compatibility still depend on the product and its lid.
What about stainless steel? It won't go in the microwave, and you can't see inside. It works well for cold storage and packed lunches when those tradeoffs are acceptable.
What about silicone? Collapsible silicone containers save cupboard space and won't shatter. They can feel unstable when full and may stack poorly. Microwave and freezer use still require an explicit manufacturer marking.
Disposable vs reusable meal prep containers
Single-use containers are convenient for sending food home with someone. They are not automatically suitable for freezing, dishwashing, or reheating, and a food-contact symbol does not mean unlimited reuse. Follow the original use instructions and do not microwave a disposable container unless it is labeled for that purpose.
For weekly meal prep, a reusable system is easier to manage. Buy only the sizes you need, favor replaceable or interchangeable lids when available, and keep a few inexpensive giveaway containers separate from your everyday set.
Ready to fill those containers? Check out our complete meal prep guide for step-by-step instructions on prepping a full week of meals.
What size containers do you actually need?
This is where most people get it wrong. They buy one size and try to force everything into it. Different meals need different volumes.
Tip: If you only buy one size, a medium container around 24-32 oz (700-950 ml) is a flexible starting point for a single-serve lunch. Check one of your usual meals in a measuring jug before buying a full set.
A practical starter set might include enough medium containers for the lunches you actually prep, two larger boxes for one-pot meals or batch cooking, and a few small pots for sauces. Count meals first. A large mixed set is poor value if half the sizes stay in the cupboard.
Compartment containers: worth it or gimmick?
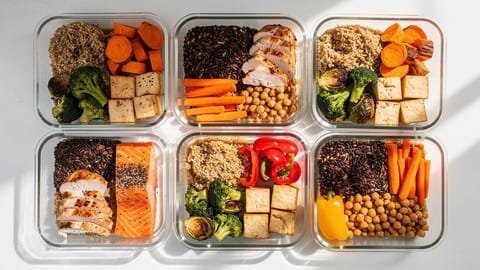
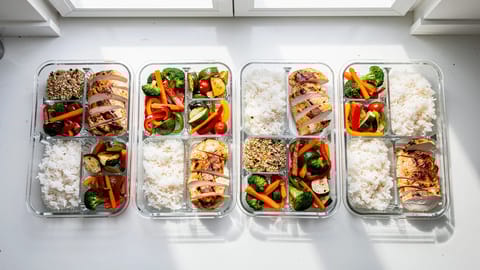
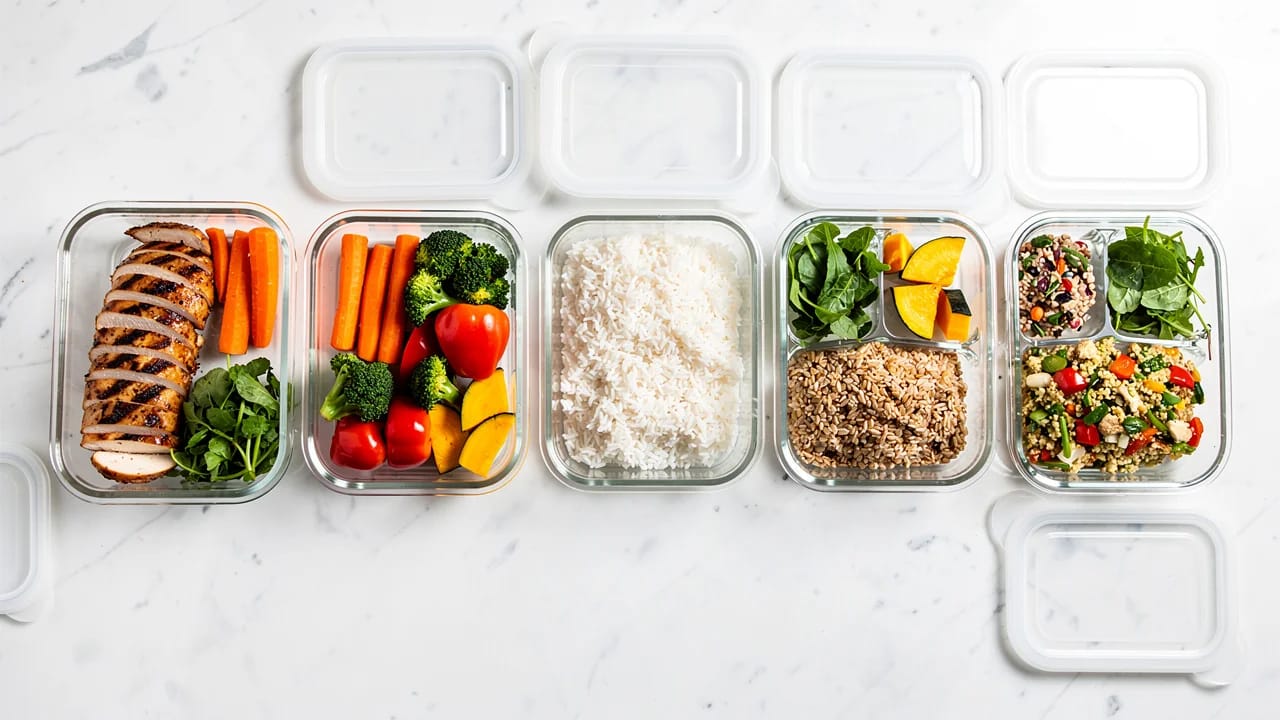
Compartment containers (bento-style) keep foods separated. Dry rice stays dry next to saucy chicken, and salad greens stay away from the dressing. They also make repeated portions easier to assemble. The dividers do not measure nutrition or replace the portions appropriate for your needs.
They're worth it for lunches where texture or portion control matters. A grain bowl with crispy chickpeas loses its appeal when the chickpeas sit in tahini dressing for six hours. Compartments solve that.
They're not worth it for soups, stews, or anything you'll dump into one bowl anyway. Don't buy a 10-pack of compartment containers thinking they'll handle everything.
What to look for in the best meal prep containers
Meal prep containers are marketed with dozens of features. Most are irrelevant. These five actually affect your day-to-day.
1. Leak-proof lids
If a container will travel sideways, test it before trusting it with soup or sauce. Fill it with water, close it, turn it over above the sink, and gently move it around. Clips and silicone gaskets can help, but the finished seal matters more than the number of latches.
2. Stackability
Containers that nest when empty and stack steadily when full make a real difference. Flat lids and straight sides often fit rectangular shelves well, but measure your fridge and lunch bag before choosing a shape.
3. Microwave and dishwasher safety
Check the bottom and the product instructions before buying. Microwave-safe, dishwasher-safe, freezer-safe, and oven-safe are separate markings. A safe temperature limit for the base may not apply to its lid or gasket.
4. Lid compatibility
Interchangeable lids reduce the number of shapes you need to match. Before buying a set, check whether the maker sells replacement lids and gaskets; one damaged lid should not force you to discard a sound base.
5. Visibility
Clear containers make leftovers easier to identify. Opaque steel can work just as well when you label the contents and date. Either habit supports a practical food-waste routine.
How to reheat by container material
Not every container handles reheating the same way. Using the wrong method warps lids, cracks glass, or sparks in the microwave.
| Method | Glass | Plastic | Stainless steel | Silicone |
|---|---|---|---|---|
| Microwave | Only when labeled; vent as directed | Only when labeled; follow lid instructions | No | Only when labeled |
| Oven | Only when labeled; check lid separately | Usually no; follow instructions | Only when labeled; remove incompatible lids | Only when labeled |
| Stovetop | Only purpose-built cookware | No | Only when labeled for stovetop use | No |
| From freezer to heat | Follow thermal-shock instructions | Follow manufacturer instructions | Follow manufacturer instructions | Follow manufacturer instructions |
Warning: A sudden temperature change can crack glass. Follow the container's instructions; when direct freezer-to-heat use is not explicitly allowed, thaw in the refrigerator first.
How to organize your prepped meals
Good meal prep containers help, but how you organize them in the fridge determines whether meal prep actually saves you time during the week.
The shelf system
Keep cooked and ready-to-eat food covered and above raw meat or seafood so drips cannot contaminate it. The coldest shelf varies by refrigerator, so use the appliance guide instead of assuming the top or bottom is coldest. Avoid the door for highly perishable meal-prep portions because its temperature changes more often.
Label or you'll forget
Even with clear containers, labeling saves mental energy. A strip of painter's tape and a Sharpie is all you need. Write the contents and the date. "Chicken + rice, 3/23" takes two seconds and prevents the Tuesday guessing game.
Prep day workflow
Do not wait for cooked food to reach room temperature. The USDA recommends refrigerating leftovers within 2 hours, or within 1 hour when the air temperature is above 90°F (32°C). Divide a large batch among shallow containers; hot food can go directly into the refrigerator.
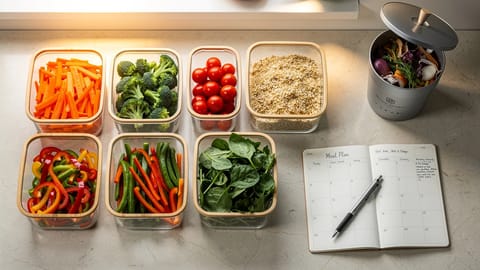
Fond, the app we're building, is designed to make prep day easier to plan: drag recipes onto your weekly calendar, and it generates a consolidated shopping list so you buy exactly what you need.
How long do prepped meals last?
The container cannot make an unsafe storage period safe. For most cooked leftovers, the USDA's baseline is 3-4 days in a refrigerator at 40°F (4°C) or below. A recipe, package, or local authority may give a shorter limit, especially for highly perishable foods.
| Decision | Food-safety baseline |
|---|---|
| Refrigerate | Within 2 hours of cooking; 1 hour above 90°F (32°C) |
| Cool a large batch | Divide it among shallow containers |
| Use cooked leftovers | Within 3-4 days unless a shorter limit applies |
| Keep longer | Freeze during the safe refrigerated window |
| Thaw | In the refrigerator, cold water, or microwave |
A tight lid helps retain moisture and keeps food from picking up refrigerator odors, but it does not extend the USDA safety window. Label each portion with its contents and date. Leave room for liquids to expand in a freezer-safe container, and reduce excess air to limit freezer burn.
For weekly meal planning, schedule short-lived dishes first and freeze later portions on prep day. This is safer than assuming every meal will last a full workweek.
How to clean and maintain meal prep containers
Cleaning and inspection matter more than elaborate stain-removal hacks. Follow the maker's dishwasher and detergent instructions, and let bases, lids, and gaskets dry fully before storage.
Wash according to the manufacturer's instructions. A baking-soda paste may help with cosmetic staining, but do not use abrasive tools that scratch the surface. Replace the container if it is cracked, badly scratched, cloudy, or warped.
Stop using a warped lid for leak-sensitive storage. Check whether a replacement is available, then review the lid's microwave and dishwasher instructions before using the replacement.
Remove the gasket when the instructions allow it, wash every groove, rinse well, and dry completely. A baking-soda soak may help with odors. Replace material that remains damaged or unsuitable for food storage after cleaning.
Stop using cracked glass. Review the product's temperature and thermal-shock limits before replacing it; if freezer-to-heat use is not explicitly allowed, thaw in the refrigerator first.
Sustainability: which containers are the greenest choice?
No material is automatically the greenest in every situation. Manufacturing, transport, breakage, washing, lifespan, and local recycling options all affect the result.
Start with safe containers you already own. When you buy more, choose a system you can use repeatedly, repair with replacement lids when possible, and recycle through a program that accepts that exact material. Local rules matter; a recycling symbol does not guarantee curbside acceptance.
Start with what you have
You don't need a matching set to start meal prepping. Jars and food-storage containers you already own may work when they are intended for food contact and suitable for the temperature you need. Do not reuse single-use takeout packaging for microwave heating unless its instructions specifically allow it.
Prep with what you have, then replace the friction points you notice: a leaking lunch box, a missing lid, or a size that never fits dinner. Pair that with a practical grocery shopping strategy to buy for the portions you can store.
- Glass suits reheating; plastic is lighter for carrying; steel is durable but cannot go in the microwave
- Treat microwave, oven, freezer, and dishwasher compatibility as separate manufacturer claims
- Test a closure with water before carrying soup or sauce
- Buy around the meals and shelf space you actually have
- Refrigerate cooked food promptly in shallow containers
- Use most cooked leftovers within the USDA's 3-4 day window or freeze them sooner
Frequently asked questions about meal prep containers
Is it better to meal prep in glass or plastic?
Glass is a strong choice for reheating and for foods that stain plastic. Plastic is lighter for packed lunches. Many kitchens benefit from both: labeled microwave-safe glass for reheating and lightweight plastic for cold meals.
How many meal prep containers do I need?
Count the portions you prepare at one time, then add only the small pots you need for sauces or snacks. If you prep five lunches, five suitable lunch containers are more useful than a large mixed set with sizes you never use.
Can you freeze food in meal prep containers?
Yes, if the manufacturer labels the container freezer-safe. Leave room for liquids to expand, and follow the maker's instructions about temperature changes. BPA-free and freezer-safe are separate claims.
How long does meal prep last in the fridge?
USDA guidance gives most cooked leftovers 3-4 days in a refrigerator at 40°F (4°C) or below. Refrigerate within 2 hours of cooking, use a shorter limit when a recipe or package requires it, and freeze portions you will not eat within the safe window.
What are the best meal prep containers for portion control?
Compartment containers keep components separate and make repeated portions easier to assemble. Choose the total capacity and layout around the meals you actually pack; the dividers do not measure nutrition for you.
Are BPA-free plastic containers safe to microwave?
BPA-free does not automatically mean microwave-safe. Use a container only when its label or manufacturer instructions allow microwave use, and follow any limits for the lid, power, and reheating time. When the marking is unclear, transfer the food to microwave-safe glass or ceramic.
How do I stop meal prep containers from smelling?
Remove the gasket when the instructions allow it, wash every groove, rinse, and dry the pieces fully. A baking-soda soak may help. Replace a container that remains damaged or unsuitable for food storage after cleaning.
What's the difference between meal prep and batch cooking?
Meal prep means preparing ready-to-eat or ready-to-heat individual portions for the week. Batch cooking means cooking large quantities of base components (grains, proteins, sauces) that you mix and match into different meals. Most people do a mix of both. Either way, the right containers make the process smoother.
Are disposable meal prep containers worth it?
Single-use containers are useful for giving food away, but they should not be treated as reusable microwave containers unless the manufacturer says they can be reused that way. A durable reusable set is usually simpler for weekly prep.
Should I buy a container set or individual containers?
Start with the sizes you use most. A set is useful when its lids are interchangeable and every size fits your routine; individual containers are better when a mixed set would leave you with unused pieces.
The container you'll actually use every week is the right one. Fond isn't released yet; join the waitlist to plan your prep day with it at launch.