Autolyse for sourdough: how long and how it works
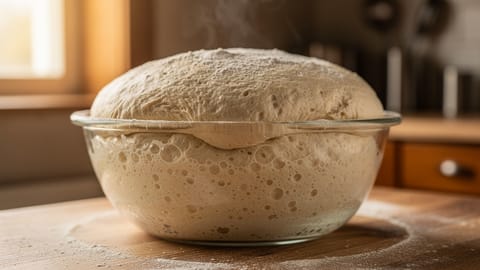
Autolyse is an optional bread-making rest in which flour and water are mixed before salt and leavening, helping the flour hydrate and making the dough easier to mix and shape.
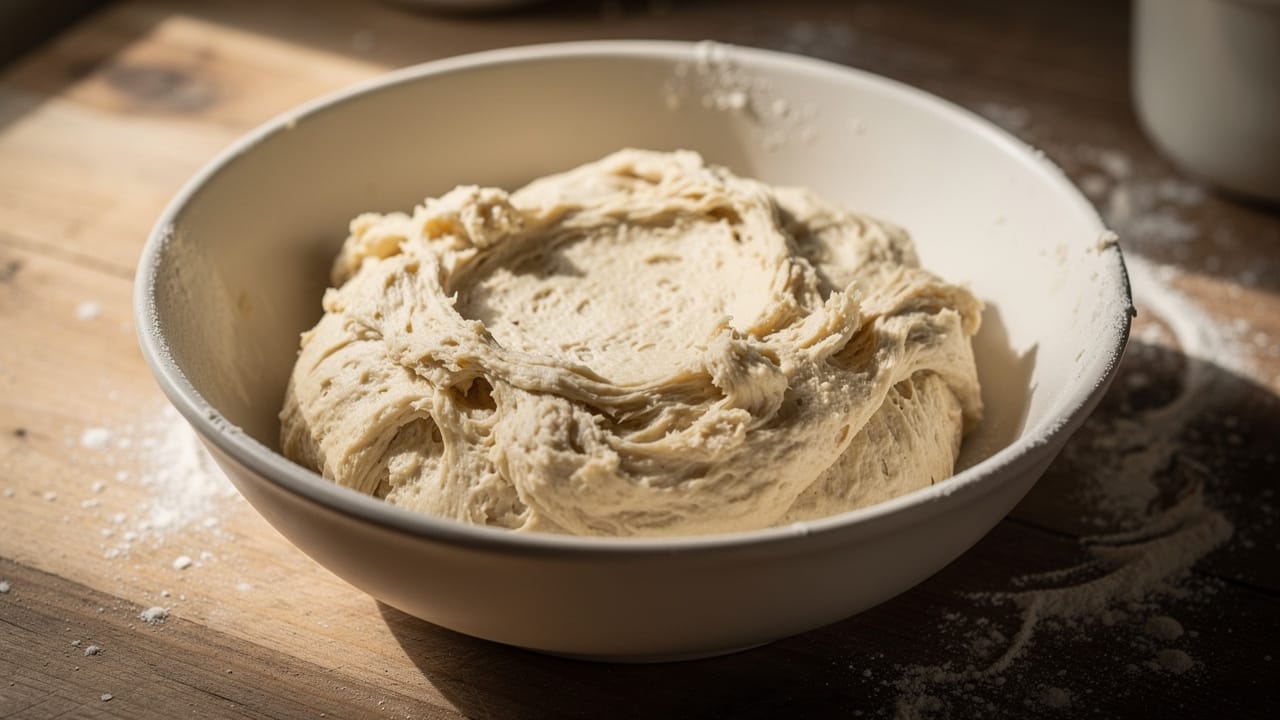
Autolyse (pronounced "auto-leez") is an optional bread-making rest. In the classic method, you mix flour and water, cover the dough, and wait before adding salt, yeast, or sourdough starter. The rest gives the flour time to hydrate and can make wheat dough easier to mix and shape.
Professor Raymond Calvel developed the modern method for French bread production. A professional baking reference published by Wiley describes a 20 to 60 minute rest as a common range, while stressing that the flour and formula determine the useful duration.
How does autolyse work?
Water moves into the flour's proteins and starches during the rest. Gluten bonds begin forming with little mechanical work, so the dough may need less mixing afterward. The Professional Baking textbook also explains that flour enzymes begin acting during this stage and that reduced mixing can limit oxidation.
Classic autolyse leaves salt and leavening out until the rest ends. Salt changes water absorption and dough strength, while starter or yeast begins fermentation. That does not make other mixing orders wrong. It means they are different methods and should be judged as part of the full recipe.
Extensibility vs. elasticity
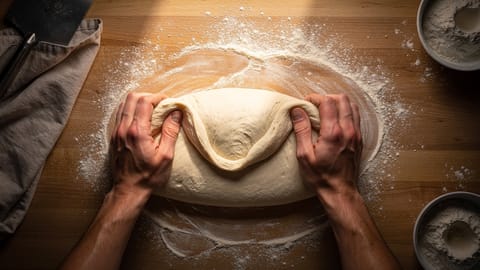
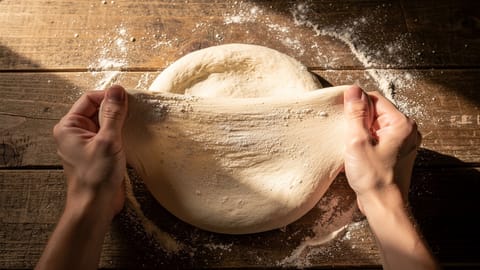
Elasticity is the dough's tendency to spring back after stretching. Extensibility is its ability to lengthen without tearing. Autolyse often shifts wheat dough toward extensibility, which can make folding and shaping easier.
The change is not a guarantee of an open crumb or a stronger loaf. Flour strength, hydration, fermentation, shaping, and baking still affect the result. Treat autolyse as one tool within gluten development, not a substitute for the rest of the process.
How do you autolyse sourdough?
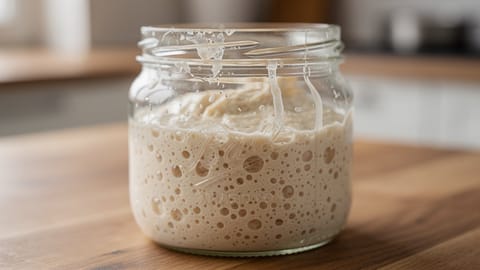
In the classic definition, the starter goes in after the rest. If the starter is mixed with the flour and water from the beginning, bakers often call the rest a fermentolyse. Terminology varies, and some professional formulas make exceptions for liquid preferments. Follow the method named by the recipe instead of treating one label as a quality rule.
How long should you autolyse sourdough and bread?
There is no single correct duration. Flour strength, whole-grain content, hydration, dough temperature, and the rest of the mixing process all matter.
The University of Illinois Extension uses a 60-minute autolyse in its sourdough method and distinguishes it from a starter-inclusive fermentolyse. That is one tested formula, not a universal timetable. When your recipe gives a different duration, the recipe is the better starting point.
When does autolyse help most?
Autolyse is often useful in lean wheat breads and high-hydration sourdough. Enriched doughs, rye-heavy loaves, and gluten-free formulas behave differently, so their recipes may shorten, modify, or omit the step.
For pizza dough, check the full schedule before adding another rest. A recipe may already use a long cold fermentation or a different mixing method. Fond's beginner pizza dough guide is a better starting point than inserting autolyse into an unrelated formula.
What are the most common autolyse mistakes?
The rest may have been too long for that flour and temperature. Continue cautiously, then shorten the next autolyse or use the recipe's lower timing.
The dough is not ruined. Continue with the recipe, but describe the step as a dough rest rather than a classic flour-and-water autolyse.
Fermentation has started. Bakers often call this fermentolyse. Use the timing and fermentation cues written for that method.
Cover the bowl more closely next time. Fold small dry patches into the dough gently rather than adding unmeasured water.
What is the difference between autolyse and fermentolyse?
Classic autolyse starts with flour and water. Salt and leavening are added after the rest.
Fermentolyse usually includes flour, water, and sourdough starter from the beginning, with salt added later. Fermentation therefore starts during the rest.
The second method can simplify a schedule, but it is not automatically better for high-hydration dough or a weak starter. Use the formula's fermentation cues because starter activity and temperature now affect the timing.
What is the difference between autolyse and no-knead bread?
Autolyse is a short rest before the final mix. No-knead bread uses a much longer fermentation and gentle handling to develop structure with little or no conventional kneading.
The methods can appear in the same recipe, but they solve different parts of the process. Autolyse hydrates flour before the final mix; no-knead timing develops the dough over fermentation.
Autolyse and baker's percentage
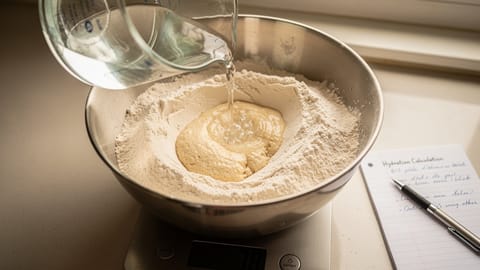
Use the amount of water assigned to the autolyse in the formula. If a dough contains 1,000 g flour at 75% hydration and all its water goes into the rest, the autolyse uses 750 g water. If the formula holds water back to help incorporate salt, subtract that amount from the initial mix.
This is why baker's percentage is useful: it makes the autolyse quantity explicit instead of relying on cup measures or a fixed rule.
Autolyse in Fond
Fond does not require a special bread workflow for autolyse. Add the rest as a timed recipe step, and Cook Mode can surface the timer while you follow the recipe. The recipe still owns the duration and the point at which salt or starter is added.