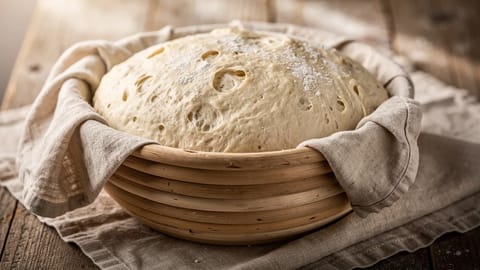
Dough Ball
A dough ball is an individual portion of pizza dough shaped into a smooth sphere after bulk fermentation — each becomes one pizza, with weights of 200-250g for Neapolitan, 280-350g for New York, and 400-600g for Detroit or Sicilian styles.
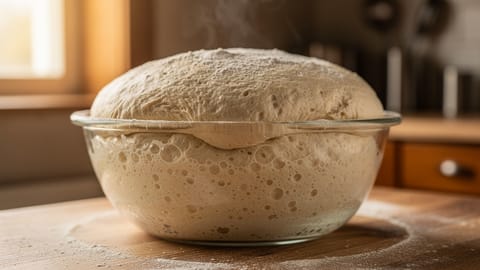
A pizza dough ball (Italian: panetto) is the individual portion of dough that becomes a single pizza, typically weighing 200-600g depending on the style. After bulk fermentation, the dough is divided by weight, shaped into smooth, taut spheres, and given a final proof before stretching and baking. The quality of your dough balls directly determines the quality of your pizza: proper shaping creates the surface tension needed for an even stretch and a well-risen cornicione (rim).
I've made hundreds of pizza dough balls at this point, and the difference between a carefully shaped ball and a rushed one is night and day at stretching time. A taut, smooth ball practically opens itself; a sloppy one fights you the whole way.
What weight should a pizza dough ball be?
The dough ball weight determines the size and thickness of the finished pizza. Choose based on your target style:
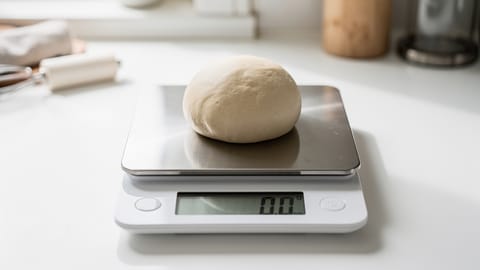
Use a kitchen scale for every divide. Eyeballing creates uneven pizzas. Consistency comes from weighing.
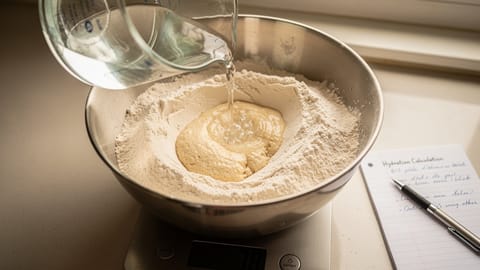
Calculating dough ball weight
If you know your target pizza size, you can calculate the ball weight using baker's percentages. For a standard Neapolitan at 65% hydration:
- 30cm pizza = ~250g dough ball
- 33cm pizza = ~280g dough ball
- 35cm pizza = ~300g dough ball
The relationship is roughly linear. Adding 50g gives about 3-4cm more diameter. Fond's Pizza Workshop calculates this automatically, and you can also use the pizza dough calculator to get precise ball weights for any style.
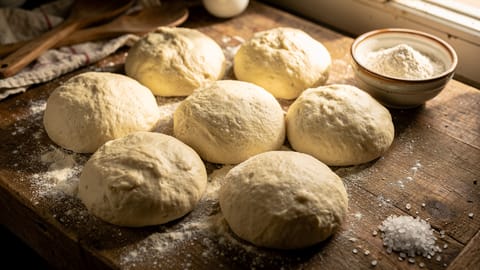
How do you shape a pizza dough ball?
Shaping (also called balling or rounding) creates the smooth, taut surface that makes stretching possible. A well-shaped ball stretches evenly; a poorly shaped one tears or stretches unevenly.
Cut decisively in one stroke. Sawing back and forth tears the gluten network.
Surface tension
Surface tension is the key concept. The outer skin of the dough ball should be smooth and tight, like a drum. This tension holds the ball's shape during proofing, creates resistance that allows controlled stretching, prevents the dough from spreading into a flat disc, and helps form the cornicione during baking.
If the ball is not taut enough, it will spread flat during proofing. Too tight, and it will be hard to stretch and may spring back. After testing dozens of shaping approaches, I've found that 4-6 rotations on a slightly tacky surface hits the sweet spot for most doughs.
Ball proof (final proof)
After shaping, dough balls undergo a final proof, the last fermentation stage before stretching and baking. Yeast continues to produce gas while the gluten relaxes, making the dough extensible enough to stretch into a pizza.
Proofing schedules
| Method | Temperature | Duration | Best for |
|---|---|---|---|
| Room temp, quick | 24-26°C | 1-2 hours | Same-day pizza, commercial yeast |
| Room temp, long | 20-22°C | 3-6 hours | Better flavor, moderate planning |
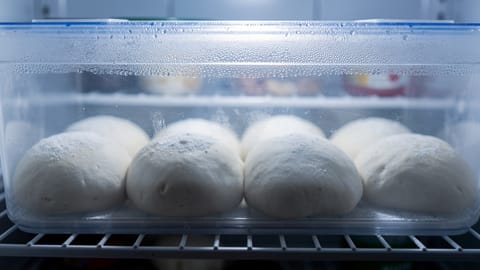
| Cold proof | 3-5°C | 24-48 hours | Best flavor, weekend baking |
| Cold proof, extended | 3-5°C | 48-72 hours | Maximum flavor complexity |
| Cold then room temp | Fridge then counter | Cold time + 1-2 hours at RT | Flexibility |
For cold-proofed balls, always bring them to room temperature for 1-2 hours before stretching. Cold dough is tight and will resist stretching.
Signs the ball proof is done
- Puffy and light: the ball has visibly expanded and feels airy when lifted
- Poke test: press a floured finger gently into the ball. If the indent springs back slowly and mostly fills in, the ball is ready. If it springs back fast, it needs more time. If it does not spring back at all, it is over-proofed.
- Jiggly: the ball wobbles when you gently shake the container
- Slightly spread: the ball has relaxed and widened slightly from its original tight shape
Under-proofed. Give it more time at room temperature. The dough needs the gluten to relax before it will stretch without fighting you.
Over-proofed or under-shaped. If it happened fast (under 2 hours at room temp), the shaping was too loose. If it took many hours, reduce the proof time or use cold fermentation for a wider window.
Over-proofed. The gluten network has broken down. You can try to gently reshape and give it 20 minutes of rest, but the result won't be as good. Next time, shorten the proof.
Container was not airtight. The exposed surface dried out and won't stretch properly. Peel off the dry skin if possible, or fold it back into the ball and rest 15 minutes. Always cover with a lid, plastic wrap, or a damp towel.
Storage and containers
Container options
| Container | Pros | Cons | Best for |
|---|---|---|---|
| Individual deli containers (500ml) | Each ball separate, stackable, easy to grab | Need many containers | Cold fermentation, small batches |
| Proofing tray with lid | Fits multiple balls, professional | Balls can touch if too close | Pizzeria-style, large batches |
| Sheet pan with plastic wrap | Cheap, readily available | Wrap can stick | Room temp proof |
| Oiled bowl with cover | Works in a pinch | Hard to remove without deflating | Emergency only |
Preventing sticking
- Oil: lightly coat containers with olive oil. The ball slides out cleanly.
- Flour: dust the tray or container. Works for short proofs but can create dry patches on long cold proofs.
- Semolina: coarser than flour, prevents sticking without absorbing into the dough as much.
Spacing
Leave at least 5cm between balls on a tray. During proofing they will spread, and touching balls fuse together and cannot be separated without tearing.
Best practices
Dough balls in Fond
Fond's Pizza Workshop makes dough ball management simple. Set the number of pizzas and the ball weight, and all ingredient amounts calculate automatically using baker's percentages. The app suggests proofing schedules based on your recipe and kitchen temperature, sends proofing reminders, and tells you when to pull balls from the fridge for tempering. All quantities adjust when you change the batch size via recipe scaling.