 Bastien
How to ferment vegetables at home: a beginner's guide
A practical guide to home fermentation that starts with a 2% salt sauerkraut and builds to pickles, yogurt, kombucha, and sourdough. Covers the science, the equipment you actually need, safety rules, and troubleshooting.
TL;DR: Start with sauerkraut: it needs only cabbage and salt. Use 2-3% salt by weight, keep the vegetables submerged, ferment at 18-24 °C (65-75 °F), and trust your senses. The lactic acid bacteria already on your produce do the rest.
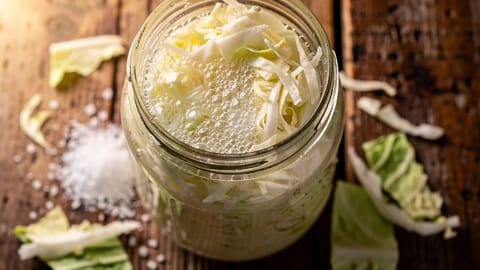
Home fermentation looks intimidating from the outside: cloudy brine, rising bubbles, a jar that sits on the counter for weeks. In practice, a first batch of sauerkraut is one of the most forgiving things you can make in a kitchen. The cabbage turns from bright green to pale gold, the brine goes cloudy, and small bubbles rise when you press the weight down. All of that is the process working, not a sign that something went wrong.
Most fermentation failures come from overthinking, or from skipping one of a handful of basic rules. This guide covers those rules, a first sauerkraut, and four more beginner ferments once the first one clicks.
What fermentation actually is
Fermentation is a metabolic process where microorganisms (bacteria, yeast, or molds) break down sugars and produce acids, gases, or alcohol. It is one of the oldest food preservation methods, predating refrigeration by thousands of years.
For home cooks, three types of fermentation matter most:
- Lacto-fermentation: lactic acid bacteria (LAB) convert sugars into lactic acid. This is behind sauerkraut, kimchi, fermented pickles, and yogurt. The acid preserves the food and creates the characteristic tang
- Alcoholic fermentation: yeast converts sugar into alcohol and CO₂. This powers bread, beer, wine, and the first stage of kombucha
- Acetic acid fermentation: bacteria convert alcohol into vinegar. It is a two-stage process that starts with alcoholic fermentation
The bacteria you need for most vegetable ferments are already on the produce. You don't need to buy cultures or starters. Create the right environment (salt plus no oxygen) and the beneficial microbes outcompete the harmful ones. Salt favors the growth of the bacteria you want while inhibiting the rest, which is why the National Center for Home Food Preservation (NCHFP) calls it vital to both safety and texture in sauerkraut and brined pickles.
Why ferment at home
Store-bought fermented foods are often pasteurized, which kills the live bacteria and flattens the flavor. When you ferment at home:
- Better flavor: you control the fermentation time, so you get the level of tang you like. A one-week sauerkraut tastes very different from a four-week one
- Live cultures: unpasteurized ferments contain live lactic acid bacteria. Research on fermented foods and the gut microbiome is still developing, but a 2022 review in Nutrients summarizes evidence that regular fermented-food intake can shift gut microbial diversity and immune markers (PubMed)
- Cheap ingredients: a head of cabbage and a few grams of salt produce a jar of sauerkraut
- Less food waste: fermentation is preservation. A surplus of garden cucumbers, radishes, or peppers becomes food that keeps for months instead of compost
Essential equipment for beginners
You don't need much to start. Here is what matters:
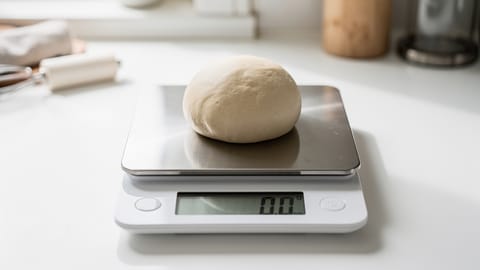
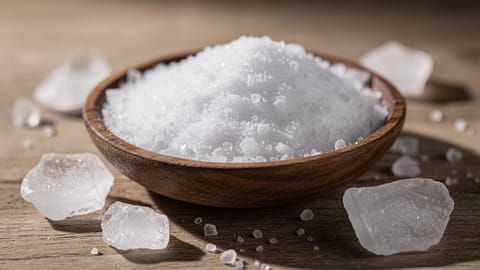
A kitchen scale is the one piece of equipment worth calling essential. Accurate salt measurement is the difference between a crisp, sour ferment and a mushy, over-salted one. Measuring salt by volume is unreliable because different salts have different densities: a tablespoon of fine sea salt weighs far more than a tablespoon of kosher salt, and the NCHFP specifically advises against flake salt for the same reason.
Optional upgrades
After a few successful batches, you might want:
- Airlock lids: fit on mason jars and let CO₂ escape without letting oxygen in. They reduce the chance of surface film
- Fermentation weights: glass discs sized to fit inside mason jars. More reliable than the zip-lock bag method
- pH strips or a meter: let you verify acidity objectively. A pH below 4.6 is the boundary below which Clostridium botulinum cannot grow. Not necessary if you use proper salt ratios, but reassuring for beginners
Your first ferment: how to make sauerkraut
Sauerkraut is the ideal first project. One ingredient (cabbage), one preservative (salt), one vessel (jar), and time. The 2% ratio below is close to the NCHFP's recipe, which uses 3 tablespoons of canning salt per 5 pounds of cabbage, about 2.25%.
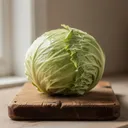 1 mediumGreen cabbageabout 900 g / 2 lb
Tip: If the cabbage hasn't released enough brine after 10 minutes of massaging, let it sit for 30 minutes and try again. If it's still dry, add a splash of non-chlorinated water mixed with 2% salt.
What to expect during fermentation
Beyond sauerkraut: four more beginner-friendly ferments
Once sauerkraut clicks, branch out. Each of these builds on the same core principles.
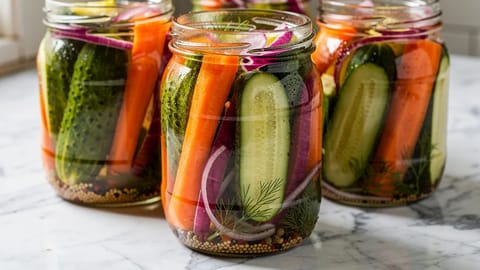
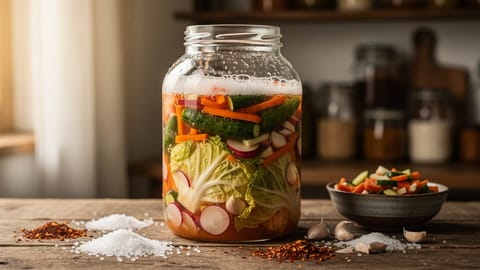
Fermented pickles (lacto-fermented cucumbers)
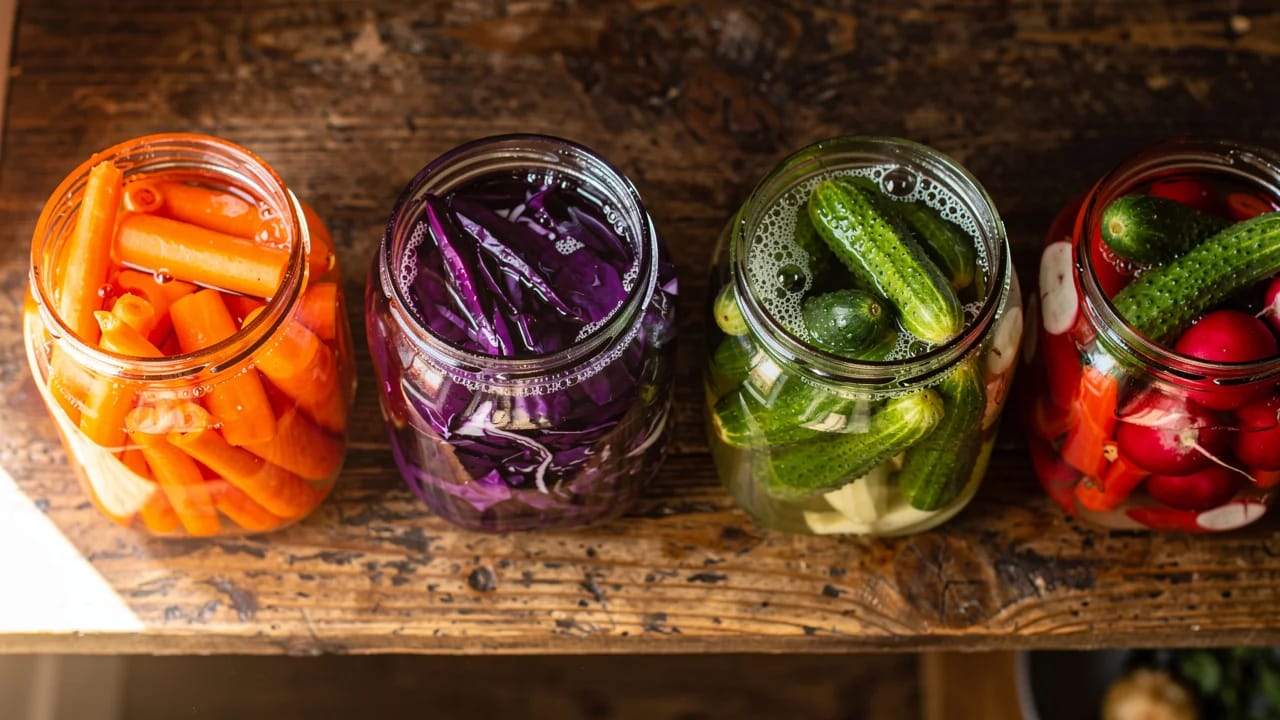
Unlike vinegar pickles, lacto-fermented pickles develop their tang from lactic acid bacteria, the same process as sauerkraut, but in a salt brine instead of dry-salting.
Use small, firm pickling cucumbers (Kirby type). Dissolve 3-5% salt in water to make a brine, pack the cucumbers into a jar with garlic, dill, and mustard seed, pour the brine over them, and weigh them down. They'll be half-sour in 3-5 days and full-sour in 1-2 weeks.
Note: Regular slicing cucumbers get soft during fermentation. Pickling cucumbers stay crunchy because they have thicker skins and denser flesh. Trim the blossom end too: the NCHFP notes it can carry an enzyme that softens pickles.
Yogurt
Yogurt is the fastest ferment on this list: 4-12 hours from start to finish. The standard home method is to heat milk to about 82 °C (180 °F) to denature the proteins (this gives yogurt its thick texture), cool it to about 43 °C (110 °F), stir in a couple of tablespoons of plain yogurt with live cultures as a starter, and hold it near 43 °C for 4-12 hours.
The tricky part is maintaining temperature. An oven with just the light on often stays warm enough, and a cooler with a jar of hot water works too. Longer fermentation means tangier yogurt.
Kombucha
Kombucha is sweetened tea fermented by a SCOBY (a symbiotic culture of bacteria and yeast). Brew strong sweet tea, cool it, add the SCOBY and some starter liquid from a previous batch, and ferment for 7-14 days at room temperature.
The first fermentation produces a tangy, lightly fizzy tea. A second fermentation (sealed in bottles with fruit juice or ginger for 2-3 days) builds carbonation. Start with a shorter first ferment if you prefer it sweeter.
Sourdough starter
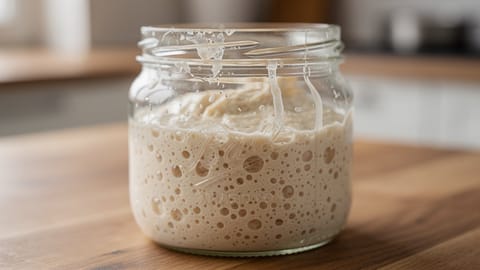
A sourdough starter captures wild yeast and lactic acid bacteria from flour and your environment. Mix equal parts flour and water by weight, discard half and feed with fresh flour and water daily, and within 5-7 days you'll have an active starter that can leaven bread.
The first few days smell funky. That's normal: other microbes dominate at first, before the LAB take over and acidify the mix. By day 5-7 it should smell pleasantly sour and double in volume within 4-8 hours of feeding.
The science you actually need to know
You don't need a microbiology degree, but a few principles prevent most failures.
Salt controls everything
Salt is the single most important variable in vegetable fermentation. It:
- Inhibits harmful bacteria while letting beneficial LAB thrive (LAB tolerate salt; most pathogens do not)
- Draws water out of vegetables through osmosis, creating brine
- Slows fermentation: more salt means a slower, more controlled ferment
- Protects texture: too little salt lets enzymes soften the vegetables; too much makes them limp and harsh
Always measure salt by weight, not volume. Different salts have wildly different densities.
Temperature sets the pace
Fermentation runs faster in a warm room and slower in a cool one, and the difference is large. The NCHFP's sauerkraut guidance is a useful benchmark: about 3-4 weeks at 21-24 °C (70-75 °F), 5-6 weeks at 15-18 °C (60-65 °F), and below 15 °C it may not ferment at all.
In summer, a basement or a cooler room helps. In winter, the kitchen counter is usually fine. If your house runs cool, fermentation just takes longer, which often produces better flavor.
Anaerobic conditions matter
The beneficial bacteria in lacto-fermentation thrive without oxygen. Keeping food submerged under brine creates the anaerobic environment they need. Surfaces exposed to air grow film or mold. That is a sign your setup needs adjustment, and in the case of mold, a reason to discard the batch.
pH tells you when it's safe
Below pH 4.6, the environment is too acidic for Clostridium botulinum, which is why the NCHFP stresses a minimum, uniform level of acid throughout a pickled product. Well-salted vegetable ferments reach this pH within the first several days. You don't need to measure it if you use proper salt ratios and the ferment smells right, but a pH meter removes the guesswork.
Troubleshooting common problems
Cause: Kahm yeast, a harmless surface yeast that appears when the brine is exposed to air.
Fix: Skim it off, make sure everything is submerged, and top up with a 2% salt solution if needed. It can affect flavor slightly but is not dangerous.
Cause: Food exposed to air above the brine line for too long.
Fix: Discard the batch. Mold can spread below the surface even when it looks contained. Next time use a better weight, more brine, or an airlock lid.
Cause: Wrong salt concentration, contaminated equipment, or a temperature that was too high.
Fix: Discard it. A properly fermenting vegetable should smell sour and tangy, never putrid. Next time, verify your salt ratio with a scale and make sure your jar was clean.
Cause: Too little salt, temperature too high, or over-fermentation.
Fix: For future batches, use at least 2% salt and ferment at the cooler end of the range. A grape leaf or oak leaf (both contain tannins) helps maintain crunch. Move the jar to the fridge sooner.
Cause: Too cold, too much salt, or heavily chlorinated water.
Fix: Move it somewhere warmer (18-24 °C). Check your salt ratio; over 5% slows things a lot. Use filtered water or let tap water sit uncovered overnight before making brine.
Cause: Active CO₂ production. This is normal and good.
Fix: Place the jar on a plate or in a bowl to catch overflow. Leave at least 2-3 cm (1 inch) of headspace. This is most common in the first 3-5 days.
Food safety: the rules that matter
Fermentation is one of the safest preservation methods when done correctly. The acid environment that LAB create is hostile to pathogens. But there are rules:
- Weigh your salt: use a kitchen scale, not measuring spoons. Correct salt concentration is the primary safety barrier
- Keep food submerged: anything above the brine line is exposed to air and to mold
- Use clean equipment: not sterile, just clean. Hot soapy water and a thorough rinse are enough
- Use non-iodized salt without anti-caking agents, which is what the NCHFP recommends for pickling and fermenting
- Use non-chlorinated water: chlorine can slow the bacteria you want. Use filtered water or let tap water sit uncovered for 24 hours
- Trust your nose: fermented food smells tangy. Spoiled food smells rotten. The difference is obvious
Warning: Fermentation is not the same as canning. Fermented vegetables stored in the fridge stay safe because the acid and cold temperature prevent bacterial growth. If you want shelf-stable room-temperature storage, you need proper canning equipment and tested procedures, such as the NCHFP's.
Building your fermentation practice
Start with one ferment. Make sauerkraut. When that batch is done and you understand the rhythm (salting, packing, waiting, tasting), try lacto-fermented pickles. Then yogurt. Then kombucha or a sourdough starter.
Each of these takes minutes of active work per week once it is running. The hardest part of fermentation is patience. You have to wait, and trust that the invisible microbes are doing their job. They've been doing it for thousands of years. They don't need your help, just the right conditions.
Keep notes on every batch
The variable that changes most between batches is your kitchen: its temperature, your cabbage, your salt. Save this sauerkraut as a recipe in Fond and add a note each time you make it, with the date, the salt percentage, the room temperature, and the day it tasted right. After two or three batches, those notes tell you more about your own kitchen than any general guide can.
- Start with sauerkraut: cabbage + 2% salt + jar + time
- Always measure salt by weight with a kitchen scale
- Keep food submerged under brine; this is the #1 safety rule
- Ferment at 18-24 °C (65-75 °F) for best results
- Trust your nose: tangy is good, rotten is bad
- You don't need special equipment to begin
- Patience is the main ingredient