 Bastien
How to cook rice perfectly every time
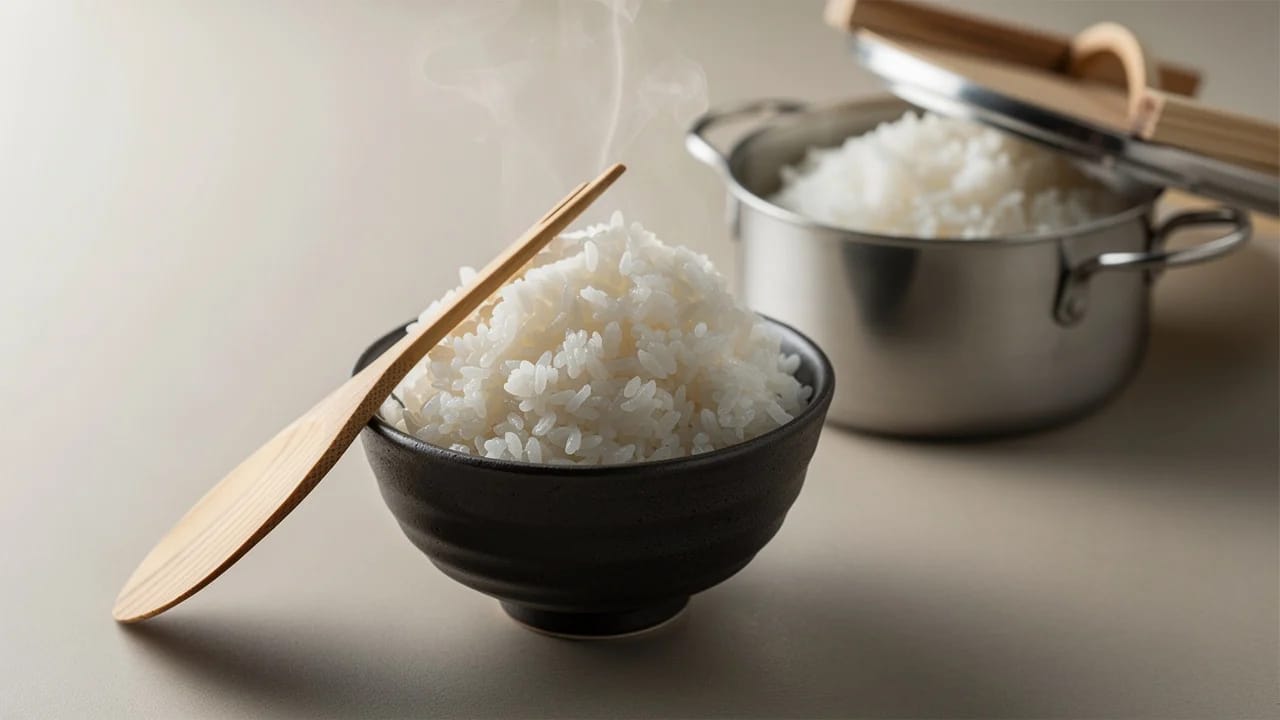
Rice is the most consumed grain on the planet, yet it trips up even confident home cooks. Too sticky, too mushy, burned on the bottom. The failures are predictable, and so are the fixes. Learning how to cook rice well comes down to the right water ratio, proper heat control, and leaving it alone while it cooks.
Most people learn how to cook rice by eyeballing the water and hoping for the best. That's why the bottom burns, the top stays crunchy, and the whole pot turns to mush on alternating Tuesdays. The fix isn't a better pot or a fancier brand. It's knowing the exact rice to water ratio for the type you're cooking.
Nearly every bad pot of rice traces back to one of four things: the wrong water ratio, heat that stays too high after the boil, a lid that doesn't seal, or lifting that lid to check. None of them are skill problems. They're settings, and settings can be written down. Weighing rice and water on a kitchen scale removes the last variable, because a cup of rice scooped loosely and a cup packed down are not the same amount of rice.
This page covers white long grain, jasmine, basmati, brown, short grain, and sushi rice. You'll get a ratio table worth bookmarking, step-by-step stovetop instructions, an honest look at why published ratios disagree with each other, and four cooking methods so you can use whatever equipment you have.
Rice to water ratio by type
The rice to water ratio determines everything. Too much and you get porridge. Too little and it burns. Every rice type absorbs water differently, so there's no universal number.
A few notes on ratios:
- These ratios assume rinsed rice. Unrinsed rice may need slightly less water because surface starch absorbs some.
- If you're cooking more than 2 cups, reduce water slightly. Use about 1.25 cups water per additional cup of white rice. The ratio isn't perfectly linear because less steam escapes proportionally in larger batches.
- For precision, weigh your rice and water with a kitchen scale. One cup of white rice weighs roughly 185g. Use Fond's unit converter to switch between cups and grams.
Is 2 cups of water to 1 cup of rice right?
It depends whose chart you're reading, and pretending otherwise would be dishonest.
USA Rice publishes 2 parts liquid to 1 part long grain white rice, covered and simmered for 15 to 18 minutes. The table above uses 1.5 to 1 for the same rice. Both produce good rice. They just assume different things about your kitchen.
A 2:1 ratio makes sense for unrinsed rice in an ordinary pan with an ordinary lid. Plenty of water leaves as steam over 15 minutes, and the extra half cup pays for that loss. Rinsed rice goes into the pot already carrying water on and inside the grain, and a heavy pot with a lid that actually seals gives almost none of it back. Under those conditions, 2:1 leaves you standing over a wet pot.
Four variables move the number:
- Rinsing. Rinsed, drained grains start wetter, so they need less added water.
- Lid seal. A visible gap between lid and rim can cost you several tablespoons over a 15-minute cook.
- Pot shape. A wide, shallow pan evaporates faster than a tall, narrow one with the same volume.
- Batch size. Bigger batches lose proportionally less steam, which is why water per cup drops as you scale up.
Start at the ratio in the table, then calibrate. If your rice lands consistently wet, drop 2 tablespoons of water per cup next time. Consistently dry, add 2. Two batches is usually enough to pin down a pot you'll be using for years, and the number you land on is worth more than any published chart.
Why rinsing matters (the science)
Rinsing isn't fussy. It's functional. Milled rice is coated in loose surface starch (amylopectin) left over from processing. When that starch hits hot water, it gelatinizes into a paste that glues grains together. That's why unrinsed rice cooks up gummy.
Place rice in a fine-mesh strainer and run cold water over it for 30-60 seconds, swirling with your hand, until the water goes from milky to mostly clear. You're washing off the starch that would otherwise turn your pot into a sticky block.
Rinsed basmati cooks up as long, separate grains. Unrinsed basmati tends to bind into a mass that needs a spatula to break apart. Thirty seconds at the tap is the cheapest upgrade on this page.
The case against rinsing
Not everyone agrees, and the disagreement is worth knowing before you decide. USA Rice states that American-grown rice does not require washing or rinsing, and warns that rinsing causes loss of enrichment along with other water-soluble vitamins and minerals. Enriched rice sold in the United States carries added iron, folate, and B vitamins as a coating on the grain, and that coating goes down the drain with the starch.
So the choice depends on what's in your bag. If you buy enriched domestic rice and you're counting on it nutritionally, skipping the rinse keeps the fortification. If you buy imported basmati or jasmine, which usually isn't enriched, you give up nothing and gain the texture. Either way the water ratio follows the decision: unrinsed rice wants slightly more water than the table shows.
Tip: The other time to skip rinsing is when you want sticky rice, or when making risotto, where that surface starch creates the creamy texture.
How to cook rice on the stove (step by step)
The stovetop absorption method works for every rice type. You adjust the water and the time, and everything else stays the same. One detail matters more than it sounds: after the initial boil, the pot should hold a bare simmer, not a rolling one. A rolling boil under a lid drives water out as steam faster than the grains can absorb it, which is how you end up with crunchy rice sitting on a scorched layer.
Start with white rice, then see the adjustments for other varieties below.
How to cook white rice
How to cook brown rice
Brown rice follows the same process with two differences: more water (1:2 ratio) and longer cook time (40-45 minutes for long grain, 45-50 for short grain). The bran layer takes longer to hydrate. Rest for 10-15 minutes before fluffing.
Short grain and sushi rice
Short grain rice is starchier by nature. You want it slightly sticky, not fluffy. Use a 1:1.25 ratio, cook for 15 minutes, and rest for 10 minutes. For sushi rice, season with rice vinegar, sugar, and salt while the rice is still warm (traditional ratio: 3 tablespoons vinegar, 2 tablespoons sugar, 1 teaspoon salt per 2 cups dry rice).
How much rice per person
Dry rice roughly triples as it absorbs water, so 1 cup dry gives about 3 cups cooked. What that feeds depends entirely on the plate it lands on.
| Dry rice | Cooked yield | Feeds |
|---|---|---|
| 1/2 cup (about 90g) | ~1.5 cups | 2 as a side |
| 1 cup (about 185g) | ~3 cups | 4 as a side, 2 as a main |
| 1.5 cups (about 280g) | ~4.5 cups | 6 as a side, 3 as a main |
| 2 cups (about 370g) | ~6 cups | 8 as a side, 4 as a main |
A side portion runs around 3/4 cup cooked. A rice-forward main, a curry ladled over rice or a rice bowl, runs closer to 1.5 cups. These are starting points for planning rather than fixed amounts, and appetites vary more than ratios do.
One useful habit: cook a little extra on purpose. Chilled leftover rice is the right raw material for fried rice, and cooking it fresh for that purpose gives you worse results than using yesterday's.
How to cook rice the Asian way
Many Asian home cooks skip measuring cups entirely. The most common technique: place rinsed rice in the pot, level it, then add water until it reaches the first knuckle of your index finger when the tip touches the surface of the rice. The distance from fingertip to first knuckle is roughly 1 inch (2.5 cm), the right depth of water above the rice regardless of quantity.
The method is self-correcting. It scales naturally because water depth stays constant relative to the rice surface, not the pot size. Works best with medium and short grain white rice (the types most commonly cooked in Asian households). For long grain varieties, the fingertip method tends to give slightly too much water.
Another approach: rinse the rice aggressively, 5-6 times, until the water is nearly transparent. The extra rinsing produces distinctly separate grains and a cleaner, less starchy texture. Many Japanese cooks also soak the rinsed rice for 30 minutes before cooking. This gives a more even texture throughout.
Other methods: rice cooker, Instant Pot, and microwave
The stovetop method asks you to manage the heat yourself. Every other method hands part of that job to an appliance, and the water ratio moves along with the responsibility. A rice cooker detects when the free water is gone and shuts itself off. A pressure cooker seals the pot so almost nothing escapes as steam, which is exactly why it needs less water than an open pan. A microwave heats the water directly and will boil over with enthusiasm if the bowl is undersized.
Choose by what's already in your kitchen. None of these is meaningfully better than a decent pot with a decent lid, and the rice cooker's advantage is consistency rather than flavor.
Rice cooker
Rice cookers are hard to get wrong, and the reason is mechanical rather than clever. A basic cooker holds the pot at boiling temperature for as long as liquid water remains. Once the free water has been absorbed, the temperature climbs past 100°C, a thermostat trips, and the machine drops to "keep warm." It can't run the pot dry the way an open pot can.
The measuring cup in the box causes most of the trouble. It holds about 180ml, roughly 3/4 of a standard US cup, and the water lines etched inside the pot are calibrated to that cup rather than to yours. Measure with a US cup, then fill to the line with the same number, and you'll be short on water every time.
The process itself is short. Measure the rice with the cooker's own cup, rinse it, drain it properly, add water to the matching line, close the lid, press cook. Draining matters here because the fill lines assume drained rice, so tipping the rinse water in with it throws the ratio off. When the switch flips, leave the lid closed for 10 minutes before fluffing. If your cooker has no water lines, use the ratios from the table above and treat it as an automatic stovetop.
Programmable models with brown rice, sushi, or porridge settings change the heating curve rather than just the timer. The brown rice program usually soaks the grain at a lower temperature before boiling, which is why it takes longer than the white setting and why using the white setting for brown rice gives you a chewy center.
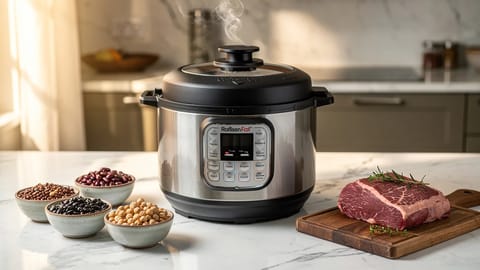
Instant Pot (pressure cooker)
Pressure cooking is fast and repeatable. Use a 1:1 water ratio for white rice, since the sealed pot loses almost no steam, and 1:1.25 for brown rice. For white rice, set manual or pressure cook on high pressure for 3 minutes, let it release naturally for 10 minutes, then quick release the rest. Brown rice needs 22 minutes at high pressure with the same 10-minute natural release.
Don't cut the natural release short. Three minutes at pressure isn't enough to finish white rice on its own, and those 10 quiet minutes afterwards are doing real cooking while the pressure falls. Venting straight away tends to give blown-out grains and a wet pot.
How to cook rice in the microwave
The microwave works in a pinch but requires attention to avoid boiling over. Use a large microwave-safe bowl, at least 3 times the volume of the dry rice.
Combine 1 cup rinsed rice and 1.75 cups water (slightly more than stovetop to account for evaporation). Cover loosely with a microwave-safe plate. Microwave on high for 5 minutes until boiling, then reduce to 50% power for 15 minutes. Rest covered for 5 minutes. The microwave method produces decent results for white rice, though the texture won't match stovetop or rice cooker quality.
How long to cook rice (quick reference)
After the rice to water ratio, timing is the second variable people get wrong.
HP = High Pressure. All Instant Pot times exclude the 10-minute natural release.
Resting is not optional. Skipping it means the bottom layer overcooks while the top stays underdone. Set a timer for the rest, too.
Rice troubleshooting
Too much water. Reduce the ratio next time. For now, spread the rice on a sheet pan and bake at 175°C (350°F) for 5 minutes to dry it out. Also check that your lid fits tightly, as a loose lid lets steam escape and tricks you into adding more water.
Not enough water, or the lid was lifted during cooking. Steam escapes every time you peek, dropping the temperature. Add 2-3 tablespoons of water, re-cover, and cook on the lowest heat for another 5 minutes.
Heat was too high after reducing. The lowest setting means the lowest setting. Also check your pot: thin-bottomed pots create hot spots. A heavy-bottomed pot or one with a thick aluminum core distributes heat evenly.
You probably didn't rinse. Surface starch from milling acts like glue when heated. Rinse for 30-60 seconds under cold water before cooking. If you're making long grain rice and it's still sticky after rinsing, reduce the water by a tablespoon or two.
Add salt. A half teaspoon of salt per cup of dry rice makes a noticeable difference. Add it with the water before cooking, not after.
How to make fluffy rice
For basmati, soaking the rinsed rice in cold water for 20-30 minutes before cooking produces noticeably longer, more separate grains. The pre-soak lets the grain take on water gradually, so it expands lengthwise instead of cracking under the rapid heat of cooking. Call it optional on a weeknight and worth the wait when rice is the center of the plate. If you soak, drain well and take a tablespoon or two of water per cup off the ratio, since the grain arrives already partly hydrated.
Storing and reheating cooked rice
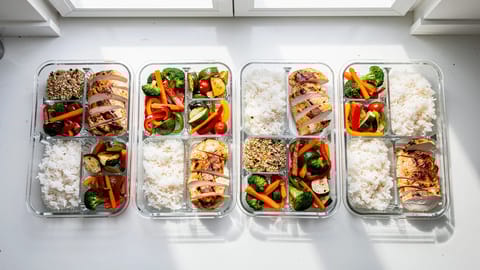
Rice is a meal prep staple and it reheats better than most starches. It also carries a specific food-safety risk that potatoes and pasta carry less of, which is why the storage advice here is stricter than "put it in a tub and forget about it." The short version: get it cold quickly, and eat it sooner than you would most leftovers.
Why cooked rice needs faster handling than most leftovers
Uncooked rice carries spores of Bacillus cereus, and the UK Food Standards Agency notes that those spores survive being cooked. They sit dormant in the hot pot doing nothing. As the rice drifts down through room temperature, the spores wake up, the bacteria multiply, and some strains produce a toxin that causes vomiting. That toxin holds up to heat, so reheating rice later does not undo the damage.
Time spent warm is the only part of this you control, which makes cooling the whole ballgame. A hot mound sealed in a deep container can stay warm in the middle for well over an hour. A thin layer on a sheet pan is cool in minutes.
Refrigerator storage
Spread the rice out or split it into shallow containers as soon as you've finished serving. Cover it once it stops steaming, then refrigerate.
The FSA advises chilling leftover rice as quickly as possible, ideally within one hour, keeping it in the fridge for no more than one day before reheating, and never reheating rice more than once. USDA guidance for leftovers in general is looser: refrigerate within two hours, or within one hour when the room is above 32°C (90°F), and use within three to four days.
Both agencies are looking at the same bacteria and building in different amounts of margin, with the FSA writing specifically about rice. When you're standing at the fridge deciding, use the stricter number. Rice that cooled slowly on the counter should go tomorrow. Rice you spread out and chilled inside the hour has more room, and four days is the outer edge rather than the plan.
Freezer storage
Freezing stops the clock. Bacteria don't multiply at freezer temperature, so frozen rice outlasts refrigerated rice by a wide margin and the limit becomes texture rather than safety. Portion it into freezer bags, press the air out, and lay them flat. Flat bags freeze and thaw faster than blocks, and they stack. Two-cup portions thaw evenly and land about right for two servings.
Reheating
Rice needs a little water back on the way in. Add 1 to 2 tablespoons per cup, cover, and microwave for 1 to 2 minutes, fluffing halfway through. On the stove, a splash of water under a lid over low heat gets there in 3 to 5 minutes with one stir. From frozen, microwave in the unsealed bag for 3 to 4 minutes, or drop the sealed bag into boiling water for 5.
Whichever route you take, heat it until it's steaming all the way through rather than warm on the outside, and reheat a given batch once.
Day-old refrigerated rice is better for fried rice, and that's not a myth about using things up. Drying in the fridge firms the grains so they stay separate when they hit a hot pan instead of collapsing into paste. If you're planning a batch cooking session, cook extra rice on purpose for fried rice the next day.
- Start at 1:1.5 for white, 1:1.25 for jasmine, 1:2 for brown, then calibrate to your own pot
- Published ratios disagree because they assume different pots, lids, and whether the rice was rinsed
- Rinse for 30-60 seconds unless your rice is enriched and you want the fortification
- Hold a bare simmer with the lid on and no peeking, then rest 10 minutes off heat
- Cool cooked rice fast and eat it within a day or two, since reheating does not undo the toxin
Have your mise en place ready before you start: rice measured, water measured, pot and lid out. Then calibrate. Cook the same rice in the same pot twice, adjust by two tablespoons, and write the number down somewhere you'll actually find it, whether that's a card taped inside a cupboard door or a recipe organizer like Fond. A ratio you've proven in your own pan beats every chart on the internet, this one included.