Blanch and shock
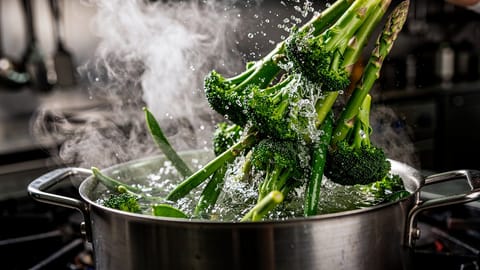
Blanch and shock is a two-step technique: briefly cook food in boiling salted water (30 seconds to 4 minutes), then plunge it into ice water to stop cooking — locks in color, texture, and nutrients for meal prep, freezing, peeling, or brightening dishes.
Blanch and shock is a two-step cooking technique: briefly cook food in boiling salted water for 30 seconds to 4 minutes (the blanch), then immediately plunge it into ice water to halt the cooking process (the shock). The combination gives you vegetables that stay bright, hold their snap, and land right between raw and mushy.
You've seen it in every cooking show: vegetables plunged into boiling water, then immediately transferred to ice water. That two-step process shows up constantly because it actually works — locking in color, texture, and nutrients in a way no other method does.
I blanch vegetables almost every Sunday as part of my meal prep. The first time I did it, I put blanched and unblanched broccoli side by side in the fridge. By Wednesday, the unblanched batch was yellowing and limp. The blanched batch looked like I'd just bought it. That sold me.
Why does blanching and shocking work?
Raw vegetables contain enzymes that cause browning, flavor loss, and texture breakdown over time. Blanching deactivates those enzymes in seconds. The brief exposure to boiling water also:
- Sets the color. Chlorophyll in green vegetables brightens in the first 30-60 seconds of boiling. Blanching catches that vivid green before it fades.
- Softens slightly. The outer cell walls soften just enough to remove the raw edge without turning vegetables mushy.
- Cleans the surface. Boiling water kills surface bacteria and removes residual dirt, which matters for vegetables you'll eat raw after blanching (like on a crudite platter).
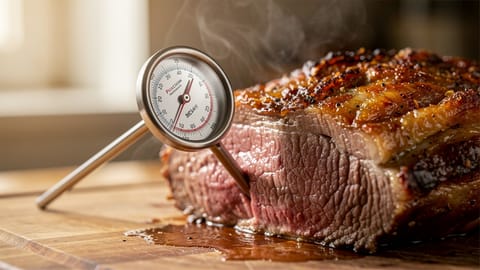
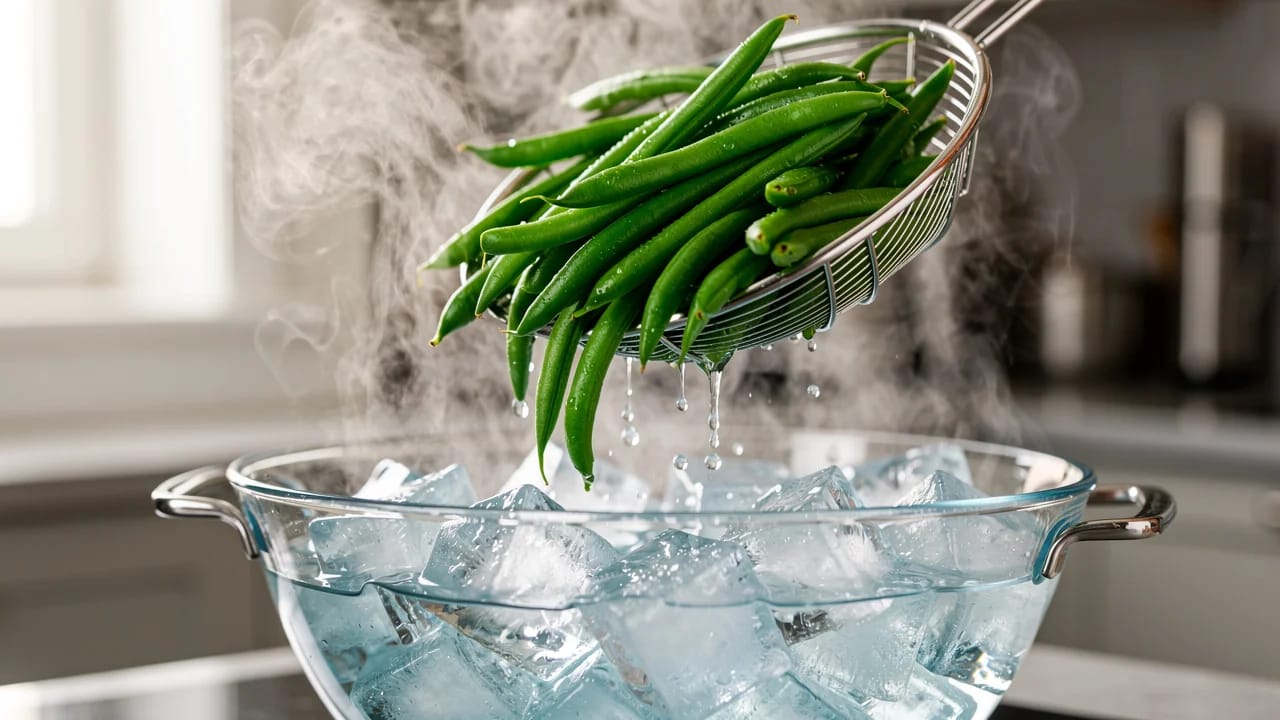
The shocking step matters just as much. Without it, residual heat continues cooking the vegetables even after you pull them from the water. That carryover cooking (the same principle that affects resting meat) turns bright green beans dull olive-green in minutes.
Ice water drops the temperature fast enough that cooking stops and you keep the color and texture you worked for.
Blanching vs boiling
People often confuse blanching with boiling, but the difference comes down to time and what happens next. Blanching is brief (30 seconds to 4 minutes) and always followed by immediate cooling in ice water to stop the cooking. Boiling cooks food all the way through, usually for 10 minutes or more, with no shock step. If you skip the ice bath or leave vegetables in the water until they're fully tender, you're boiling, not blanching.
As an alternative, steam blanching uses a steamer basket instead of submerging vegetables in water. It takes about 1.5x longer than water blanching but preserves roughly 30% more water-soluble vitamins. For most home cooking, water blanching is simpler and more consistent.
How do you blanch vegetables step by step?
How long should you blanch each vegetable?
Times start when the water returns to a boil after adding the vegetables. These are for vegetables cut to standard sizes.
| Vegetable | Size/Cut | Blanching time |
|---|---|---|
| Green beans | Whole, trimmed | 2-3 minutes |
| Broccoli | Small florets | 2-3 minutes |
| Asparagus (thin) | Whole spears | 1-2 minutes |
| Asparagus (thick) | Whole spears | 2-3 minutes |
| Snow peas / sugar snaps | Whole | 30-60 seconds |
| Corn on the cob | Whole ears | 4 minutes |
| Carrots | 1/4-inch coins | 2-3 minutes |
| Cauliflower | Small florets | 2-3 minutes |
| Spinach / kale | Leaves | 30-45 seconds |
| Brussels sprouts | Halved | 3-4 minutes |
| Edamame (in pod) | Whole | 3-4 minutes |
| Tomatoes (for peeling) | Whole, scored | 15-30 seconds |
The test: When in doubt, pull one piece out early and bite into it. It should be crisp-tender: cooked enough that it's not raw, but with a definite snap when you bite. If it bends without breaking, it's overcooked.
When should you use blanch and shock?
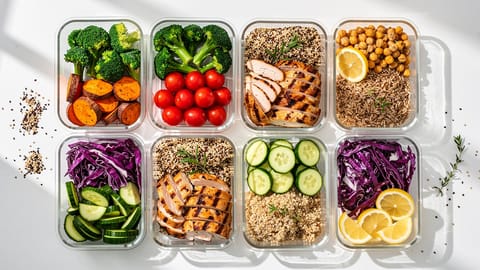
Meal prep
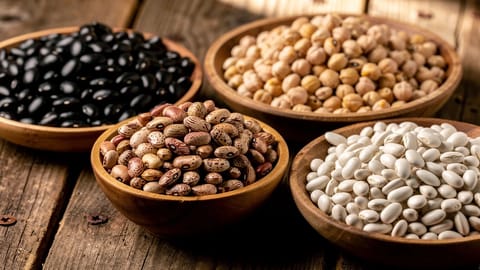
Blanched vegetables make meal prep much easier. Blanch a big batch of broccoli, green beans, and snap peas on Sunday. Shock, dry, and store in containers. They hold their color and crunch for 4-5 days in the fridge, ready to toss into grain bowls, stir-fries, or eat with dip. Pair them with a protein cooked the same day, like a pot of beans (here's how to cook dried beans from scratch), and a few Sunday hours cover most of the week.
Without blanching, raw cut broccoli starts browning by Wednesday. Blanched broccoli stays green all week.
Freezing vegetables
Blanching before freezing is essential for long-term quality. The National Center for Home Food Preservation confirms that those enzymes causing browning stay active even at 0°F (-18°C). Unblanched frozen vegetables go mushy and off-flavored within weeks.
Blanch, shock, dry thoroughly, spread on a sheet pan to freeze individually, then transfer to freezer bags. This prevents clumping and keeps vegetables bright and firm for 8-12 months, versus the freezer burn you get with poorly stored produce.
Peeling tomatoes and peaches
Score a small X on the bottom of the fruit. Blanch for 15-30 seconds (tomatoes) or 30-60 seconds (peaches). Shock in ice water. The skins slip right off. I use this every time I make fresh tomato sauce. You avoid the waste and mangled flesh that come with knife peeling.
Brightening vegetables for a dish
Say you're making pasta primavera for eight people. Blanch and shock the green beans, asparagus, and peas an hour before dinner. When it's time to plate, toss them into the hot pasta for 30 seconds to warm through. The vegetables come out bright green and tender without any last-minute scramble at the stove.
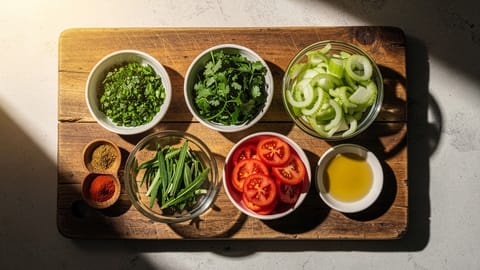
Preparing mise en place
For recipes that call for briefly cooked vegetables added at the end (stir-fries, curries, pasta dishes), blanching ahead of time means you just need to warm them through during final assembly. It takes the timing pressure off when everything else demands your attention.
What is the difference between blanching and parboiling?
Parboiling potatoes before roasting gives you a fluffy interior and crispy exterior. Blanching green beans gives you bright, snappy beans that stay that way for days. Different goals, different timing, different results.
What are the most common blanching mistakes?
Once you've put blanched and unblanched green beans side by side, the difference is hard to ignore. Ten minutes of setup, and your vegetables look and taste noticeably better.