Roasting
Roasting is a dry-heat oven cooking method (usually 350-450°F / 175-230°C) that caramelizes the exterior through the Maillard reaction while keeping the interior moist — used for meat, poultry, and vegetables.
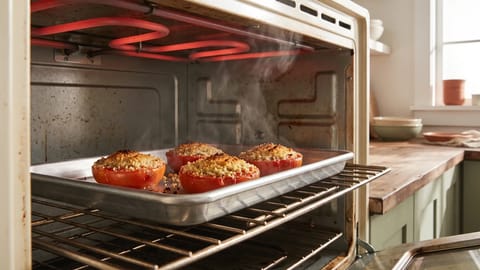
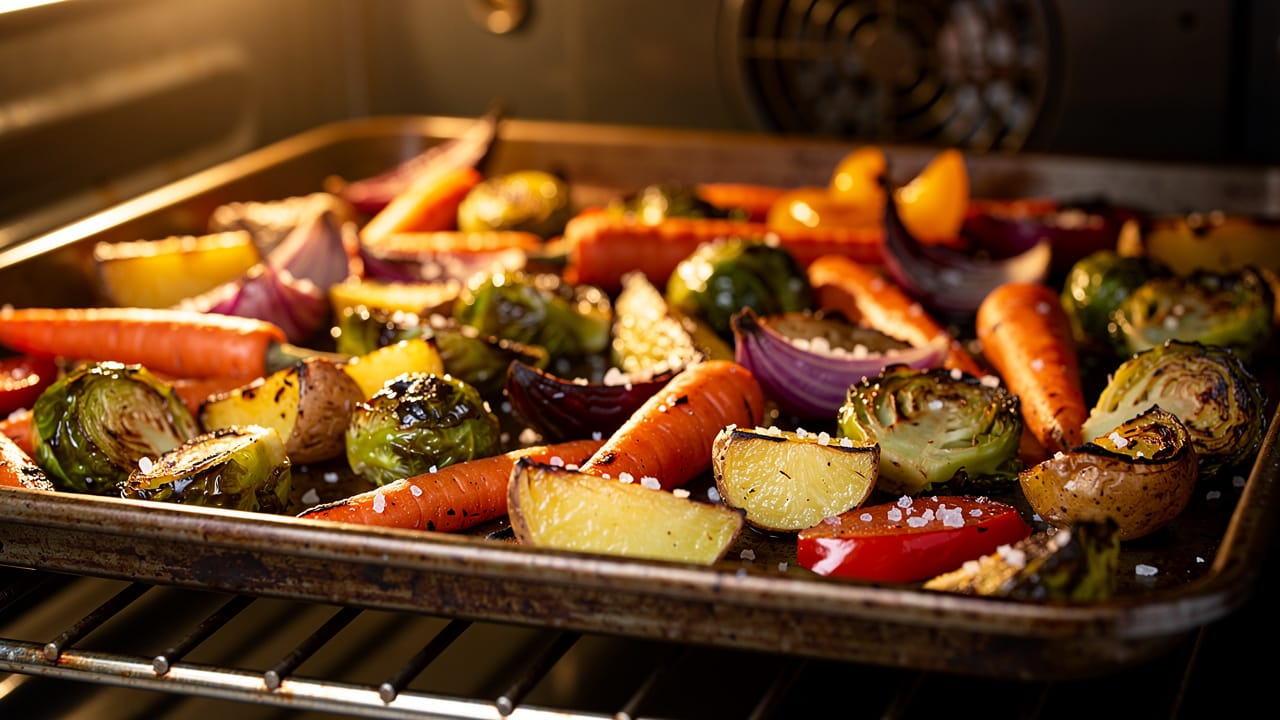
Roasting is a dry-heat cooking method that uses the enclosed heat of an oven (typically 350-450°F / 175-230°C) to cook food from all sides. Hot air circulates around the food, triggering the Maillard reaction on the exterior — the browning that creates flavor, texture, and aroma — while the interior cooks through radiant heat. Roasting works for everything from a whole chicken to a sheet pan of root vegetables.
Unlike braising, which uses liquid in a covered pot, roasting keeps food uncovered so moisture evaporates from the surface. That evaporation concentrates flavors and builds a caramelized crust. I remember the first time I roasted a chicken at properly high heat instead of the 350°F my old recipe called for. The skin shattered when I cut into it. Night and day difference.
What temperature should you roast at?
The right oven temperature depends on what you're cooking and the result you want. Higher temperatures brown faster but risk drying out lean proteins. Lower temperatures cook more evenly but produce less surface browning.
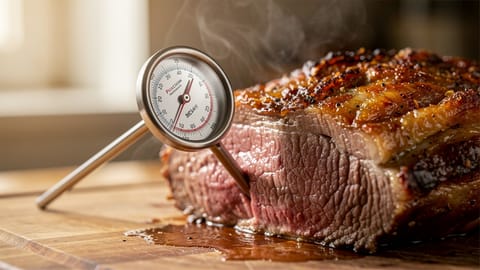
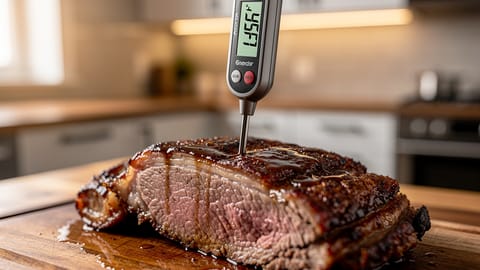
Always verify doneness with an instant-read thermometer. Visual cues are unreliable. A thermometer removes the guesswork.
How does roasting work?
Roasting relies on three heat transfer mechanisms working together:
Radiation. The oven walls and heating element emit infrared energy that heats the food's surface directly. This is the primary driver of browning.
Convection. Hot air circulates around the food, transferring heat to all exposed surfaces. Convection ovens use a fan to increase airflow, cooking 25-30% faster than conventional ovens. If using convection, reduce the temperature by 25°F (15°C) from standard recipes.
Conduction. Heat transfers from the roasting pan into the bottom of the food. A roasting rack lifts the food off the pan, preventing the bottom from steaming in its own juices and promoting even browning on all sides.
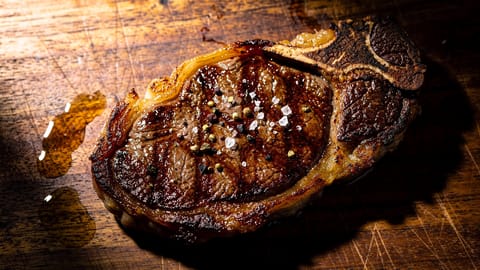
The Maillard reaction kicks in above 280°F (140°C) on the food's surface. Proteins and sugars react to form hundreds of new flavor compounds. This is why higher temperatures produce better browning: the surface reaches Maillard temperatures faster.
What are the best roasting tips?
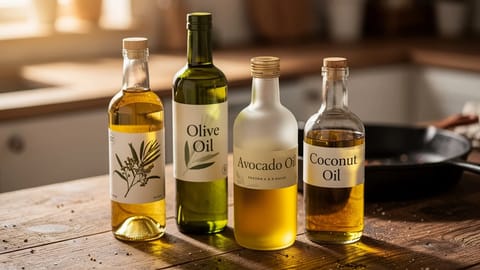
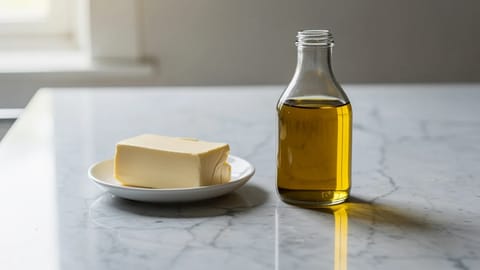
Choose the right fat. Coat vegetables and proteins in a high-smoke-point oil like avocado oil, grapeseed, or refined olive oil. Butter adds great flavor but burns above 350°F (175°C), so use it for basting in the last 15-20 minutes or combine it with oil.
Season with kosher salt. Salt draws moisture to the surface initially, then it dissolves and gets reabsorbed, seasoning the meat deeper and drying the surface for better browning. After testing side-by-side roasts with 30-minute vs overnight salting, I found that overnight dry-brining on larger cuts like a whole chicken produced noticeably juicier meat with crispier skin.
Rest meat after roasting. Resting allows internal juices to redistribute. Without it, cutting releases those juices onto the cutting board. Rest for 5-10 minutes for smaller cuts, 15-30 minutes for large roasts. Account for carryover cooking since internal temperature rises 5-10°F (3-6°C) after leaving the oven.
What is the difference between roasting and baking?
Both use dry oven heat, but the terms describe different intentions:
In practice, the oven doesn't know the difference. The distinction is about technique and outcome. Roasting emphasizes surface browning on whole proteins and vegetables, while baking focuses on structural transformation in doughs and batters.
What is the difference between broiling and roasting?
Broiling is roasting's intense cousin. Where roasting surrounds food with hot air, broiling blasts direct radiant heat from above, like an upside-down grill. Broil when you want quick surface browning on thin cuts, melted cheese, or a last-minute crisp on gratins. Roast when the food needs time to cook through evenly.
A good combination: roast a chicken at 425°F (220°C) until the thighs hit 160°F (71°C), then flip to broil for 2-3 minutes to finish crisping the skin. Keep a close eye on it because the line between golden and charred is about 30 seconds under a broiler.
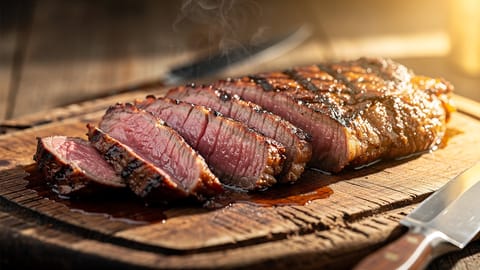
How does the reverse sear method work?
The reverse sear flips the traditional approach for thick cuts of meat (steaks, prime rib, pork chops over 1.5 inches thick):
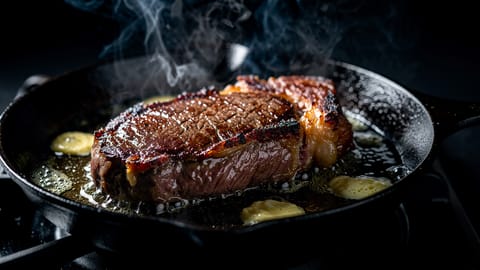
The result is edge-to-edge even doneness with a deeply browned crust. No grey band of overcooked meat between the crust and the pink center. I use this method for every steak over an inch thick now. The cast iron skillet holds enough heat to build an incredible crust on the already-dry surface. Pair it with a good searing technique and the results rival any steakhouse.
Roasting in a Dutch oven
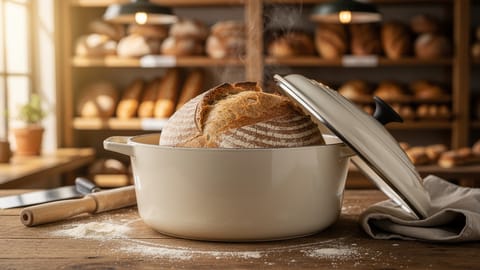
A Dutch oven creates a different roasting environment. With the lid on, it traps steam and functions more like braising. With the lid off, it concentrates heat around the food for intense roasting. Many recipes start covered (to cook through gently) and finish uncovered (to brown the surface). This covered-then-uncovered approach is particularly good for bread baking, where the trapped steam helps the crust develop before you expose it to direct dry heat.
Essential roasting equipment
You don't need much, but the right tools make a real difference:
A heavy-duty sheet pan (half-sheet size) handles most vegetable roasting. Look for aluminum with a rolled edge that won't warp at high temperatures. A roasting rack that fits inside it lifts meat off the surface for airflow underneath. A roasting pan with handles helps when dealing with heavier items like a whole turkey.
An instant-read thermometer is non-negotiable. No amount of experience replaces actually measuring the internal temperature. And a good pair of tongs for flipping vegetables halfway through rounds out the essentials for your mise en place.
Roasting in Fond
When a recipe in Fond includes a roasting step, Cook Mode tracks oven temperature, internal temperature targets, and resting time so you don't have to watch the clock. The recipe view highlights which equipment you need during mise en place so everything is ready before you start.
- Roasting is dry-heat oven cooking that browns the exterior through the Maillard reaction
- Higher heat (400°F+) for vegetables and poultry skin; lower heat (250-325°F) for large or tough cuts
- Always use an instant-read thermometer instead of guessing doneness
- Pat surfaces dry, don't crowd the pan, and preheat the oven fully
- Rest meat after roasting to keep juices inside and account for carryover cooking