No-Knead Pizza Dough
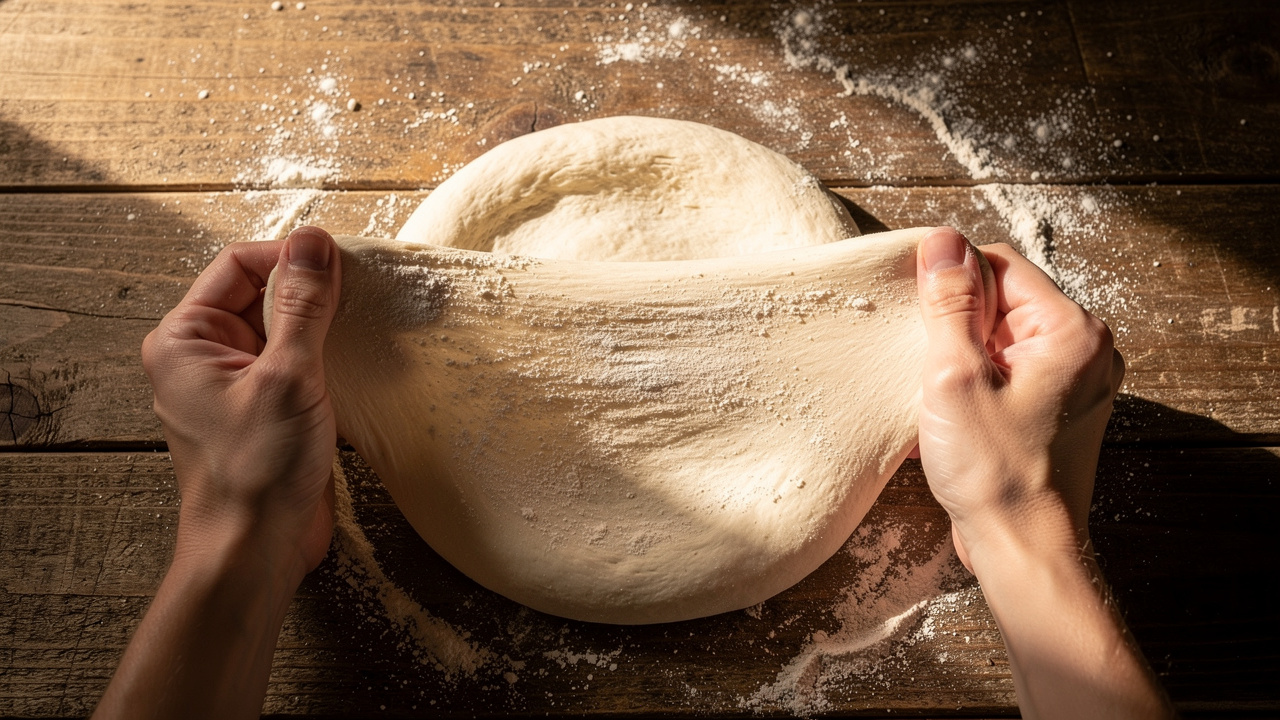
Skip the kneading entirely. Mix flour, water, salt, and a pinch of yeast, then wait 12-18 hours. Time does the gluten development for you, and the crust turns out light and airy with about 5 minutes of actual work.

TL;DR: No-knead pizza dough uses higher hydration (68-75%) and long fermentation (12-24 hours) to develop gluten without any kneading. Just mix flour, water, salt, and a tiny amount of yeast, then wait. The result is a light, airy crust with an open crumb and great flavor, all with about 5 minutes of hands-on work.
Why no-knead pizza dough works
The idea behind no-knead dough is simple: time replaces muscle. When flour and water are mixed together, gluten begins to form on its own through a process called autolysis. Given enough time, typically 12-18 hours, the gluten network develops fully without any kneading at all.
This isn't a shortcut that compromises quality. In many ways, no-knead dough produces a better crust than quickly kneaded dough:
- Better flavor — long fermentation lets enzymes break down starches into sugars and proteins into amino acids, building complex flavors
- More open crumb — higher hydration and gentle handling preserve large gas bubbles
- Easier to stretch — well-hydrated, well-rested gluten is naturally extensible
- Less work — 5 minutes of mixing versus 10-15 minutes of kneading
Jim Lahey's famous no-knead bread recipe popularized this technique, but it works just as well for pizza dough. Maybe even better, since pizza benefits from the open, irregular crumb structure that no-knead methods are built for.
The science behind no-knead dough
Autolysis and passive gluten development
When flour absorbs water, two proteins, glutenin and gliadin, begin to bond and form gluten strands. Kneading speeds this up by physically aligning and stretching the proteins. But the same bonds form naturally over time, especially at higher hydration levels where the proteins have more freedom to move and connect.
At 70%+ hydration, gluten develops readily without mechanical work. The water acts as both a solvent and a lubricant, letting the proteins find each other and bond. After 12-18 hours, the gluten network is comparable to, and sometimes better than, what you'd get from vigorous kneading.
Why higher hydration matters for no-knead dough
No-knead dough typically uses 68-75% hydration, compared to 60-65% for standard kneaded pizza dough. The extra water does a few things:
- Helps gluten develop without mechanical action
- Creates steam during baking for a lighter, crispier crust
- Produces an open crumb with larger, more irregular air pockets
- Keeps the dough extensible for easier stretching
The trade-off is that high-hydration dough is stickier and harder to handle. But with the right technique (and some confidence), it's manageable.
The basic no-knead pizza dough recipe
Ingredients (4 dough balls, ~260g each)
Note: That's only 1 gram of yeast — a tiny amount. The long fermentation time means you need very little. More yeast would cause the dough to over-ferment and become too sour and slack.
Baker's percentages
| Ingredient | Baker's % | Weight |
|---|---|---|
| Bread flour | 100% | 600g |
| Water | 70% | 420g |
| Salt | 2.5% | 15g |
| Instant dry yeast | 0.17% | 1g |
| Olive oil (optional) | 1.7% | 10g |
Step-by-step no-knead method
The whole point of no-knead is simplicity. The entire active process takes about 5 minutes.
No-knead dough timing options
No-knead dough is very flexible with timing. Here are three schedules:
Best for: Evening mix → next-day pizza
The most popular schedule. Mix the dough after dinner (8-9 PM), leave it on the counter overnight, and it's ready for pizza the next day around noon.
| Step | Time | Action |
|---|---|---|
| Evening | 9:00 PM | Mix dough (5 min) |
| Overnight | — | Dough ferments on counter |
| Next day | 12:00 PM | Divide and ball |
| 1:00-2:00 PM | Final proof (1-2h) | |
| 2:00-3:00 PM | Stretch and bake |
Tip: If your kitchen is cold (below 65°F / 18°C), add a pinch more yeast (1.5g total) or extend the time to 20+ hours. If your kitchen is warm (above 75°F / 24°C), reduce to 0.7g yeast or the dough may over-ferment.
Best for: Morning mix → evening pizza
If you need dough the same day, increase the yeast slightly and use warmer water:
| Step | Time | Action |
|---|---|---|
| Morning | 9:00 AM | Mix dough (5 min) |
| Daytime | — | Dough ferments on counter |
| Evening | 5:00 PM | Divide and ball |
| 6:00-6:30 PM | Final proof (1-1.5h) | |
| 6:30-7:00 PM | Stretch and bake |
The flavor won't be as developed as the overnight version, but it's still much better than a quick-kneaded dough.
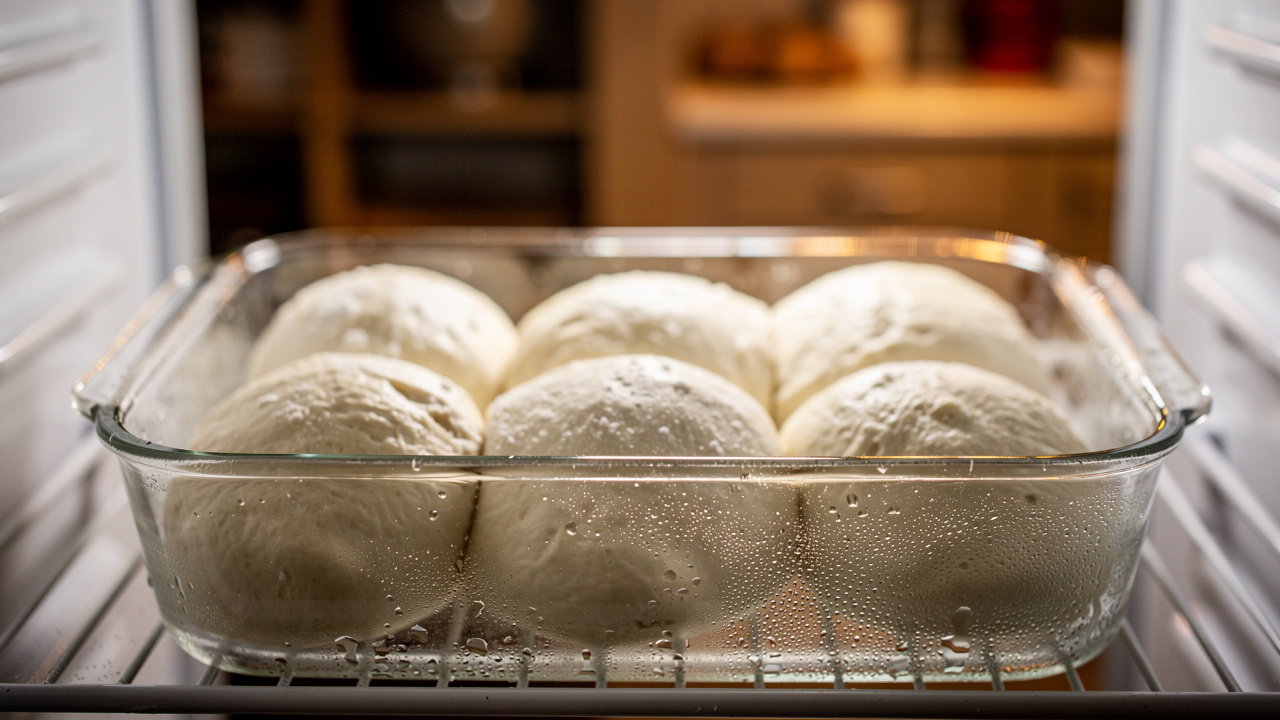
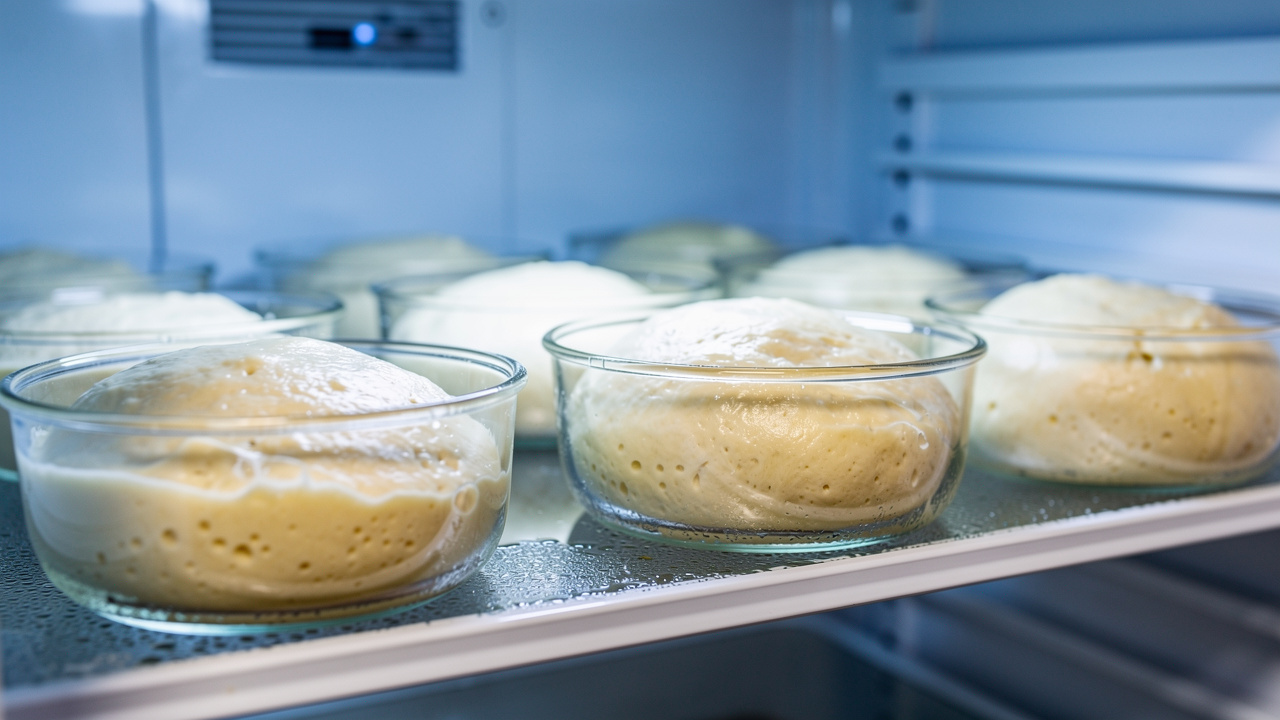
Best for: Make-ahead convenience, maximum flavor
Mix the dough, let it rise for 2-3 hours at room temperature, then divide, ball, and refrigerate:
This combines no-knead with cold fermentation for the deepest flavor you can get. The extended fermentation develops complex, slightly tangy notes. You won't get the same depth any other way.
Tip: For 48-72 hour cold retards, reduce the yeast to 0.5g to prevent over-fermentation.
Stretch-and-fold variation
If you want a bit more structure in your no-knead dough without full kneading, try the stretch-and-fold technique during the first few hours of fermentation:
Each set of folds takes about 30 seconds. This gentle technique strengthens the gluten network and creates a more uniform crumb without the effort of kneading. It's completely optional — the dough will be excellent without it — but it gives you a bit more control over the final texture.
Handling sticky no-knead dough
High-hydration no-knead dough is sticky. Here's how to work with it:
Flour is your friend, but use it wisely. Generously flour your work surface and hands when shaping, but keep flour away from the dough during fermentation. A wet dough surface during bulk fermentation is normal and fine.
Wet hands for mixing, dry flour for shaping. When folding or transferring dough during fermentation, wet your hands instead of flouring them — water prevents sticking without adding extra flour. When shaping the final dough balls and stretching for pizza, switch to flour.
Use a bench scraper. A metal or plastic bench scraper is the most useful tool for working with wet dough. Use it to scrape the dough off the counter, divide it, and lift it.
Confidence beats technique. Work quickly and decisively. The more you hesitate and fiddle with sticky dough, the worse it gets. Grab it, shape it, and move on.
Common no-knead pizza dough mistakes
Adding too much yeast. The most common error. With 12-18 hours of fermentation, you need a fraction of the yeast used in quick recipes. Too much yeast causes over-fermentation, leaving you with flat, sour, lifeless dough.
Kneading the dough. It defeats the purpose and it's unnecessary. Resist the urge to "help" the dough along. The shaggy, rough texture after mixing is exactly what you want.
Under-fermenting. If your dough hasn't at least doubled and the surface isn't bubbly, it needs more time. No-knead dough relies entirely on bulk fermentation for gluten development. Cut it short and you'll get a dense, tough crust.
Punching down aggressively. Those gas bubbles are what give no-knead pizza its characteristic open crumb. Handle the dough as gently as possible when dividing and shaping. Coax the dough into shape rather than forcing it.
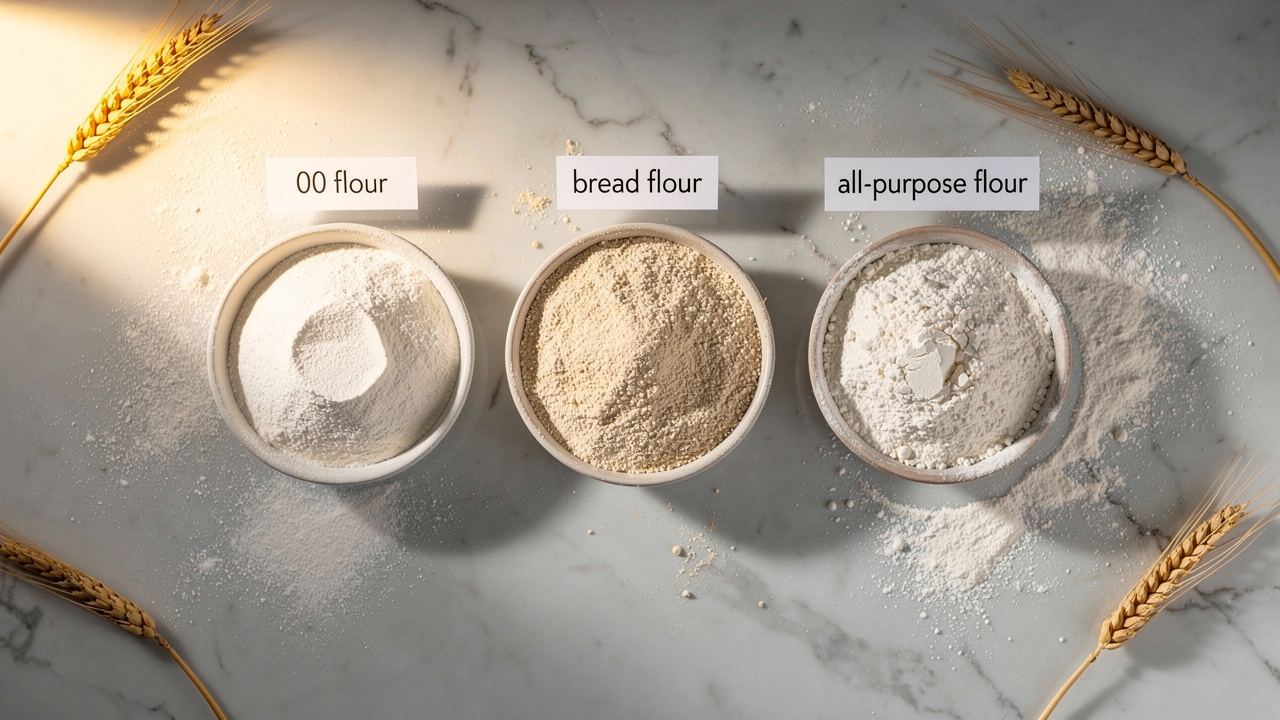
Using all-purpose flour. No-knead pizza needs the extra protein in bread flour (12-13%) or strong 00 flour to build adequate gluten through passive development alone. All-purpose flour (10-11% protein) often makes a dough that's too slack to shape well.
Wrong container. Use a bowl that's at least 3x the volume of your dough. No-knead dough rises a lot, and if it runs out of room, it'll stick to the lid and make a mess.
No-knead for different pizza styles
The basic no-knead technique adapts to almost any pizza style by adjusting hydration and handling:
| Style | Hydration | Notes |
|---|---|---|
| Neapolitan | 65-68% | Lower hydration than standard no-knead; add stretch-and-folds for structure |
| New York | 65-70% | Classic no-knead territory; add olive oil and a touch of sugar |
| Sheet pan / Grandma | 72-75% | Higher hydration for an airy, focaccia-like crumb; press into oiled sheet pan |
| Detroit | 70-75% | High hydration pressed into an oiled pan; no shaping needed |
| Roman al taglio | 75-80% | Very high hydration; stretch-and-folds recommended |
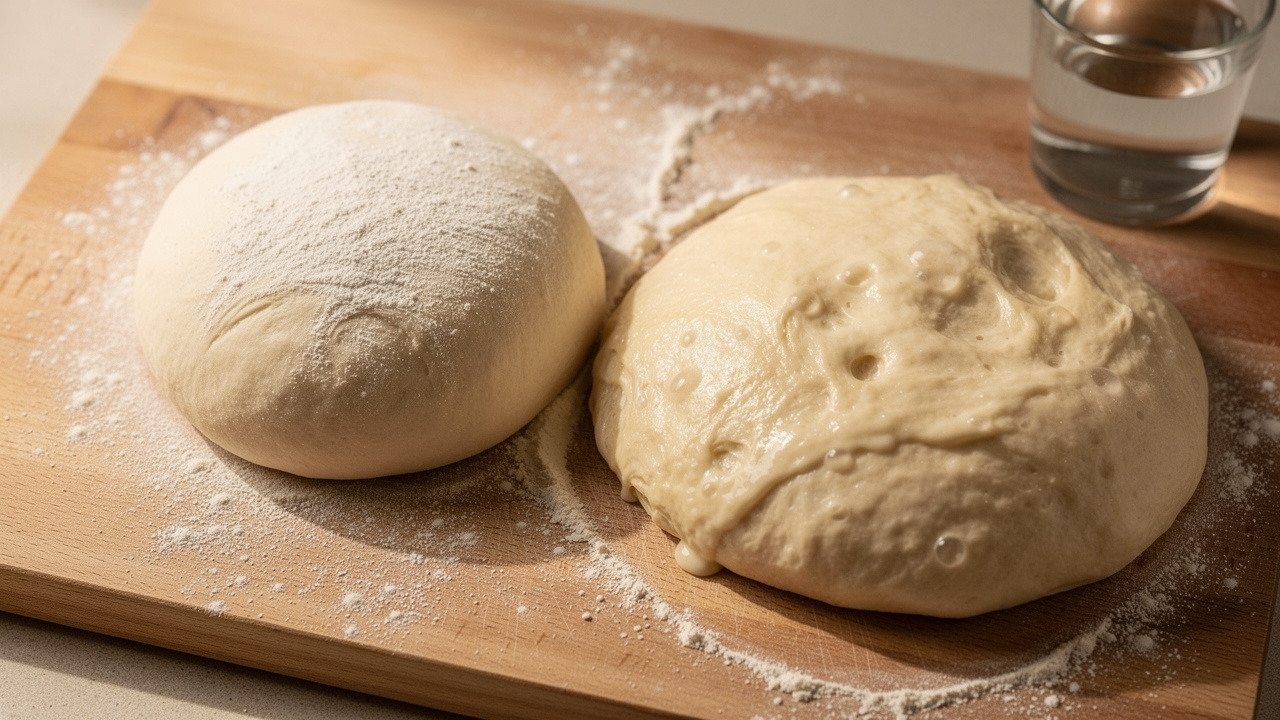
No-knead vs. kneaded: when to choose which
| Scenario | Best Method | Why |
|---|---|---|
| You have 12+ hours | No-knead | Better flavor, less work, superior crumb |
| You need dough in 2-4 hours | Kneaded | No-knead needs time; kneading gives faster results |
| You want an open, airy crumb | No-knead | Higher hydration and gentle handling preserve gas bubbles |
| You want a tight, uniform crumb | Kneaded | Kneading creates a more uniform gluten network |
| You're a beginner | No-knead | Fewer things to get wrong; mostly just waiting |
| You enjoy the process | Kneaded | Kneading is meditative and satisfying for many bakers |
Customizing your no-knead pizza dough
Once you're comfortable with the basic no-knead method, experiment:
- Add a poolish: Mix 100g flour + 100g water + a pinch of yeast the night before, then add it to your no-knead dough the next day for extra flavor depth
- Try whole wheat: Replace 10-20% of the bread flour with whole wheat for nuttier flavor. Add 5% more water to compensate for the higher absorption
- Experiment with hydration: Push toward 75-80% for an ultra-open crumb, or pull back to 65% for easier handling. See our hydration guide for detailed comparisons
- Use the pizza dough calculator to scale the recipe for any number of pizzas
The bottom line
No-knead pizza dough is the easiest way to start making pizza at home. It removes the most intimidating part of the process — kneading — and replaces it with patience. The result is dough that's simpler to make and genuinely better than most quick-kneaded versions.
Five minutes of mixing, an overnight wait, and you have pizza dough that rivals what many pizzerias produce. Hard to argue with that.
Frequently Asked Questions
The standard no-knead rise is 12-18 hours at room temperature (65-75°F / 18-24°C). In a warm kitchen, it may be ready in 10-12 hours. In a cool kitchen, it might take 20+ hours. The dough is ready when it has doubled in size and the surface is covered with bubbles. You can also do a same-day version in 8-10 hours with slightly more yeast.
Yes, and it's an excellent option. After the initial 2-3 hour room temperature rise, divide and ball the dough, then refrigerate for 24-72 hours. This combines the ease of no-knead with the flavor benefits of cold fermentation. Reduce the yeast to 0.5g for longer cold retards. Remove the dough 2-3 hours before baking to temper.
That's normal! No-knead dough uses higher hydration (68-75%) than standard pizza dough, which makes it stickier. Don't add more flour to the dough — instead, generously flour your work surface and hands when shaping. Use a bench scraper to handle the dough, work quickly and decisively, and use wet hands during fermentation but floured hands for final shaping.
Bread flour with 12-13% protein content works best because no-knead dough relies on passive gluten development, which needs adequate protein. Strong Tipo 00 flour (W 260+) also works well. Avoid all-purpose flour — its lower protein content (10-11%) often produces dough that's too slack to shape properly after long fermentation.
Yes — use sourdough starter instead. Replace the yeast with 15-20% sourdough starter (relative to flour weight) and extend the fermentation time to 12-24 hours. The no-knead method works beautifully with sourdough since both rely on long, slow fermentation for gluten development and flavor.