 Bastien
Cold Fermentation Pizza Dough Guide
A practical guide to cold fermenting pizza dough for 24, 48, or 72 hours, with a 48-hour formula, fridge guidance, handling cues, and fixes for common problems.
TL;DR: Cold fermentation holds pizza dough in the refrigerator so yeast works more slowly and the dough fits a longer schedule. For a first batch, use the 48-hour formula below, keep the fridge at 4°C (40°F) or below, and adjust the next batch from what the dough actually does.
What is cold fermented pizza dough?
Cold fermentation means holding mixed dough in the refrigerator for part of its fermentation schedule. The cold slows the yeast, so the dough can develop over a longer window without racing through its rise at room temperature.
The method is useful because it separates mixing day from pizza day. It can also change flavor and handling, but the result depends on the whole formula. Flour strength, yeast dose, dough temperature, refrigerator temperature, ball size, and time on the counter all matter.
What the cold changes
Cold does not switch fermentation off. It slows yeast activity, while reactions in the dough continue at their own temperature-dependent rates. The dough also takes time to cool through, so a warm dough placed in the fridge may remain active for hours before its center reaches refrigerator temperature.
That is why a fermentation schedule cannot be reduced to “48 hours equals one exact yeast dose.” A 3°C fridge and a 6°C fridge do not produce the same dough. Neither do a cool 20°C kitchen and a hot 28°C kitchen.
Longer time can produce a fuller fermented aroma and can make dough feel more extensible. It can also weaken a dough that runs too long for its flour. Cold fermentation creates a wider planning window; it does not guarantee a better crust regardless of formula.
Why the crust and dough can change
Flour remains active during the cold hold. Its naturally occurring amylase enzymes break some starch into smaller sugars. BAKERpedia explains that these sugars can feed yeast and contribute to crust color. The yeast then converts available sugars into carbon dioxide and other fermentation compounds. Extra time changes how these processes overlap, but the outcome still depends on temperature, flour, and yeast dose.
Sugars left in the dough can contribute to the Maillard reaction during baking. That helps explain why fermentation can affect color and aroma, but it does not mean every long-fermented dough browns more. The flour, added sugar, dough moisture, and actual baking-surface temperature also matter. A pale crust is therefore not proof that the dough needed another day in the refrigerator.
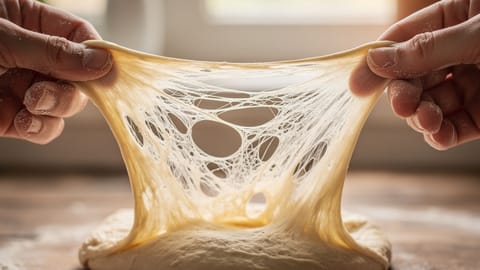
Time also changes the way the gluten network handles. A well-developed dough can become easier to stretch as it rests, while a dough held too long may lose strength, spread, or tear. Extensibility is useful; a slack dough that cannot hold a ball is not. Choose a pizza flour suited to the schedule and oven rather than relying on protein percentage alone.
Poolish and biga offer another way to build fermentation into a pizza schedule by fermenting part of the flour before the final mix. They are not add-ons to this 48-hour formula. Use a recipe designed around the chosen preferment so its flour, water, and yeast remain balanced.
Should you cold ferment pizza dough?
Cold ferment when you want to prepare ahead and can keep the refrigerator temperature stable. It suits New York-style dough and many home-oven pizza formulas. It also works for some Neapolitan-style formulas, though room-temperature fermentation remains a valid approach.
Skip it when you need pizza in a few hours or when your refrigerator runs too warm. A good same-day dough beats a poorly controlled long ferment. If tonight is the deadline, use an overnight pizza dough schedule or a formula designed for the time available.
Cold fermentation is not a health treatment. It does not make wheat dough gluten-free, and this page does not claim improved tolerance for people with wheat-related conditions.
Reference recipe: 48-hour cold ferment
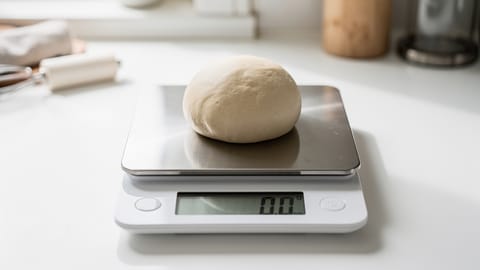
This is one coherent starting formula, not a universal yeast chart. It uses 0.1% instant dry yeast, 62% hydration, and a short room-temperature rest before refrigeration. Use a 0.1g kitchen scale for the yeast.
 376gWaterabout 15°C / 60°F
The formula totals almost exactly 1kg of dough. Its yeast dose is deliberately small, so measuring spoons are not precise enough. In baker's percentage, the formula is 100% flour, 62% water, 2.8% salt, and about 0.1% instant yeast.
Safety: Flour is a raw food. The FDA advises against tasting raw dough, so use visual and handling cues instead of tasting during fermentation.
24, 48, or 72 hours: which schedule should you choose?
The useful difference is not that one duration always wins. Each schedule shifts how much work happens in the refrigerator and how sensitive the dough becomes to temperature.
| Schedule | Best use | What to watch |
|---|---|---|
| 24 hours | Short planning window and first attempts | The dough may need more development outside the fridge or a formula designed for the shorter time |
| 48 hours | The reference formula on this page | Fridge temperature and the dough's expansion before baking |
| 72 hours | A controlled experiment after a successful 48-hour batch | Dough weakening, excess expansion, and a yeast dose that is too high for the extra day |
Use a recipe designed for 24 hours rather than simply cutting the reference schedule in half. A shorter cold period often needs a different balance of yeast and room-temperature time.
This is the reference point for the formula above. Modernist Cuisine's pizza research also uses 48 hours for several pizza styles and recommends tempering until the dough reaches about 13°C (55°F), rather than insisting that every dough reach room temperature.
Move to 72 hours only after you know how the 48-hour formula behaves in your refrigerator. Do not assume one percentage reduction works in every kitchen. Use the pizza dough calculator as a planning aid, then keep notes and adjust from the result.
Refrigerator temperature matters more than the clock
The FDA recommends keeping a refrigerator at 4°C (40°F) or below. Put an appliance thermometer on the shelf where the dough sits. The number on the fridge control is a setting, not necessarily the temperature around the container.
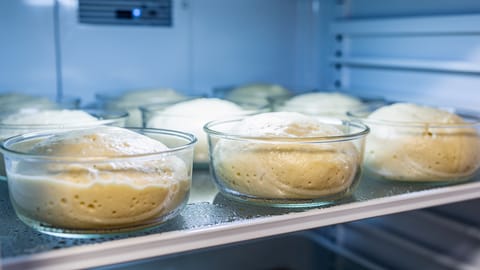
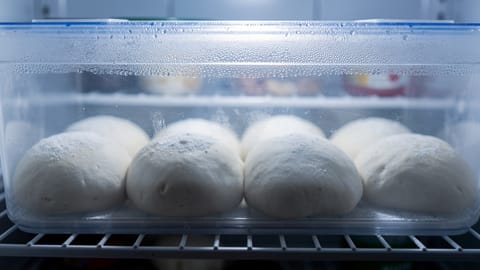
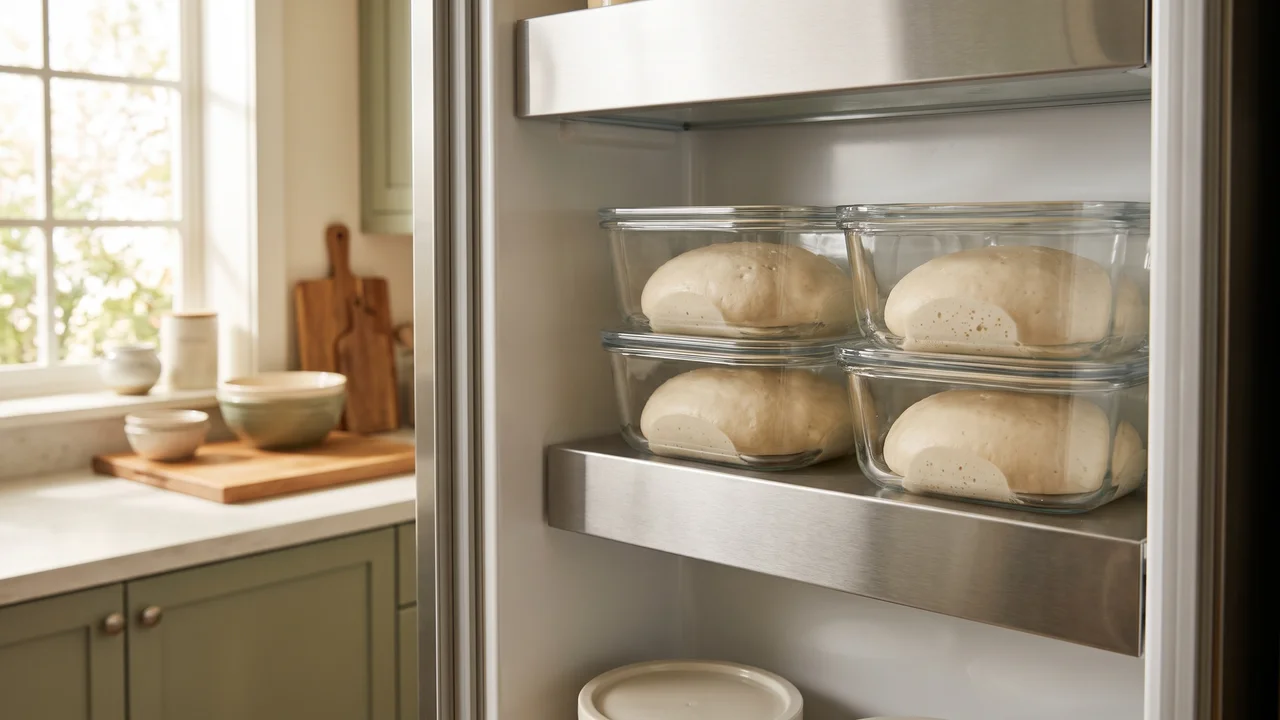
Place dough in the main compartment, away from the door and from any spot that freezes food. Cover each dough ball so its surface does not dry out. Leave expansion room, but do not rely on a predicted percentage increase because dough growth varies widely.
Handling cold fermented dough before baking
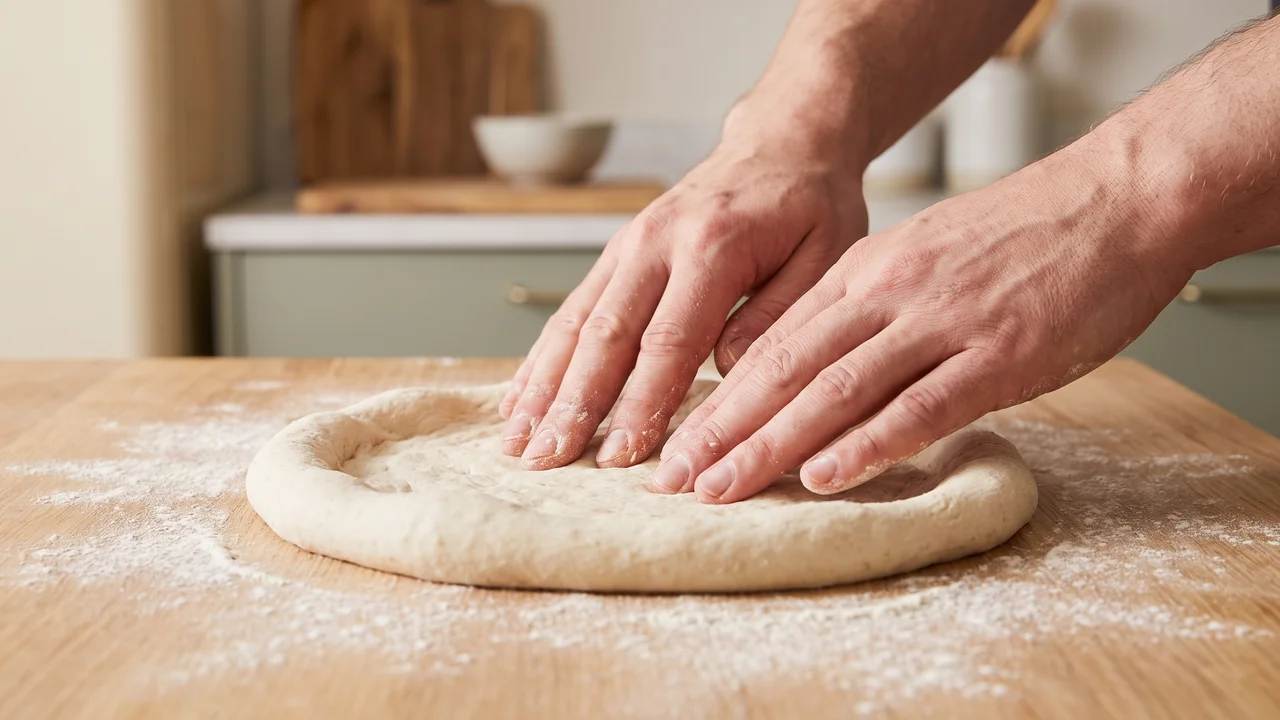
Take the dough out early enough to relax, not because it must reach one universal temperature. A cool dough can stretch well. A warm kitchen may need much less time than a cool one.
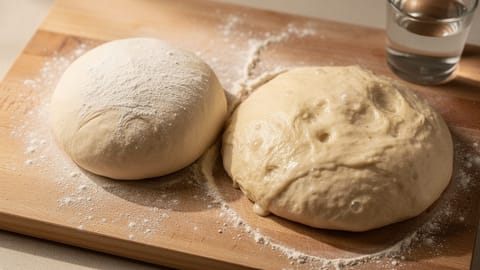
Keep the container closed while the dough warms. Open one ball at a time, flour it lightly, and ease it outward without crushing the rim. If it snaps back, cover it and wait. If it spreads before you touch it, use it sooner and handle it with less force.
Signs the dough is ready
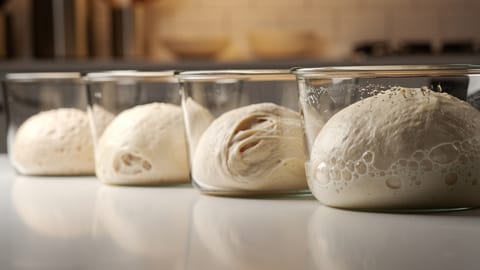
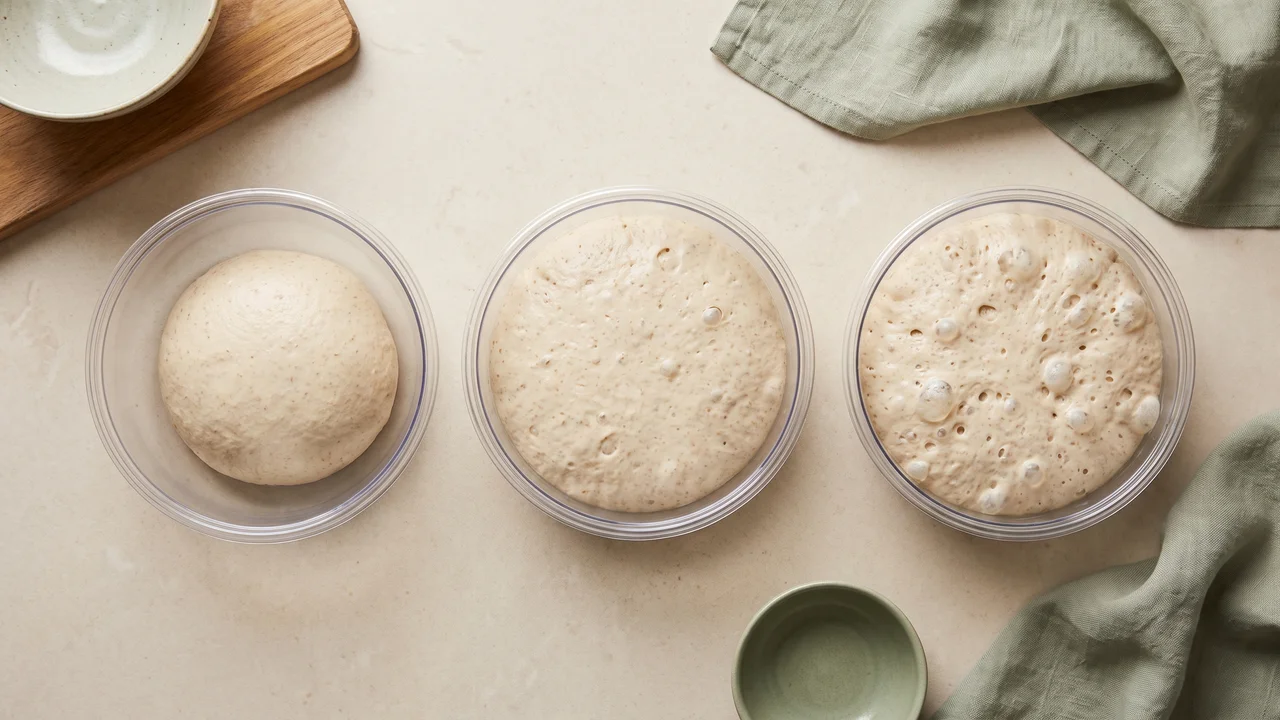
- It has expanded and shows some bubbles beneath the surface.
- It releases from the container without tearing apart.
- A gentle press recovers slowly rather than springing back at once.
- It opens without fighting you or turning liquid and sticky.
These cues matter more than doubling. Dough can be ready without reaching twice its original volume, especially when it spends most of the schedule in a cold refrigerator.
Freezing cold fermented pizza dough
Freeze dough balls before they complete the full cold-fermentation schedule. Lightly oil each ball, seal it in a freezer-safe container or bag, and label it with the formula and date.
Thaw overnight in the refrigerator. On baking day, keep the dough covered at room temperature until it relaxes and shows renewed activity. Avoid the old warm-water shortcut: it heats the exterior while the center stays frozen, which makes timing harder to read.
Frozen dough may rise less than a fresh batch. If freezing is part of your regular workflow, adjust from repeated results with the same yeast and freezer rather than promising an exact storage life.
Troubleshooting cold fermented pizza dough
For problems that are not specific to the refrigerator, use the full pizza dough troubleshooting guide.
The dough may have fermented too far for its flour and schedule. Bake it promptly in an oiled pan if it still holds together. Next time, shorten the warm phase, reduce the yeast, or shorten the refrigerator time.
A strong alcoholic smell often arrives with advanced fermentation. Check whether the ball also spreads, feels weak, or tears. If it still opens cleanly, use it now; otherwise switch to a pan format and revise the next batch.
Cold dough may show little expansion, especially in a fridge near 2°C. Give it time while covered outside the fridge and judge its bubbles and extensibility. If it remains dense and inactive, verify the yeast and actual fridge temperature before changing several variables.
The container leaked moisture. Trim a tough skin if necessary and keep the usable dough covered. Use a better-fitting lid or a properly sealed bag next time.
The dough may still be too cold or tense. Cover it and wait 15 to 30 minutes before trying again. If the problem repeats across batches, review mixing and dough hydration.
Fermentation, flour treatment, oven setup, and added sugar can all affect browning. Lower the baking surface temperature or shorten the bake before changing the fermentation schedule.
Baking in a home oven or pizza oven
Use the oven setup your pizza style requires. Cold-fermented dough does not demand one special baking temperature.
In a home oven, preheat the stone or steel fully and watch the base as well as the rim. In a dedicated pizza oven, use flour intended for short, high-temperature bakes and avoid excess bench flour, which can burn. If the crust colors too quickly, check the flour and oven balance before blaming the cold ferment.
A repeatable cold-fermentation workflow
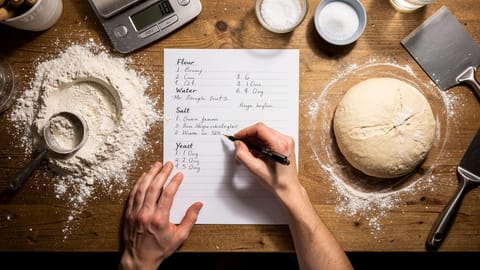
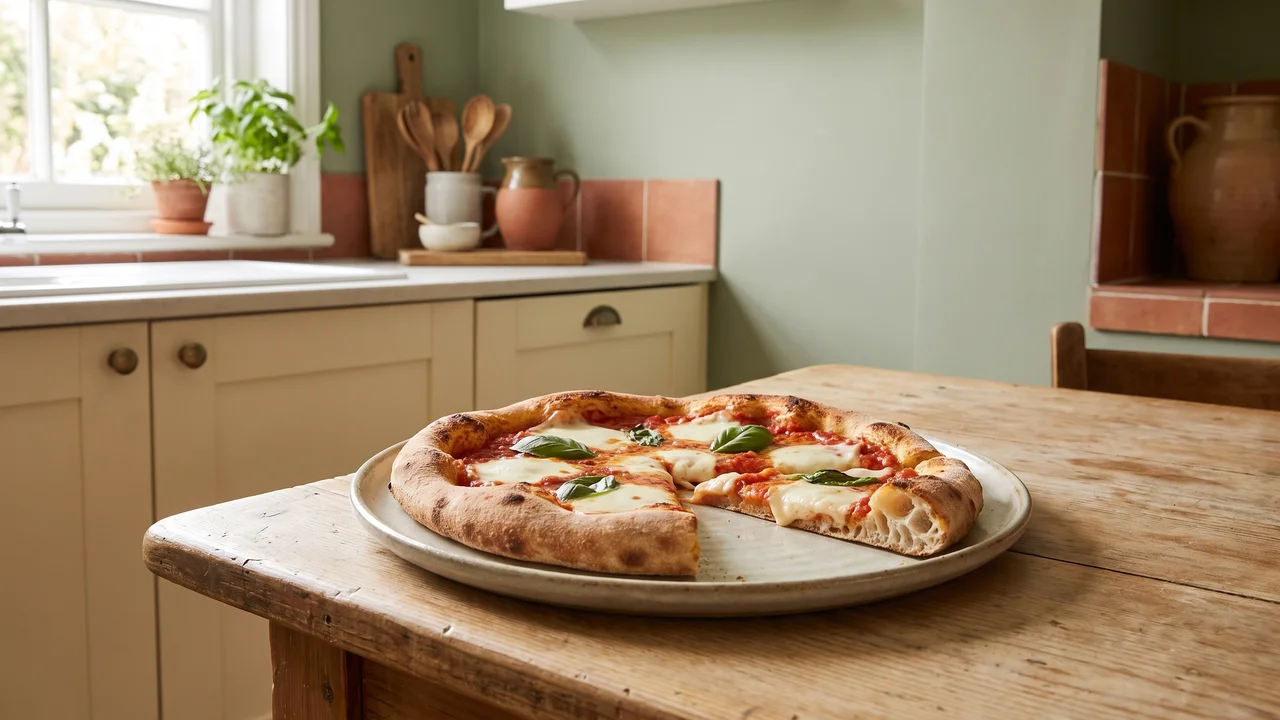
The best next batch changes one variable. Start with the reference formula, record what happened, then adjust yeast or time. That is how a generic cold-fermentation schedule becomes reliable in your kitchen.