Grilling for beginners: a no-nonsense starter guide
Everything you need to start grilling with confidence. Covers choosing between charcoal and gas, setting up heat zones, essential tools, first-cook recipes, and the mistakes that trip up every beginner.
TL;DR: Set up two heat zones (hot side + cool side), oil the food instead of the grate, preheat for 10-15 minutes, and use an instant-read thermometer. That's 80% of grilling right there.
My first attempt at grilling was a disaster. Four chicken breasts welded to the grate, charred on the outside, pink in the middle. I'd skipped preheating, used too much lighter fluid, and had no idea what a heat zone was. That was ten years ago. Since then, I've grilled hundreds of meals and learned that the basics are simple once someone explains them clearly.
This guide covers everything you need to go from unboxing a grill to cooking your first meal with confidence.
Charcoal or gas: which grill should you start with?
This is the first question every beginner asks, and there's no wrong answer. Both produce great food. The difference is workflow.
Gas grills are the easier entry point. Turn a knob, wait 10 minutes, and you're cooking. Temperature control is straightforward, cleanup is minimal, and you can shut everything down in seconds. If you want grilling to feel like an extension of your kitchen stove, gas is your pick.
Charcoal grills take more effort but reward you with higher heat ceilings and that distinctive smoky flavor. You'll need to learn how to light charcoal, manage airflow, and read your vents. It's a skill, and some people love that. I personally use both, depending on whether I want convenience or flavor depth.
We wrote a full breakdown if you're still deciding: charcoal vs gas grill.
How to set up your grill
Whether you're working with gas or charcoal, the most important concept is two-zone cooking. One side hot, one side cooler. That's it.
Gas grill setup
Charcoal grill setup
Tip: Never use lighter fluid. A chimney starter costs less than a bottle of fluid and gives you cleaner, more consistent heat without any chemical aftertaste.
Why two-zone heat matters
Two-zone cooking gives you a safety net. The hot side is for searing and getting color on food. The cool side is where you move things when they're browning too fast, when flare-ups happen, or when thick cuts need to finish cooking through gentle, indirect heat.
Think of it as having a stovetop burner and an oven in the same space. You sear on the hot side, then slide food to the cool side to finish without burning. Once you internalize this setup, you'll stop overcooking things.
I burned a lot of chicken before I understood this concept. The outside would char while the inside stayed raw, because I kept everything over the hottest part of the grill. The fix was dead simple: sear for a few minutes over direct heat, then move to indirect to finish cooking through.
Essential grilling tools
You don't need much to start. Skip the 20-piece grilling sets and get these five things:
An instant-read thermometer removes all guesswork. Pressing meat with your finger or cutting it open to check are unreliable. A thermometer tells you the exact internal temperature in 2-3 seconds. It's the difference between "I think it's done" and knowing it's done.
Your first cook: what to grill
Start simple. Here's a progression that builds skills without overwhelming you:
Week 1: Hot dogs and sausages
They're pre-cooked (or very forgiving), so you're really just learning grate management and heat control. Grill over medium-high heat, rolling them every 2-3 minutes for even color. This is where you get comfortable standing at the grill, managing flare-ups, and using your tongs.
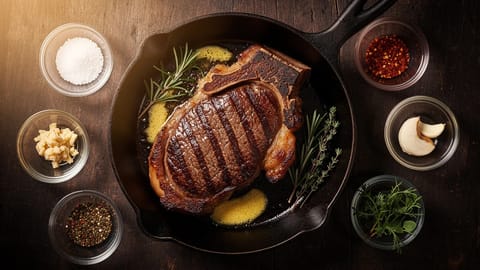
Week 2: Burgers
Form 150g (5-6oz) patties about 2cm thick. Press a shallow dimple in the center (they puff up as they cook). Season with salt and pepper only. Grill over direct heat for 3-4 minutes per side. Use your thermometer: 63C (145F) for medium-rare, 71C (160F) for medium-well. This teaches you about the Maillard reaction, the browning that creates flavor.
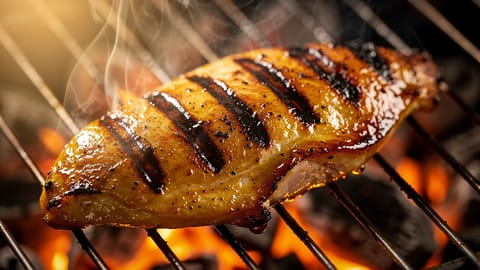
Week 3: Chicken
Boneless thighs first, not breasts. Thighs have more fat and are far more forgiving. Season or marinate them, then grill over direct heat for 5-6 minutes per side, pulling at 74C (165F). Once you've nailed thighs, move to grilling chicken breast, which requires more attention to avoid drying out.
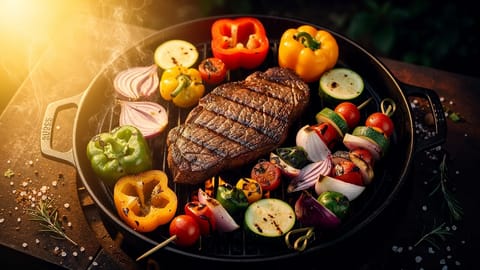
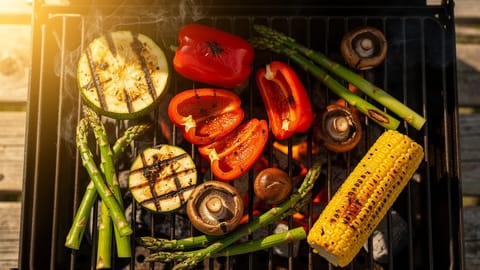
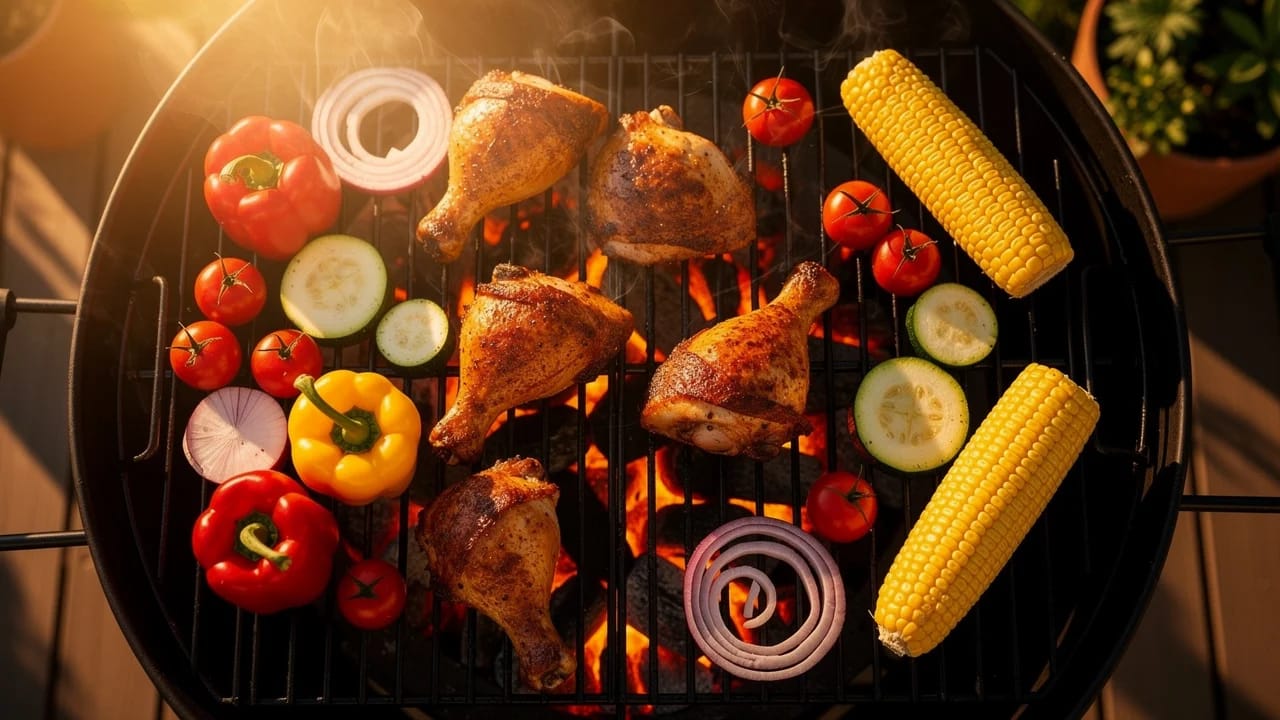
Week 4: Vegetables and mixed grilling
Grilled vegetables are a different skill set. They cook fast, need oil to prevent sticking, and benefit from a grill basket for smaller pieces. Combine them with a protein you've already practiced. This is where two-zone heat really shines: keep the vegetables on the cooler side while searing meat on the hot side.
Temperature: the one skill that changes everything
Knowing when food is done separates guessing from grilling. Internal temperature is the only reliable measure.
Carryover cooking is the key insight most beginners miss. Meat continues to rise 3-5 degrees after you pull it from the grill. So if you want chicken at 74C (165F), pull it at 71C (160F) and let it rest for 5 minutes. The temperature finishes climbing while the juices redistribute.
Our grilling temperature guide has the full chart for every cut.
Common beginner mistakes
The biggest mistake I see is impatience. People flip too early, move food around nervously, and cut into pieces to check if they're done. Put the food down, set a timer, and trust the process. If meat sticks when you try to flip it, it's telling you it's not ready. Wait another minute. And when something does go wrong, the fix is usually specific and simple: the 12 most common grilling mistakes covers each one.
Grill safety basics
A few non-negotiable rules:
- Never grill indoors or in a garage. Carbon monoxide kills. Charcoal grills produce a lot of it.
- Keep the grill 3 meters (10 feet) from structures. Radiant heat and grease flare-ups can ignite siding, deck rails, or overhangs.
- Clean the drip tray. Built-up grease is the top cause of grill fires. Check it before every cook.
- Have a fire extinguisher nearby. Not a garden hose, an actual extinguisher rated for grease fires (Class B).
- Open the lid before lighting a gas grill. Gas can pool inside a closed grill and ignite violently when you hit the starter.
Cleaning and maintenance
Clean your grill while it's still hot. After cooking, close the lid and let the grill run on high for 5 minutes. This burns off food residue. Then scrub the grates with a grill brush. That's it for daily maintenance.
Once a month, do a deeper clean: remove the grates, brush out the ash (charcoal) or clean the burner covers (gas), and empty the drip tray. A clean grill heats more evenly, produces less smoke, and lasts longer.
- Check our grilling temperature guide for the full doneness chart across every meat
- Learn how to grill chicken breast without drying it out
- Understand charcoal vs gas grills in detail before buying
- Try grilling vegetables for a complete meal off the grill