 Bastien
Searing
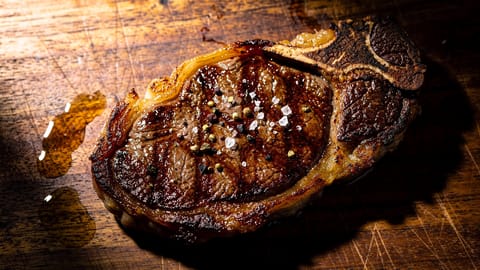
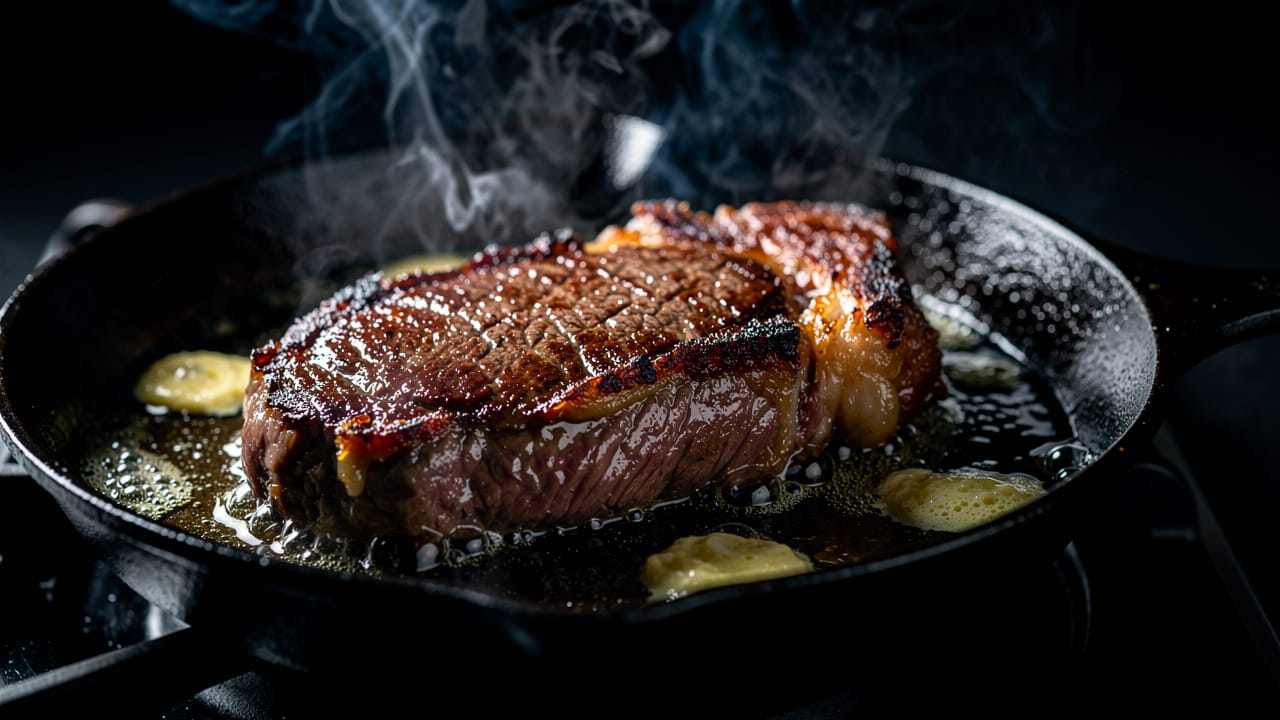
Searing is cooking food over high heat until the surface browns into a Maillard crust. It builds flavor and texture; it does not seal in juices.
Searing means cooking the surface of food over high heat until it turns deeply brown and forms a crust. In cooking, the word describes a fast, dry, very hot start (or finish), not a way of cooking something through. The crust comes from the Maillard reaction, a set of reactions between amino acids and sugars that creates hundreds of new flavor and aroma compounds. It is what makes a steak taste like a steak instead of boiled beef.
Searing builds flavor and texture. It does not "seal in juices". That idea is old and still repeated, but measured moisture loss says otherwise, and the section below explains where the myth came from. What you get from a good sear is a savory, complex crust and the contrast between a crisp exterior and a tender interior.
What does searing mean in cooking?
In a recipe, "sear" means: get the pan very hot, put the food in, and leave it alone until the contact side is browned. A sear is measured in minutes, not in doneness. A steak can be seared and still raw inside; a pot roast is seared for color and flavor and then cooked slowly in liquid. Related words you will see in recipes:
- Pan-sear: sear in a skillet on the stove.
- Brown: the same goal, often used for cubed meat, onions, or ground meat, with a slightly less aggressive heat.
- Reverse sear: cook gently first, then sear at the end (see below).
- Char or blacken: pushed past brown into partially burnt, on purpose.
Does searing seal in juices?
No. The theory goes back to the chemist Justus von Liebig around 1850, who reasoned that a hard crust would trap the meat's liquid inside. It sounded logical and spread through cookbooks for generations. Measurements do not support it: a seared piece of meat loses at least as much moisture as an unseared one cooked to the same internal temperature, because the browned surface is porous and water passes through cooked proteins as easily as raw ones.
So why sear at all? Because the crust tastes good. Browning creates flavor and aroma that boiling or steaming never will, and the texture contrast is the other half of the appeal. Juiciness comes from not overcooking the interior and from resting the meat, not from the crust.
How does searing work?
Browning needs a dry, hot surface. The Maillard reaction is slow at low temperatures and speeds up sharply once the food surface climbs past about 140°C / 280°F; a proper crust forms once the surface exceeds roughly 150°C / 300°F. Two things get in the way:
- Surface water. Water boils at 100°C, and as long as liquid water sits on the meat it pins the surface at that temperature. Any moisture has to evaporate before browning can begin. That is why wet meat steams and gray-cooks instead of searing.
- A pan that cannot keep up. Cold food pulls heat out of the pan. If the pan is thin or barely preheated, its temperature crashes below the browning range and you get steam again.
Hence the two rules of searing: dry the food, and preheat the pan until it is properly hot.
How do you sear meat step by step?
Preparation
- Take the meat out of the fridge 20–30 minutes ahead. Cold meat pulls the pan temperature down harder.
- Pat it completely dry with paper towels on every surface. This is the single most important step.
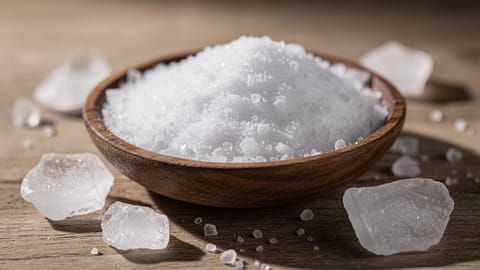
- Season. Salt either right before the pan or 45 minutes or more ahead. Salt draws moisture to the surface; given time it reabsorbs, but in the 10–30 minute window the surface is wet. Pepper and other seasonings go on now too.
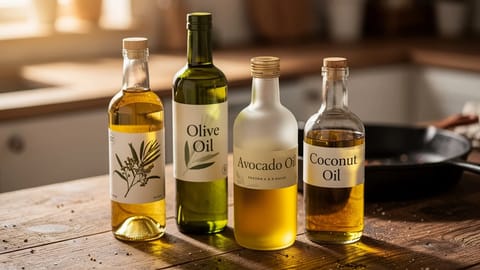
- Pick the oil. Use a high smoke-point oil: avocado, grapeseed, refined canola, or light olive oil. Extra virgin olive oil smokes and turns bitter at searing temperatures.
The sear
- Preheat the pan over high heat for 2–3 minutes (3–5 for cast iron over medium-high). Hold a hand a few centimeters above the surface; you should feel strong radiant heat.
- Add the oil and swirl to coat. It should shimmer at once and run like water. Heavy smoke means the pan is too hot; back off slightly.
- Lay the meat in presentation side down, away from you so the oil does not splash toward you.
- Do not move it. Leave it for 2–4 minutes. The crust needs time to form, and if it sticks when you nudge it, it is not ready.
- Check for release. Once the crust has formed the meat lets go of the pan on its own. Nudge with a spatula; if it lifts cleanly, flip.
- Sear the second side for 1–2 minutes, less than the first.
- Sear the edges of thick steaks and chops by holding them on their side with tongs to brown the fat cap.
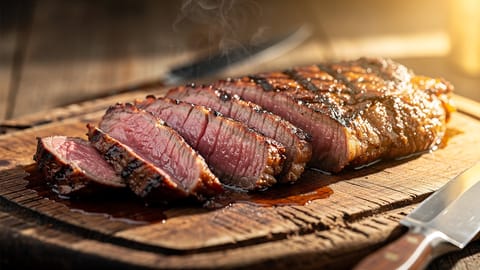
- Rest on a board for 5–10 minutes. Allow for carryover cooking: the internal temperature keeps climbing a few degrees after the meat leaves the pan.
After the sear
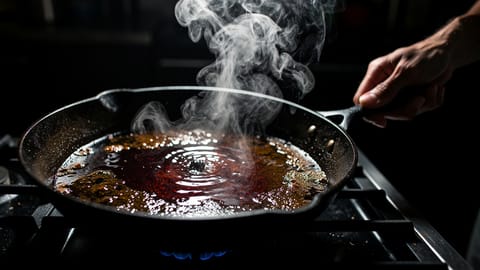
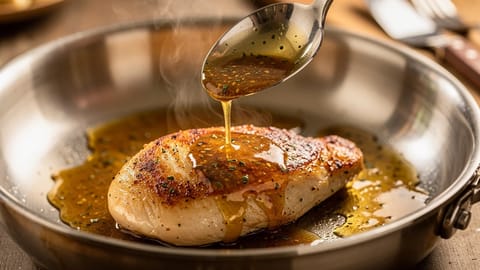
The browned bits stuck to the pan are the fond, and they are concentrated flavor. Deglaze with wine, stock, or water to lift them into a pan sauce.
What are the best pans for searing?
| Pan type | Heat retention | Weight | Best for | Notes |
|---|---|---|---|---|
| Cast iron | Excellent, holds heat through contact | Heavy | Steaks, chops, chicken thighs | Best crust; must be preheated well |
| Carbon steel | Very good, responds faster than cast iron | Moderate | Fish, thinner cuts, vegetables | Lighter alternative to cast iron |
| Stainless steel | Good, heats evenly | Moderate | Pan sauces (non-reactive), chicken breasts | Food can stick; needs proper technique |
| Non-stick | Poor, coatings limit maximum temperature | Light | Not recommended for true searing | Coatings are not meant for searing heat |
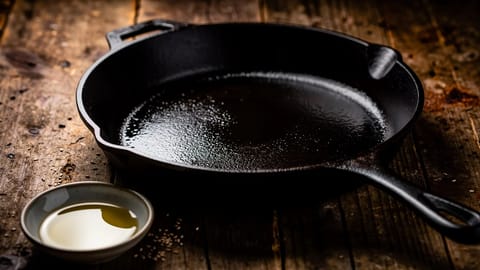
Cast iron is the best searing pan for most home cooks. Its mass stores heat, so when cold food hits the surface the temperature recovers quickly. Preheat it for 3–5 minutes over medium-high rather than blasting it on high, so the heat spreads evenly. If the surface is dull or sticky, see how to season cast iron.
How long to sear meat, by cut
| Food | Technique | Time per side | Doneness target |
|---|---|---|---|
| Steak (2.5 cm thick) | High heat, flip once | 3–4 min | 52–54°C / 125–130°F (medium-rare) + rest |
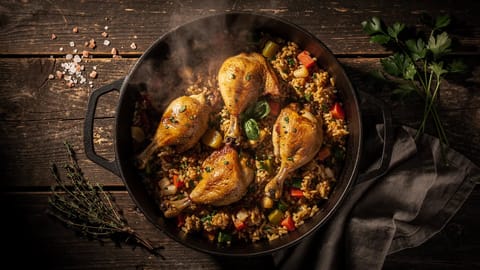
| Chicken thighs (skin-on) | Skin down first, medium-high | 5–7 min skin side | 74°C / 165°F |
| Pork chops | High heat, flip once | 3–4 min | 63°C / 145°F + rest, or 71°C / 160°F |
| Salmon fillet (skin-on) | Skin down first, medium-high | 4–5 min skin side | 52°C / 125°F (medium) by preference; 70°C / 158°F for full food-safety margin |
| Scallops | High heat, flat side down | 2–3 min | Golden crust, translucent center |
| Duck breast | Skin down, cold pan start, render first | 8–10 min skin side | 54°C / 130°F (medium-rare) + rest |
| Vegetables (mushrooms, eggplant) | High heat, single layer | 3–4 min | Deep golden brown |
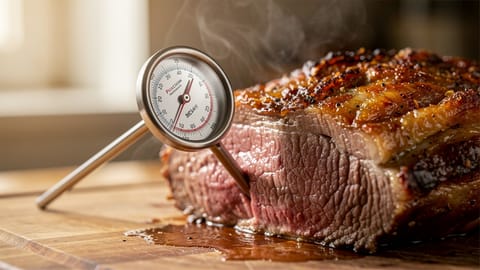
Times are a rough guide. Thickness, starting temperature, and pan heat change them, so check with an instant-read thermometer. The steak, salmon, and duck targets are chef-style doneness preferences; Health Canada's published minimums are 63°C for whole cuts of beef, 71°C for pork, 74°C for poultry pieces, and 70°C for fish. Pick the number that matches your own risk tolerance and who you are feeding.
What are the most common searing mistakes?
Searing as part of a larger cook
Sear then braise
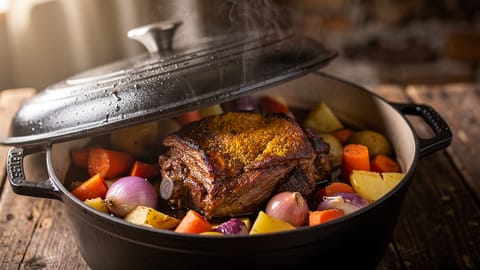
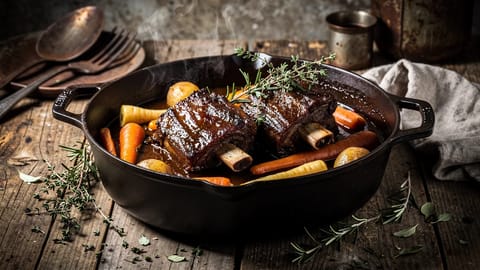
Most braises, including the ones in our braising guide, begin with a sear. Brown the meat on all sides, remove it, deglaze the pan, then return the meat to the braising liquid. The Maillard compounds from the sear flavor the whole pot.
Sear before slow cooking
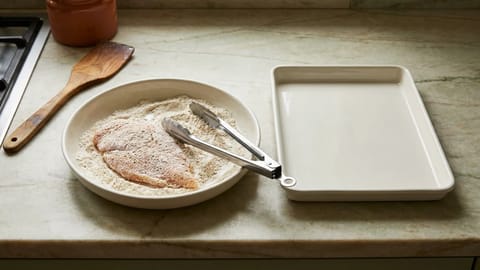
If you use a slow cooker or a Dutch oven for stew, sear the meat first. Cut it into chunks, pat dry, and brown in batches in a hot skillet without crowding. Dredging in flour before browning gives a thicker crust and helps thicken the finished stew. Move the browned pieces to the pot, then deglaze the skillet and pour the liquid in too. Skipping this step is the usual reason a stew tastes flat: simmering alone never produces the roasted, savory notes that browning does. The one pot meals guide builds every recipe on this brown-then-simmer order.
Reverse sear
For thick steaks (3 cm and up), the reverse sear gives more even doneness than a straight sear.
Best for steaks under 3 cm thick. Preheat the pan to high, sear 3–4 minutes per side, then rest. Simple and fast. The downside: a thick gray band of overcooked meat forms beneath the crust because the exterior must cook long enough to brown.
Best for thick steaks (3 cm+). Cook the steak in a low oven (120°C / 250°F) until 5–8°C below target internal temperature. Rest briefly, then sear in a blazing-hot pan for 45–60 seconds per side. The result: edge-to-edge even doneness with a crisp crust and almost no gray band. The low oven dries the surface, so the final sear is faster and more intense.
The reverse sear also works as a finishing step after sous vide cooking.
Reverse sear time chart
| Target doneness | Oven temp | Pull from oven at | Final sear | Rest |
|---|---|---|---|---|
| Rare (49°C / 120°F) | 120°C / 250°F | 41°C / 105°F internal | 45–60 sec per side, blazing hot | 5 min |
| Medium-rare (54°C / 130°F) | 120°C / 250°F | 46°C / 115°F internal | 45–60 sec per side | 5 min |
| Medium (60°C / 140°F) | 120°C / 250°F | 52°C / 125°F internal | 45–60 sec per side | 5 min |
| Medium-well (66°C / 150°F) | 135°C / 275°F | 57°C / 135°F internal | 30–45 sec per side | 5 min |
Use an instant-read thermometer for the oven stage. The low temperature moves the steak slowly through the target zone, so you have a wide window before overcooking.
Sear for pan sauce
The best pan sauces start with a proper sear. After searing:
- Remove the protein
- Pour off excess fat
- Deglaze with wine or stock
- Reduce, then finish with cold butter for a glossy emulsified sauce
Tips for better searing
Dry brine ahead of time. Salting 45 minutes to overnight draws out moisture that then reabsorbs, leaving a drier surface that browns faster and meat that is seasoned deeper.
Use enough oil. A thin film across the whole pan bottom gives even contact between the hot surface and the food. Too little oil creates hot spots and patchy browning.
Press flat food down gently. Chicken breasts and fish fillets curl as they hit heat. Press with a spatula for the first 30 seconds so the whole surface touches the pan.
Listen to the sizzle. A strong, steady sizzle means the pan is hot enough. If it fades, the pan is overcrowded or the heat is too low.
Ventilate. Searing makes smoke. Turn on the range hood or open a window before you start.
Searing in Fond
Fond hasn't launched yet. This is how it will work at launch. Join the waitlist for early access.
Fond's Cook mode shows one step at a time, and any step that mentions a duration carries a tappable timer. "Sear 3 minutes per side, then flip" becomes a countdown you start with one tap, so you are not guessing when the first side is done.