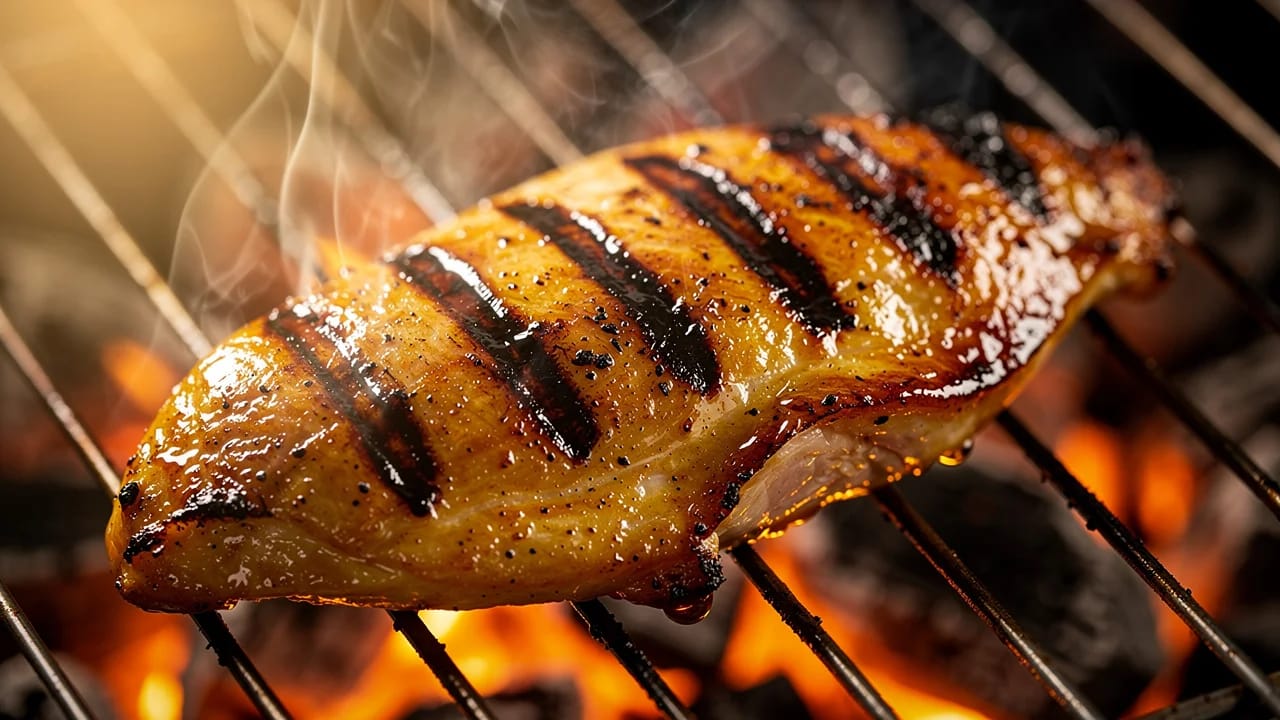
How to grill chicken breast without drying it out
A technique guide for grilling chicken breast that stays juicy. Covers even thickness, two-zone heat, pull temperature, brining, and timing for gas and charcoal grills.
TL;DR: Pound the breast to even thickness, brine 30 minutes in salted water, grill over medium-high direct heat for 5-6 minutes per side, verify 74°C (165°F) in the thickest part, and rest 5 minutes before slicing.
Every home cook knows the grilled chicken breast problem. The outside looks perfect, nicely charred, with golden grill marks. Then you cut into it and the center is either undercooked or so dry it crumbles. The answer isn't a special marinade or a fancy grill, though the best marinade for chicken does a lot for flavor once the technique is solid. It comes down to thickness, temperature, and patience.
The problem with chicken breast is its shape. One end is thick, the other tapers to almost nothing. If you grill it as-is, the thin end dries out long before the thick end reaches a safe temperature. Every technique in this guide exists to solve that single problem.
Why chicken breast dries out on the grill
Chicken breast is lean. It has almost no intramuscular fat to keep it moist, unlike thighs or drumsticks. As it cooks, the proteins tighten and squeeze out moisture; prolonged cooking turns the texture from tender to chalky. The window between safely cooked and dry is narrow.
The other factor is uneven thickness. A boneless breast can be several centimeters thicker at one end than the other. On a hot grill, the thin end reaches a safe temperature well before the thick end. By the time the center is cooked, that tapered edge may already be dry.
This is why every recipe that says "grill 6 minutes per side" fails. Timing alone can't account for different shapes and sizes. You need a thermometer and an even piece of meat.
How to prep chicken breast for the grill
Get even thickness
You have two options:
Butterfly: Hold the breast flat on a cutting board. Slice horizontally through the thickest part, stopping about 1cm from the edge. Open it like a book. You now have a flat, even piece roughly 2cm thick.
Pound: Place the breast between two sheets of plastic wrap. Use a meat mallet or the bottom of a heavy pan to pound it to about 2cm (3/4 inch). Focus on the thick end. Don't go thinner than 1.5cm or it'll cook too fast and tear.
Butterflying is quick and avoids pounding the meat. Pounding can work better for an especially thick breast when butterflying would leave an awkwardly wide piece.
Brine (the single biggest upgrade)
A 30-minute brine changes everything. Dissolve 1 tablespoon of kosher salt in 1 cup of water for each breast (if fine table salt is all you have, cut it to 2 teaspoons, since it packs much denser). Submerge and refrigerate.
What the brine does: salt penetrates the surface layer and denatures the proteins, which changes their structure so they hold onto water better during cooking. It also seasons the meat all the way through, not just the surface. The difference between brined and unbrined chicken breast on the grill is dramatic.
Tip: If you're short on time, a dry brine works too. Sprinkle kosher salt generously on both sides and let it sit uncovered in the fridge for at least 1 hour (or overnight). The salt draws out moisture, dissolves in it, and the brine gets reabsorbed.
Pat dry and oil
After brining, pat the chicken completely dry with paper towels. Wet surfaces steam instead of sear. You want a dry surface that hits the hot grate and immediately forms grill marks.
Brush a thin coat of oil directly on the chicken, not the grate. Use a high smoke point oil like avocado or grapeseed. Oiling the grate causes flare-ups when it drips through.
Season with pepper and any dry rub you like. Skip the salt if you brined.
Setting up the grill
Two-zone heat is non-negotiable for chicken breast. One hot side for searing, one cooler side as a safety zone.
Use a grill thermometer to check the temperature at grate level. The thermometer in the lid measures the air higher in the grill and can read differently from the cooking surface.
Clean the grate with a grill brush after preheating. Residue from previous cooks causes sticking.
How to grill chicken breast step by step
One flip. That's it. Every time you lift the lid or move the chicken, you lose heat and extend the cook time. The grill does the work. Let it.
Pull temperature and resting
The USDA safe minimum for chicken is 74°C (165°F). Insert an instant-read thermometer into the thickest part and verify that temperature before removing the breast from the grill.
Carryover cooking may raise the temperature after the breast leaves the heat, but the increase varies with its thickness and the grill temperature. Do not rely on a fixed rise to reach the safe minimum.
Once the thickest part has reached 74°C (165°F), rest the breast for 5 minutes before slicing. The short rest makes it easier to slice cleanly and keeps the juices from immediately running onto the board.
Resting the meat also lets the muscle fibers relax and reabsorb some of the juice that was squeezed toward the surface during cooking. Cut too early and that juice pools on the cutting board instead of staying in the meat.
Timing chart by thickness
These are estimates for boneless chicken breast over medium-high direct heat (200-230°C / 400-450°F). Always verify with a thermometer.
Butterflied or pounded breasts at 2cm are the sweet spot. Thin enough to cook through with direct heat alone, thick enough to stay juicy.
Thighs and whole chicken: switch to indirect heat
Everything above applies to boneless breasts. Bone-in cuts and whole birds need a different approach: over direct heat, the surface burns long before the inside cooks through.
Bone-in, skin-on breasts take 8-10 minutes per side. Start them skin-side down to render the fat and crisp the skin before flipping. Chicken thighs need 35-45 minutes over indirect heat with the lid closed. They're far more forgiving than breasts thanks to their fat.
For a whole chicken, gas or charcoal, park it over the indirect zone and close the lid so the grill works like an oven. The USDA minimum is 165°F (74°C) for all poultry, whole birds included; Health Canada goes higher for whole birds, recommending 82°C (180°F), because heat penetrates a large bird unevenly. Probe the thickest part of the thigh without touching bone. For heat zones and target temps by meat type, see the grilling temperature guide.
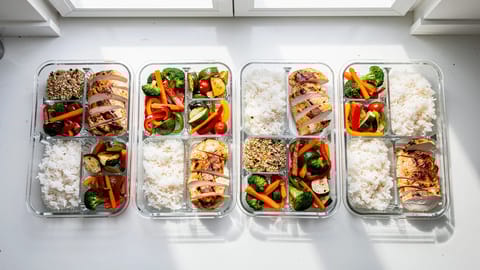
Grilled chicken breast for meal prep
Chicken breast is a practical meal-prep protein for salads, wraps, grain bowls, and sandwiches.
For meal prep, cook every breast to 74°C (165°F) before storing it. Reheating later is not a substitute for reaching a safe temperature during the initial cook.
Refrigerate the chicken in a shallow airtight container within 2 hours. Store it in the fridge for 3-4 days. For longer storage, freeze individual breasts with the air pressed out; FoodSafety.gov lists 2-6 months for the best quality of cooked meat or poultry leftovers.
Common mistakes that dry out chicken breast
The single most common mistake is not using a thermometer. Timing charts, the finger-poke test, "until juices run clear" — none of these are reliable because every breast is different. A thermometer takes 2 seconds and tells you exactly where you are.
For more on the food science behind cooking meat, including why the Maillard reaction needs a dry surface and what actually happens during searing, check the linked articles.
- Even thickness is the #1 factor. Butterfly or pound to 2cm.
- Brine 30 minutes in salted water for noticeably juicier results
- Grill over medium-high direct heat, 5-6 minutes per side, one flip
- Verify 74°C (165°F) in the thickest part, then rest 5 minutes
- Always use an instant-read thermometer
- New to the grill? Start with our grilling for beginners guide for two-zone setup and essential tools