 Bastien
Essential Pizza Equipment: What You Actually Need
Stop wasting money on gadgets. A baking steel, a digital scale and an infrared thermometer are the upgrades that matter most for home pizza. Everything else is a bonus.
TL;DR: The pizza stone vs steel debate has a clear winner for home ovens: steel. It conducts heat far faster than ceramic, won't crack, and gives you a crispier bottom in less time. Pair it with a digital scale and an infrared thermometer, and you have the three upgrades that make the biggest difference to home pizza.
Pizza steel vs pizza stone: which is better?
The surface you bake on is the single most important variable in your kitchen. Both pizza stones and pizza steels store heat, but they perform very differently, and the reason comes down to the material.
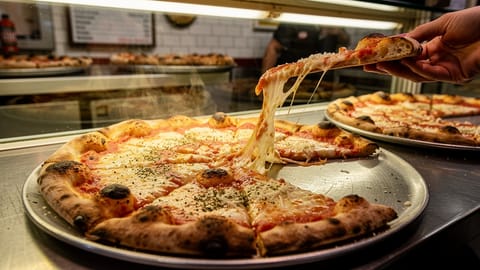
Steel conducts heat far faster than ceramic. When your raw dough hits a preheated steel, energy transfers into the crust much faster than it does from stone. The result: better oven spring, a crispier bottom, and the charred spots that make pizza look (and taste) like it came from a professional oven. A typical pizza steel is a plate of plain carbon steel, often 16 inches square and a quarter inch thick, and it conducts heat better than stone while shrugging off water splashes and broilers.
The trade-off is that steel is heavy, pricier, and gives off so much heat that it can scorch bread and cookies; stone remains the gentler surface for those.
Pizza steels are the better choice for home pizza. You get better oven spring, a crispier bottom, and the steel won't crack if you accidentally splash water on it.
Pizza stones are the classic choice and still work well for bread and general baking. They're lighter and cheaper, but fragile: thermal shock from temperature changes or water splashes will crack them eventually.
The verdict: If you're buying one surface specifically for pizza, get a steel. If you already own a stone and it works for you, there's no rush to replace it: but when it eventually cracks (and it will), upgrade to steel.
Tip: Whichever you choose, preheat it for at least 45–60 minutes at your oven's absolute maximum temperature. Your oven might say it's ready after 15 minutes, but the stone or steel is still cold in the middle. Use the pizza dough calculator to dial in your dough, then let the surface do the rest.
The infrared thermometer: stop guessing your surface temp
Your oven's built-in thermometer measures air temperature, not surface temperature. These are two completely different numbers, and the gap explains most pale, soft bottoms: the oven display says 550°F while the steel underneath is still well short of that.
An infrared thermometer (also called a laser thermometer) lets you point and shoot at your baking surface to get an instant reading. Fluke's own guidance is to mind the distance-to-spot ratio, so measure from close range and aim at the center of the steel. For pizza, you want the surface at 500–550°F before launching. Some styles push higher. Neapolitan wants far more, which is why dedicated pizza ovens exist.
An inexpensive infrared thermometer is probably the highest-return purchase on this list after the steel itself. It eliminates guesswork and teaches you how your specific oven behaves, because every oven has hot spots and cold spots that you can only discover by measuring.
The "double surface" trick
If you want professional results in a home oven, try the two-surface setup. Place one stone/steel on the bottom rack and another on the top rack (about 4–5 inches below the broiler).
- The bottom surface chars the crust from below.
- The top surface reflects radiant heat back down, melting the cheese and blistering the top of the dough.
- This creates a "heat chamber" that mimics a real 900°F pizza oven.
The difference is dramatic. Without the top surface, your cheese melts but doesn't brown. With it, you get the same blistered, caramelized top that professional ovens produce.
The digital scale: essential pizza equipment
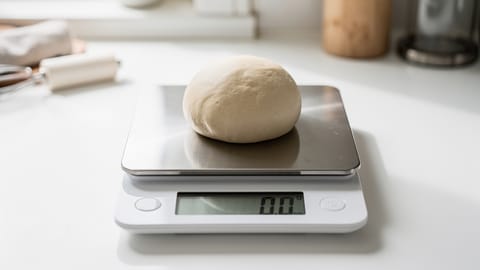
If you're still using cups and spoons, you're playing a guessing game. A cup of flour can weigh anywhere from about 120g to 160g depending on how tightly you pack it. That's enough variance to turn a 62% hydration dough into either a sticky mess or a stiff, dry ball. A kitchen scale eliminates this guesswork entirely.
Understanding baker's percentages is what unlocks real consistency in pizza making: and percentages only work when you weigh your ingredients.
You need two types of scales:
- Main kitchen scale: For flour and water. Look for at least 1g resolution; 0.1g is better. Needs to handle up to 3–5 kg for larger batches.
- Jewelry/pocket scale: For yeast and salt. You need 0.01g resolution here. When a recipe calls for 0.5g of instant yeast for a cold-fermented dough, a kitchen scale that rounds to the gram can't tell the difference between "a little" and "way too much," and that gap changes your fermentation timeline.
Use the pizza dough calculator to get exact weights for your batch size.
Dough containers and proofing boxes
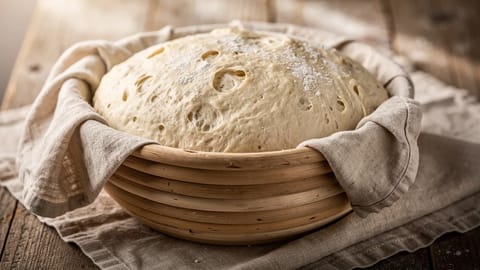
Fermentation doesn't happen in thin air: you need proper containers. This is one of those things that seems minor until you've scraped dried-out dough from a poorly covered bowl.
For bulk fermentation:
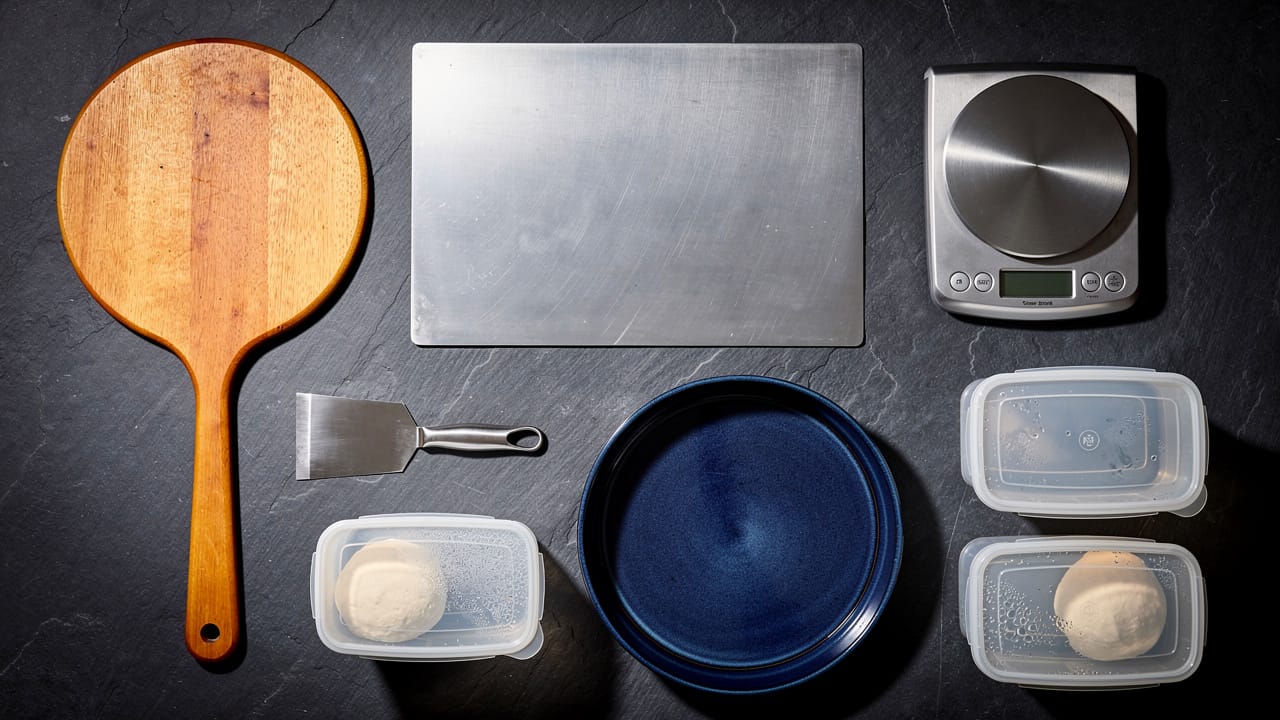
- Clear plastic tubs (2–4 quart Cambro-style containers) are ideal. The straight sides and clear walls let you monitor volume increase without opening the lid. Mark the starting level with a rubber band.
- Lightly oiled: a thin coat of olive oil inside prevents the dough from sticking and makes it easy to fold during bulk ferment.
For individual dough balls:
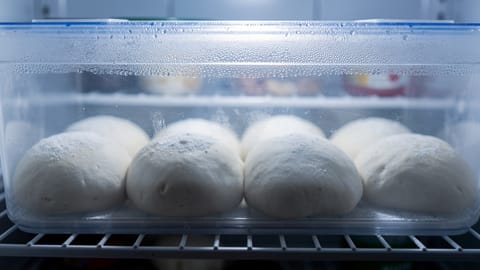
- Dedicated proofing boxes with lids (the stackable kind) are the professional standard. Each ball gets its own compartment, and the sealed lid prevents skinning.
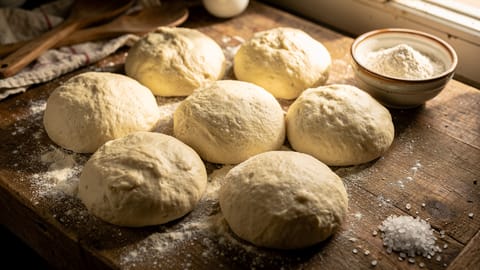
- Round deli containers (16–32 oz) work just as well for home use. Oil the inside lightly, place one ball per container, and snap the lid on. They stack in the fridge and cost almost nothing.
The key is airtight coverage. Dough that dries out on the surface forms a skin that won't stretch properly: it tears instead of extending, and you end up with holes in your pizza base. If you don't have lids, a damp towel pressed close to the dough works in a pinch, but dedicated containers are a worthwhile investment.
Pizza peels: wooden for launch, metal for retrieval
You shouldn't use the same tool for everything.
- Wooden peels: Use these for building and launching. Raw dough is less likely to stick to wood than to metal. Dust it with a little semolina (not flour) before you put the dough on.
- Metal peels: These are thin and sleek. Use them to rotate the pizza mid-bake and to pull it out. Don't try to build a pizza on a metal peel: it will stick before you even reach for the sauce.
Tip: If you're nervous about the "launch," try a perforated metal peel. The holes let excess flour fall through so it doesn't burn on your stone and make your kitchen smoky. Give the peel a quick shake before you commit: if the pizza slides freely, you're good. If it doesn't, lift the edge and blow air underneath or add more semolina.
Pizza screens: the crispier alternative
Pizza screens (flat mesh discs made of aluminum) sit between the dough and the baking surface. They're not traditional, but they solve a real problem: if you struggle with launching directly onto a steel or stone, a screen lets you build the pizza on the mesh and simply place the whole thing in the oven.
The mesh allows hot air to circulate under the crust, which gives you a crisper bottom than a solid pan. They're especially useful for:
- Beginners who haven't mastered the peel launch yet
- Thin-crust styles where you want maximum crispness
- Batch baking: you can prep multiple pizzas on screens in advance
The tradeoff: you won't get the same charred leopard spots as direct steel/stone contact. But for bar-style thin crust or when you're feeding a crowd, screens are pragmatic.
Pizza pans: only black steel matters
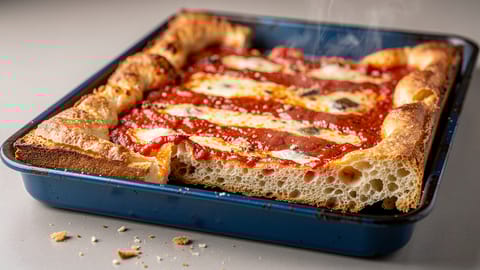
For Detroit, Sicilian, or pan pizza, ignore stainless steel and aluminum. You want seasoned black steel. It conducts heat aggressively and develops a non-stick patina over time: similar to cast iron but thinner and more responsive.
- Detroit style: Look for rectangular blue or black steel pans. The common sizes from Lloyd Pans, the maker many Detroit pizzerias use, are 8 x 10 inches and 10 x 14 inches.
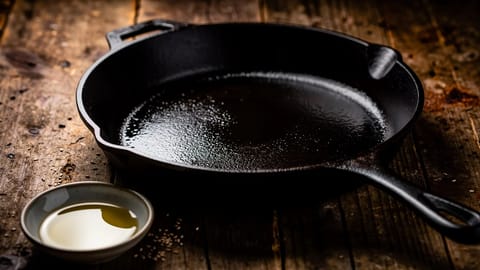
- Seasoning: Treat them like cast iron and follow the same seasoning routine. Wipe them with a thin layer of oil and bake at 500°F for an hour before your first use. Repeat 2–3 times for a solid base layer. Wipe them clean with a dry cloth or paper towel and dry them fully after any rinse.
Mixing pizza dough: hands vs. machines
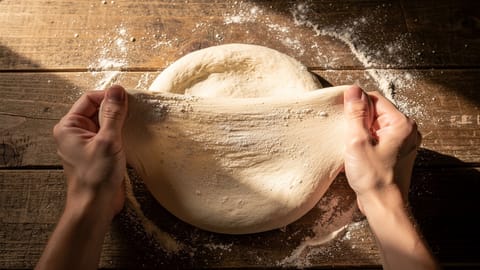
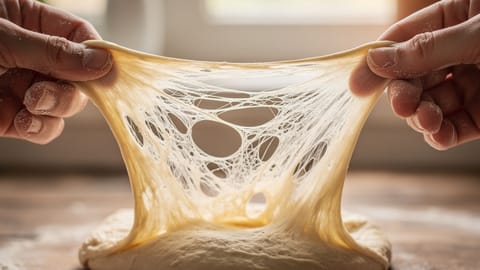
- Hand mixing: The best starting point for beginners. It helps you "feel" the dough and understand how gluten develops. You learn to recognize when the dough goes from shaggy to smooth to elastic: that tactile feedback is how you build intuition.
- Stand mixers: Great for large batches (4+ dough balls), but keep it on the lowest speed. High speeds generate friction heat that can accidentally warm your dough past its ideal fermentation temperature. If the dough feels warm after mixing, you went too fast or too long.
- Food processors: Use with care. They spin fast and can overwork a dough in seconds, so if you use one, pulse in short bursts and stop as soon as the dough comes together.
The rocker blade: the finishing pizza tool
Forget the little wheel cutters. A rocker blade (mezzaluna) is faster, cleaner, and won't drag your toppings across the pizza. One decisive "crunch" and you're done. The curved blade also makes it easy to cut into squares for Detroit or Sicilian style: something a wheel cutter handles poorly.
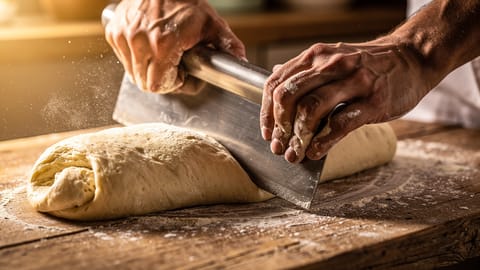
A bench scraper doubles as a portioning tool for dough and a cleanup tool for your work surface. It's not glamorous, but you'll reach for it constantly.
| Equipment | Priority | Why |
|---|---|---|
| Baking Steel | Essential | Better heat transfer = better crust. The single biggest upgrade. |
| Digital Scale (0.1g) | Essential | Consistency is everything in baking. Cups and spoons won't cut it. |
| Infrared Thermometer | Essential | Know your actual surface temp. A cheap tool that saves every bake. |
| Wooden Peel | High | Prevents the stuck-pizza nightmare. Use semolina, not flour. |
| Pocket Scale (0.01g) | High | Yeast precision for cold fermentation. Worth every penny. |
| Proofing Containers | High | Airtight = no skin on dough balls. Deli containers work fine. |
| Metal Peel | Medium | Thin enough to slide under for turning and retrieval. |
| Bench Scraper | Medium | Makes portioning and cleanup 10x easier. |
| Black Steel Pan | Medium | Required for Detroit/Sicilian. Season like cast iron. |
| Pizza Screen | Low | Great for beginners or batch baking. Less char than direct contact. |
| Rocker Blade | Low | Clean cuts, no dragging. Makes you look like a pro. |