 Bastien
12 grilling mistakes that ruin your food
Twelve fixable mistakes cause most ruined cookouts: skipped preheats, a single heat zone, sauce applied too early, no thermometer. Here is the symptom, the fix, and the grill science behind each one.
TL;DR: Almost every ruined cookout comes down to a short list: no preheat, one heat zone, lid used wrong, sauce on too early, no thermometer, no rest. Fix those six and you're most of the way there. The other six buy you the last 20%.
Twelve mistakes cause most ruined grill sessions, and every one of them has a specific fix. The two most common are also the most invisible while they happen: pressing burgers flat with a spatula (they look professional and eat dry) and brushing on barbecue sauce in the first five minutes (the ribs go matte black long before they are cooked). This guide covers each mistake, what it looks like when it's happening, and the fix, with the reference chart up front.
The 12 mistakes at a glance
| # | Mistake | What you notice | The fix |
|---|---|---|---|
| 1 | Skipping the preheat | Food sticks, no sear | 15 min lid-down before anything touches the grate |
| 2 | Cold or dirty grate | Chicken welds itself to the bars | Preheat, brush, oil the food |
| 3 | One heat zone | Burnt outside, raw inside | Two zones: hot sear side, cool finish side |
| 4 | Choked charcoal | Grill never gets hot | Open vents fully, wait for gray ash |
| 5 | Wrong lid timing | Food dries out or won't cook through | Lid off for thin + fast, on for thick + slow |
| 6 | Pressing and poking | Dry burgers, flare-ups | Flip freely, never press |
| 7 | Saucing too early | Black, bitter coating | Sugar sauces in the last 10-15 min |
| 8 | Guessing doneness | Overcooked "safe" meat or underdone chicken | Instant-read thermometer |
| 9 | Wet food on the grate | Steam, gray meat, no crust | Pat dry, light oil coat |
| 10 | Fighting flare-ups with water | Soot on food, ash cloud | Move the food, close the lid |
| 11 | Carving immediately | Juice floods the board | Rest 5 min (steaks) to 15 min (roasts) |
| 12 | Never cleaning the grill | Off flavors, stuck food, grease fires | Brush hot after every cook |
1. Skipping the preheat
A grill needs 10 to 15 minutes with the lid down before food goes on: gas on high, or charcoal spread after the coals ash over. The grate itself has to be hot, not only the air around it. A hot grate sears the surface on contact, starts the Maillard reaction that builds crust and flavor, and releases the food once that crust forms. A lukewarm grate does the opposite. Proteins bond to the metal, and when you pull, the crust stays on the bars.
Preheating also burns off residue from the last cook, which is half the cleaning done for free.
2. Why does food stick to the grill grate?
Three reasons, usually stacked: the grate is dirty, the grate is cold, or the food is wet. Proteins form chemical bonds with hot metal and release naturally once the surface is seared, so sticking means the sear never happened.
The fix is a sequence. Preheat fully (mistake #1), scrape the hot grate with a brush, then oil the food rather than the bars. Oil brushed on the grate of a 250°C grill smokes and turns gummy in seconds; oil on the food stays where it's needed. For delicate fish, add a final wipe: fold a paper towel, grip it with tongs, dip it in oil, and swipe the bars right before the fillet lands.
3. Cooking everything over direct heat
One flat bed of coals or all burners on high gives you exactly one option: full blast. Thin burgers survive it. A bone-in chicken thigh chars outside while staying raw at the bone.
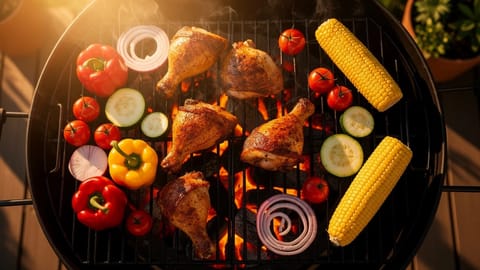
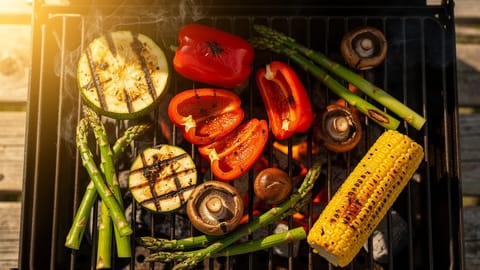
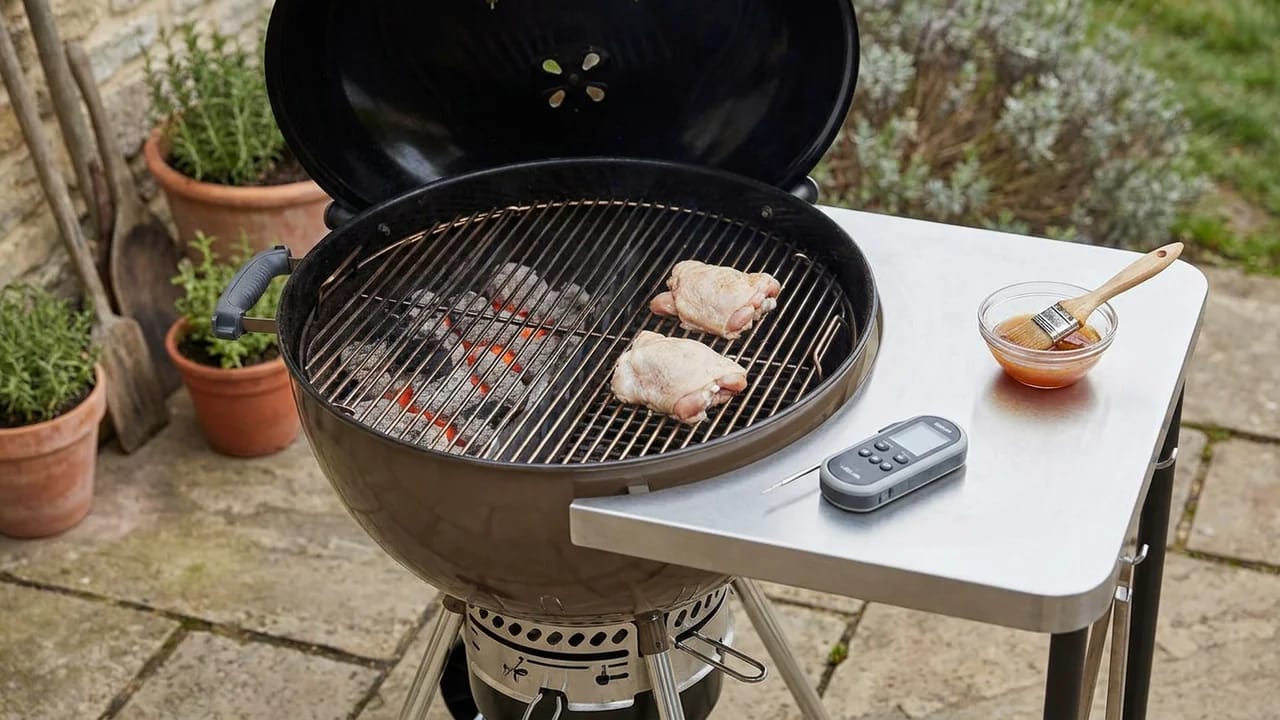
Set up two zones instead. On charcoal, bank the coals on one half. On gas, run one side high and leave the other off or low. You get a sear zone around 230-290°C and a finish zone around 110-150°C, and you can move food between them as it cooks. The full setup takes two minutes and it's the core skill in our grilling for beginners guide. It also gives you a safe parking spot when flare-ups hit (mistake #10) and gentle heat for grilled vegetables.
4. Why is your charcoal grill not getting hot enough?
A charcoal grill that won't climb past 150°C almost always has an airflow problem. Fire is oxygen plus fuel: half-closed vents choke it, and a thick cap of ash on the coals insulates them.
Run through this list in order:
- Open both vents fully. Bottom vent feeds the coals, top vent pulls air through.
- Knock the ash off. Tap the grate or give the coals a stir; ash buildup smothers heat.
- Use enough charcoal. A full chimney (about 100 briquettes) covers half of a 57 cm kettle for real searing heat. A sad single layer won't do it.
- Wait for gray. Coals should be ashed over before you spread them; black coals with flames are still ramping up.
If you're deciding between fuels, heat output is a real factor in the charcoal vs gas comparison.
5. When should you close the lid?
Lid off for thin and fast: burgers, thin steaks, sausages, shrimp, sliced vegetables. These cook through in under 10 minutes over direct heat, and the open air keeps the fire hot right under the food.
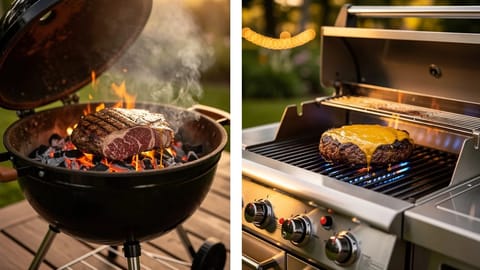
Lid on for thick and slow: bone-in chicken, pork shoulder, whole fish, anything on the indirect side. The closed lid turns the grill into a convection oven, cooking the top and sides instead of only the bottom. On charcoal, the top vent is your thermostat; closing it halfway drops the temperature, closing it fully kills the fire. A workable rule: if the food needs more than 10 minutes, the lid goes down.
6. Pressing burgers and constant poking
Pressing a burger with a spatula squeezes the juice you paid for straight onto the coals, where it becomes a flare-up. The satisfying sizzle is the sound of your burger drying out.
Flipping, on the other hand, is fine. A 2022 heat-transfer model by mathematician Jean-Luc Thiffeault at the University of Wisconsin-Madison found that flipping repeatedly cuts cook time by up to 29% compared with a single flip, and that almost all of the gain arrives by the third or fourth flip. Frequent flipping also cooks the patty more evenly, because neither face gets long enough to overcook. So flip as often as you like, and never press. The only exception is a smash burger, where you press once, hard, in the first 10 seconds on a flat surface, before the juices have anywhere to go.
7. Saucing too early
Barbecue sauce is loaded with sugar, and sugar burns fast over flame. Caramelization turns to carbonization quickly past 180°C, and grill grates run far hotter. Brush sauce on at the start and you get a black, bitter shell around a bland interior: sauced at minute five, inedible by minute forty.
Season or marinate before cooking (salt and oil handle the heat fine; a good chicken marinade is mostly oil), then paint on sugary sauce in the last 10 to 15 minutes, ideally over indirect heat. You'll get a glossy, lightly caramelized glaze instead of charcoal.
8. Guessing doneness instead of measuring it
Poking the meat, cutting it open, timing it by feel, judging by color: all of these either lie to you or bleed the juices out. Cut-to-check alone can cost a steak a noticeable share of its moisture through the open seam.
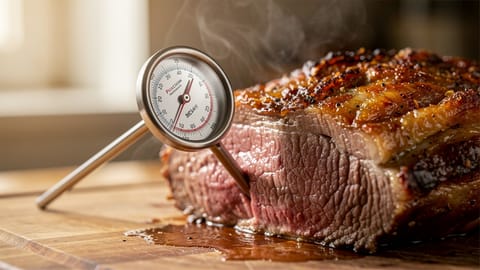
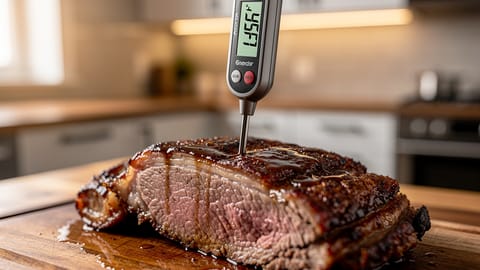
An instant-read thermometer solves doneness permanently. Chicken comes off at 74°C (165°F), or pull grilled chicken breast at 71°C and let carryover finish it. Burgers and anything else made from ground meat need 71°C (160°F) all the way through. Steak leaves at 52-54°C for medium-rare, a doneness choice rather than an official minimum. Pork tenderloin is done at 63°C plus a 3-minute rest under the USDA rule; Health Canada publishes 71°C. The full cut-by-cut chart lives in our grilling temperature guide. Probe the thickest part, away from bone, and you'll never serve raw chicken or gray steak again.
9. Putting wet food on the grate
Browning can't start until the surface moisture boils off, and water holds the surface at 100°C, well below the 140°C the Maillard reaction needs. Wet food steams in its own cloud, turns gray, and sticks.
Pat everything dry with paper towels before it goes on, even marinated meat. Let excess marinade drip off and wipe the surface; the flavor has already done its work below the surface. Then apply a thin coat of oil. Dry surface, light oil, hot grate: that combination is nearly stick-proof and browns in the first minute.
10. Confusing char with burnt
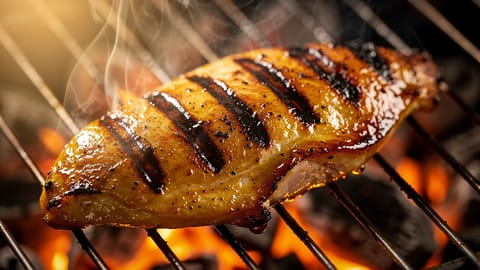
A little char is flavor. Deep mahogany color with crisp edges and dark grill marks is concentrated Maillard browning, and it tastes like grilling. A matte black, flaky coating is carbon, and it usually comes from flare-ups torching the food from below.
When fat ignites, don't spray water; it kicks up ash and spreads flaming grease. Move the food to the cool zone with tongs, close the lid, and let the oxygen-starved flame die on its own. Trim thick fat caps to 5 mm before cooking and the flare-ups mostly stop happening in the first place.
11. Carving with no rest
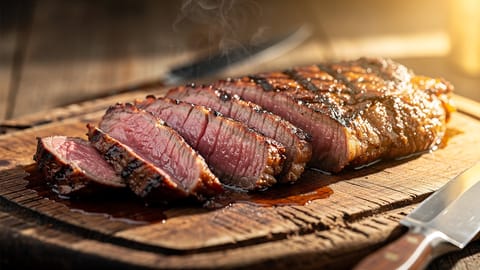
Slice a steak straight off the grill and the board floods. During cooking, muscle fibers contract and push water toward the center; resting gives those fibers a few minutes to relax and hold the juice when the knife comes.
Five minutes for steaks and chops, ten or more for whole chickens and roasts, loosely tented with foil at most. Carryover cooking adds 3 to 5°C at the center during the rest, which is exactly why you pull the meat a few degrees early (mistake #8). Resting isn't wasted time; it's the last stage of cooking.
12. Grilling on a dirty grate
Old grease and stuck-on residue give food off flavors, glue it to the bars, and eventually catch fire. Grease fires from neglected drip trays are how grills end up on the local news.
The low-effort routine: brush the grate for 30 seconds while it's still hot after every cook, when residue comes off easily. Empty the ash catcher or drip tray regularly. Twice a season, do a deeper clean of the grates and the inside of the lid, where carbon flakes build up and drop onto food. Thirty seconds per cook prevents 90% of it.
How do you rescue a cook that's going wrong?
Move the food to the indirect zone, close the lid, and let convection heat finish it. On gas, drop the burners under the food to low. Check the center temperature every few minutes; it will climb slower but evenly.
Tongs, cool zone, lid closed. Never water. If the grease fire keeps growing, close all vents and keep the lid on until it starves. Next time, trim fat caps and empty the drip tray first.
Open the vents fully and knock ash off the coals. If you need more fuel, light a half chimney on the side and add ashed-over coals; raw briquettes tossed on will smoke acrid for 10 minutes.
Move it over the hot zone, skin-side down, for the final 2-3 minutes. Watch it constantly; rendered skin crisps fast and burns faster.
Grilling dos and don'ts
Every one of these twelve fixes is boring on its own. Stacked together, they're the difference between grilling you apologize for and grilling people ask about. Start with the thermometer and the two zones; those two changes fix half the list by themselves.
Sources
- Here's the quickest way to grill burgers, according to math - Science News
- For the Best Burger, A Quadruple Flip - Physics (APS)
- Safe internal cooking temperatures - Health Canada
- 2 Zone Grilling Setup: How Best To Control Temperatures On A Grill - AmazingRibs.com
- How to Cook Anything on Your Grill: Mastering Direct, Indirect, and 2-Zone Grilling - Weber