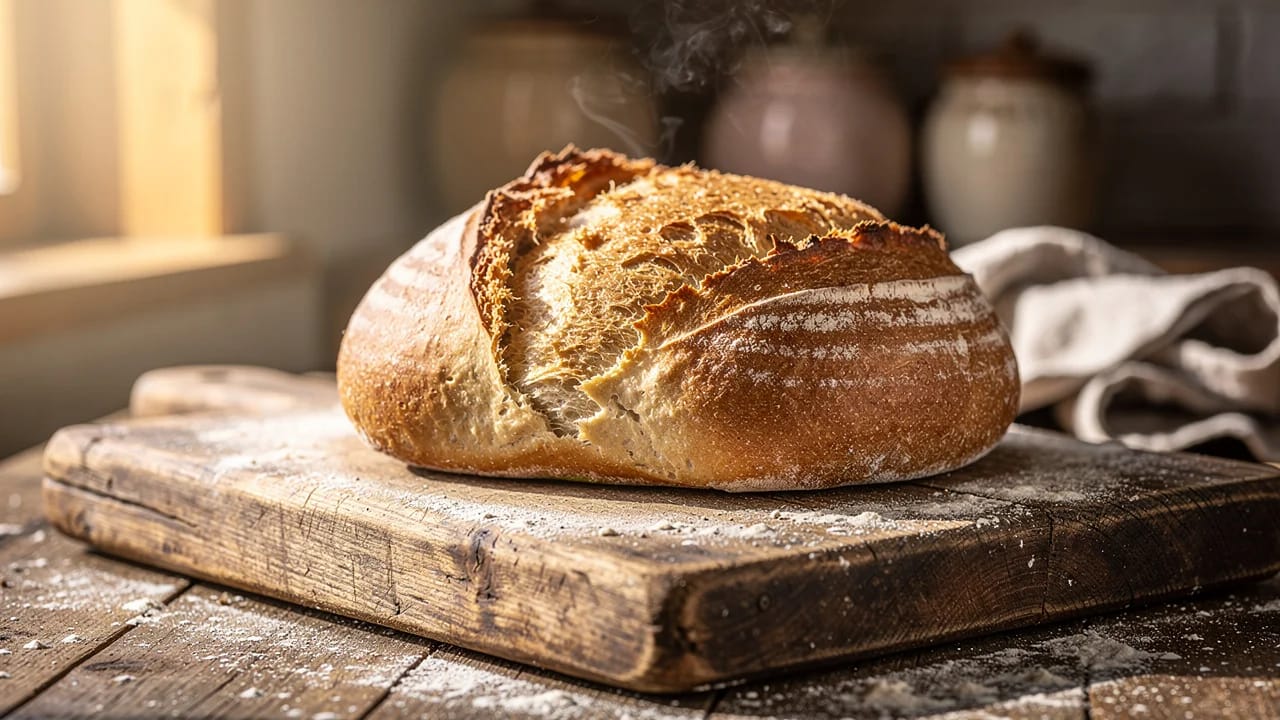
Bread baking for beginners: your first loaf, start to finish
A complete walkthrough for baking your first loaf of bread at home. Covers the four core ingredients, kneading by hand or mixer, proofing, shaping, and baking, with temperatures, times, and troubleshooting for every step.
You do not need a bread machine, a stand mixer, or five years of practice to bake good bread. You need flour, water, yeast, salt, an oven, and a few hours, most of which is waiting. This guide walks you through your very first loaf from measuring ingredients to pulling a golden, crusty bread out of the oven.
Why bake bread at home?
A loaf of sandwich bread costs $4-6 at the store. A homemade loaf costs about $0.50 in ingredients and tastes noticeably better. Beyond the economics, baking bread teaches you how dough behaves: how gluten develops, how fermentation creates flavor, and how heat transforms a sticky mass into something with structure and crust. Once you understand these basics, every other baked good gets easier.
The four ingredients
Every basic bread contains the same four things. Understanding what each one does helps you troubleshoot problems before they happen.
Flour
All-purpose flour works fine for your first loaf. It contains 10-12% protein, which is enough to build a decent gluten network. Bread flour (12-14% protein) gives you a chewier crumb and better structure, but it is not required.
Measure flour by weight if you have a kitchen scale. A cup of flour can weigh anywhere from 120g to 160g depending on how you scoop it. That 40g difference changes the dough's hydration significantly. If you do not have a scale, use the spoon-and-level method: fluff the flour, spoon it into the measuring cup, and level off the top with a knife.
Water
Use lukewarm water, around 38°C (100°F). It should feel warm but not hot against your wrist. Water that is too hot (above 49°C / 120°F) kills yeast. Cold water works but slows fermentation, which means longer rise times.
The water-to-flour ratio matters. For a basic sandwich loaf, aim for about 60-65% hydration, that is 300-325g of water per 500g of flour. Higher hydration makes softer, more open bread but is harder to handle as a beginner.
Yeast
Active dry yeast and instant yeast both work. The difference:
| Type | Activation | Amount per 500g flour | Rise time |
|---|---|---|---|
| Active dry | Dissolve in warm water first, wait 5-10 min for foam | 7g (one packet) | 1-2 hours |
| Instant (rapid rise) | Mix directly into flour | 5g | 45-90 minutes |
If your active dry yeast does not foam after 10 minutes in warm water, it is dead. Throw it out and get a fresh packet.
Salt
Salt does three things: adds flavor, strengthens gluten, and controls fermentation speed. Without salt, bread tastes flat and the dough rises too fast, producing a coarse texture. Use 10g of fine salt per 500g of flour (2% baker's percentage). Kosher salt works too. Just use a bit more since the flakes are larger.
Never let salt touch the yeast directly before mixing. Salt slows yeast activity, and direct contact can kill it.
Equipment you actually need
Skip the specialty gear for now. Here is what matters:
- Large mixing bowl: metal or ceramic, at least 4-quart capacity
- Kitchen scale: strongly recommended but not mandatory
- Clean work surface: for kneading
- Loaf pan: a standard 9x5-inch (23x13 cm) pan for sandwich bread
- Kitchen towel or plastic wrap: to cover dough during rising
- Oven thermometer: ovens lie about their temperature more often than you would think
A stand mixer with a dough hook is nice to have but absolutely not necessary. People baked bread by hand for thousands of years before KitchenAid existed.
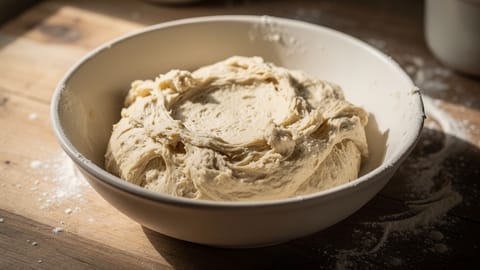
Step-by-step: your first loaf
Understanding what happened in your dough
Knowing the "why" behind each step makes you a better baker, not just a better recipe follower.
Gluten development
When flour meets water, two proteins — glutenin and gliadin — bond together and form gluten. Kneading stretches and aligns these protein strands into a network that traps gas produced by yeast. More kneading means a stronger network, which means the dough holds its shape better and produces a finer, more even crumb.
Under-kneaded dough tears easily and produces bread that is dense and crumbly. Over-kneaded dough (rare by hand, possible with a mixer) becomes tight, tough, and tears during shaping.
Fermentation and flavor
During the first rise, yeast consumes sugars in the flour and produces carbon dioxide (which makes the dough expand) and ethanol (which contributes to flavor). The longer this process takes, the more complex the flavor. This is why cold fermentation, letting dough rise slowly in the fridge overnight, produces bread with deeper, more developed taste than a quick 45-minute rise at room temperature.
The Maillard reaction
That golden-brown crust is not dried-out dough. It is the result of the Maillard reaction, a chemical reaction between amino acids and reducing sugars that occurs above 150°C (300°F). The Maillard reaction creates hundreds of different flavor and aroma compounds. Steam in the first few minutes of baking delays crust formation, letting the bread expand more before the crust sets.
Troubleshooting your first loaf
| Problem | Likely cause | Fix |
|---|---|---|
| Dough did not rise | Dead yeast, water too hot, or kitchen too cold | Test yeast in warm water first; use a thermometer; find a warmer spot |
| Dense, heavy bread | Under-kneaded or under-proofed | Knead longer; let the dough double fully before baking |
| Bread collapsed in the oven | Over-proofed | Reduce second rise time; use the poke test |
| Large holes unevenly distributed | Under-kneaded or poor shaping | Knead until windowpane test passes; degas gently when shaping |
| Gummy interior | Sliced too soon or under-baked | Cool at least 45 min; check internal temp reaches 90°C (195°F) |
| Pale crust | Oven too cool or baked too short | Verify oven temp with a thermometer; bake 5 min longer |
| Crust too thick | Overbaked or oven too hot | Reduce time or temp by 10°C; tent with foil if browning too fast |
Five bread variations to try next
Once your basic loaf works, small changes open up new territory:
- Overnight bread. Use half the yeast and let the dough do its first rise in the fridge for 12-18 hours. Better flavor, same effort. You start the night before. See our overnight pizza dough guide for the same principle applied to pizza, or try the pizza dough calculator for a complete overnight dough recipe.
- No-knead bread. Skip kneading entirely. Use a wetter dough (75-80% hydration) and let time do the work: 12-18 hours at room temperature. Bake in a Dutch oven for a crackling crust. See our no-knead pizza dough method for a similar approach.
- Whole wheat bread. Replace 30-50% of the white flour with whole wheat. Add an extra 10-20g of water per 100g of whole wheat flour. The bran absorbs more liquid. Expect a denser crumb and nuttier flavor.
- Herb and olive oil bread. Add 30g of olive oil and 2 tablespoons of chopped fresh rosemary to the dough at the mixing stage. The oil makes the crumb softer and the bread stays fresh longer.
- Seeded loaf. Mix 50-80g of seeds (sunflower, sesame, flax, pumpkin) into the dough after kneading. Roll the shaped loaf in more seeds before the second rise for a crunchy exterior.
From first loaf to confident baker
Your first bread will not be perfect, and that is fine. Maybe the crumb is a bit dense. Maybe the crust is pale. Each loaf teaches you something — how your oven runs, how your flour absorbs water, how long your kitchen takes to proof dough at its particular temperature. Pay attention to what the dough looks and feels like at each stage. After three or four loaves, you will be adjusting by instinct rather than checking the recipe.
If you want to track your recipes and tweak them over time, a recipe manager helps you log what worked and what did not, so you can iterate on your bread formula the same way a professional bakery would.

Cook smarter
Join the waitlist for Fond. Recipes, meal plans, and a little AI sous-chef that learns how you cook.
Related articles
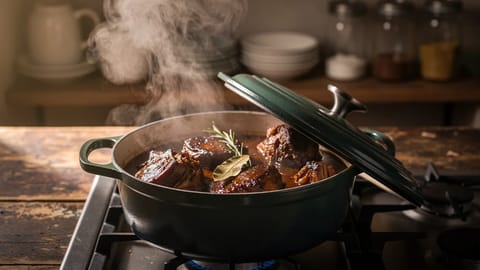
Dutch oven recipes: 20 essential dishes to master
A Dutch oven is the most versatile pot in your kitchen. These 20 essential recipes — organized by technique — cover braised meats, soups, no-knead bread, and more, plus the temperatures, times, and tips you need to make each one well.
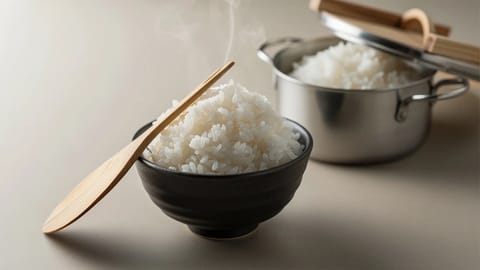
How to cook rice perfectly every time
Rice is the most consumed grain on the planet, yet it trips up even confident home cooks. Too sticky, too mushy, burned on the bottom. The failures are predictable, and so are the fixes. Learning how to cook rice well comes down to the right water ratio, proper heat control, and leaving it alone while it cooks.

What is mise en place and why it matters
Mise en place is the practice of preparing and organizing every ingredient and tool before you start cooking. It's the single habit that separates chaotic, stressful cooking from calm, confident meals, and it works just as well in a home kitchen as it does in a professional one.

Gluten Development
The process of building a protein network in dough through kneading, folding, or time, creating the structure that gives bread its chew and allows it to rise.
Autolyse
A bread-making technique where flour and water are mixed and rested before adding salt and leavening, allowing gluten to develop naturally.

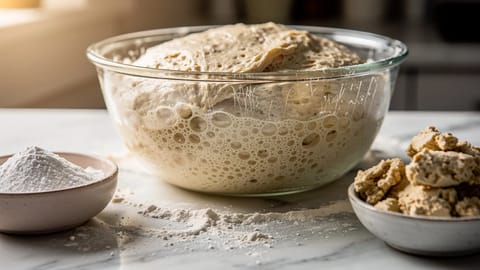
Fermentation
A metabolic process where microorganisms convert sugars into acids, gases, or alcohol — the basis of bread, yogurt, kimchi, and beer.

Baker's Percentage
A method of expressing bread recipe ingredients as percentages relative to the total flour weight, making recipes infinitely scalable.
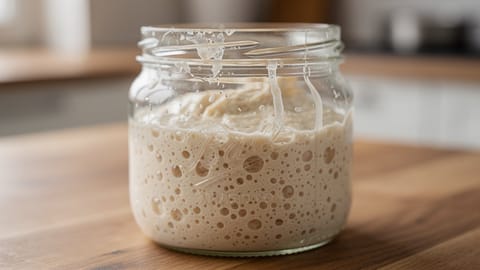
Sourdough Starter
A live culture of wild yeast and bacteria maintained with regular feedings of flour and water, used to leaven bread.
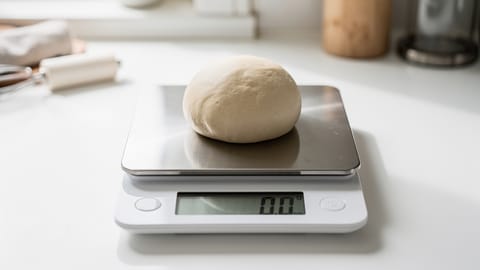
Kitchen Scale
A digital scale for measuring ingredients by weight — far more accurate than cups and spoons, especially in baking.
Leavening Agents
Substances that produce gas in dough or batter, causing it to rise — including yeast, baking soda, baking powder, and mechanical methods like whipping.
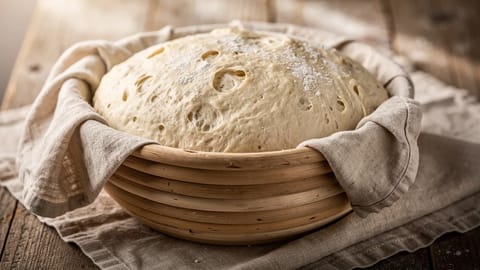
Proofing
The final rise of bread dough after shaping, where the shaped loaf expands with gas before baking.