 Bastien
Sous vide for beginners: precision cooking without the guesswork
A sous vide water bath holds food at one exact temperature, so a steak comes out the same doneness from edge to edge. This guide leads with the time and temperature charts for steak, chicken, pork, salmon and eggs, then covers equipment, your first cook step by step, finishing sears, meal prep, and what the pasteurization numbers actually require.
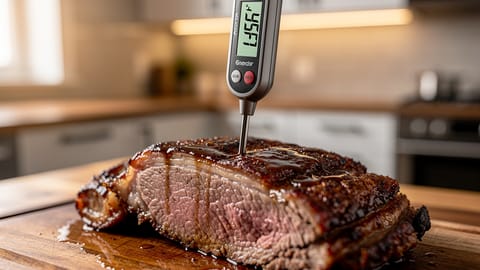
Sous vide is French for "under vacuum," and it's pronounced soo-veed. The name describes the bag, but the technique is really about temperature. You seal food, drop it into water held at one exact temperature, and let time do the work. A steak cooked at 54°C (129°F) comes out medium-rare from edge to edge, without guessing, without cutting into it to check, without a band of grey meat wrapped around a pink center.
Almost everyone arrives with the same first question, and it's about temperature rather than mechanism. So the charts come first here. Equipment, the finishing sear, and the food safety numbers that start to matter once chicken is involved all follow.
The technique came out of professional kitchens in the 1970s. Home equipment became affordable around 2015, and an immersion circulator now costs less than a decent frying pan. If you can set a temperature and a timer, you can cook sous vide.
Sous vide time and temperature chart
These are starting points rather than rules. Doneness preference varies, and thickness changes timing far more than beginners expect. Unless a row says otherwise, assume a piece roughly 25 mm (1 inch) thick.
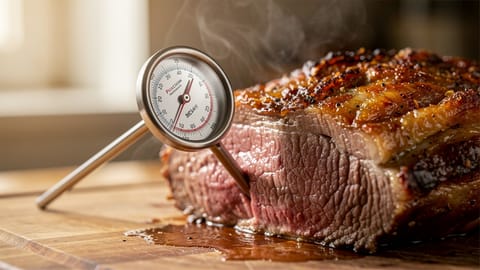
The chicken times come from Douglas Baldwin's pasteurization tables, which assume the breast starts at fridge temperature (5°C) and count the time needed for at least a million-to-one reduction in Listeria and a ten-million-to-one reduction in Salmonella. Thickness is the variable that moves those numbers most: a 40 mm breast needs roughly 2.5 hours at 60°C where a 25 mm one needs 1.5. If you would rather not work from a table at all, cook poultry to 74°C (165°F) and check it with a thermometer before serving, which is the USDA's safe minimum.
Whole cuts of beef and pork are a different case from poultry. Their bacteria sit on the surface rather than through the muscle, which is why a steak can be held below the USDA's 63°C minimum for whole cuts and still be safe once it has spent long enough at temperature, and why the danger zone numbers written for a hot buffet do not translate directly to a water bath. Ground meat mixes surface bacteria all the way through, so it never gets that allowance.
What you actually need
Not much. Three things are essential, and a few others make life easier.
Immersion circulator
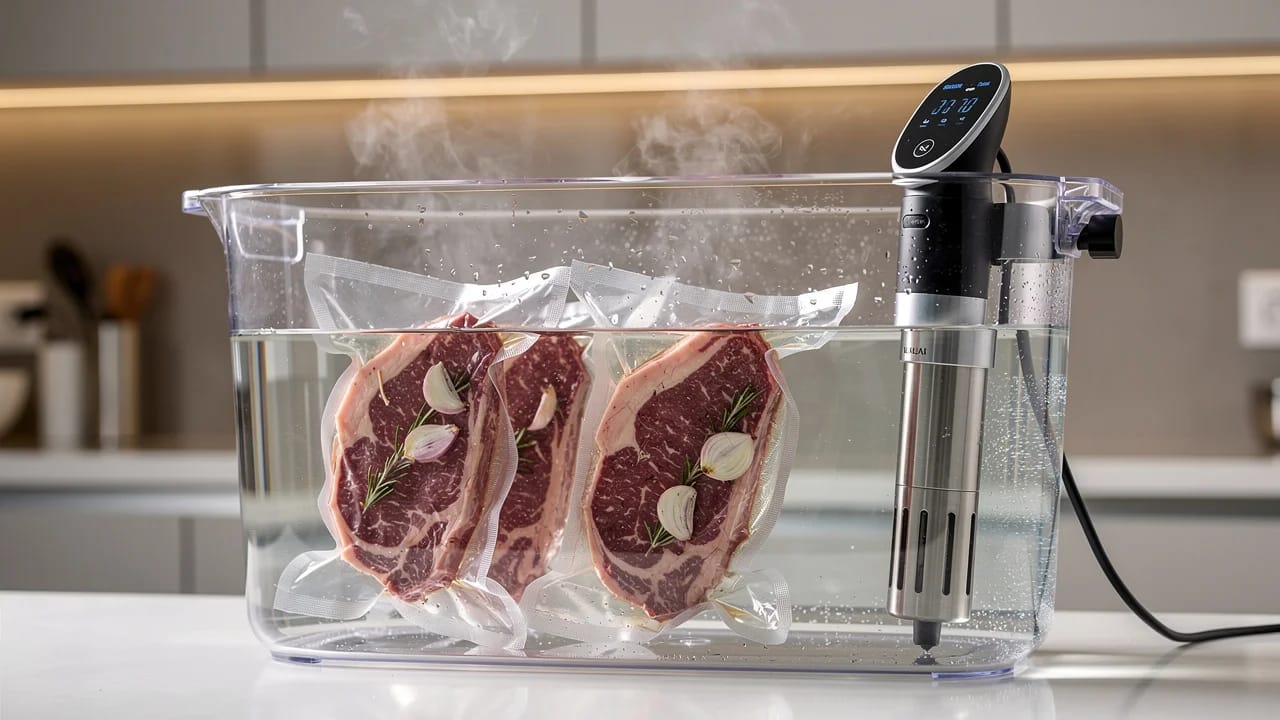
This is the device that heats the water and keeps it moving so the whole bath sits at one temperature. It clips onto the side of any pot or container. Manufacturers typically claim stability within about 0.1°C, which is a different world from an oven that swings 15°C either side of its setpoint.
Bags
Ziplock-style freezer bags work well for most cooks. Use the water displacement method: seal the bag almost all the way, lower it slowly into the water, and the pressure pushes the air out through the gap. Seal the last centimeter just before the water reaches the opening.
Vacuum-sealed bags hold a tighter seal, sink more reliably, and are the better choice for cooks past four to six hours and for anything going into the freezer. A vacuum sealer is worth buying if you plan to meal prep with sous vide regularly. It is not needed to start.
Reusable silicone bags are the third option. They clip shut rather than sealing, so they need the displacement method and usually a clip to keep them under, but they survive hundreds of cooks. Glass jars work for custards, oats, and infusions, where the food is liquid to begin with and does not need to sit flat against the bag. Leave jar lids fingertip-tight rather than cranked down, so expanding air can escape.
What not to put in a sous vide bag
Raw garlic is the classic mistake. The compounds that make it pungent do not mellow at 55°C the way they do in a hot pan, and after a few hours you get a harsh, almost chemical note through the whole bag. Garlic powder or pre-roasted garlic gives you the flavor without it.
Skip thin plastic wrap and any bag not rated for hot liquid, since neither is built to sit at cooking temperature for hours. Leave delicate leafy herbs out of long cooks too, because they go grey and grassy well before the meat is done; a sprig of rosemary or thyme holds up, a handful of basil does not. Loose marinades with a lot of liquid are also worth reconsidering, as the liquid dilutes contact with the meat and makes the bag float.
Container
Any pot that holds enough water works. A stockpot or a plastic cambro-style container are both fine. For long cooks, a lid or a layer of cling wrap over the top cuts evaporation enough to matter.
Nice to have
A kitchen torch or a cast iron skillet for searing. You want one of these for the finish, though the oven broiler covers it in a pinch. A kitchen scale helps you salt at a consistent rate across a batch.
The basic process
Sous vide follows the same five steps every time. Once that sequence is second nature you can cook almost anything.
Step 4 is where the technique earns its reputation. A steak that hits 54°C after 45 minutes is still at 54°C after two hours, so dinner waits for you rather than the other way round.
Your first cook: sous vide steak
Start here. Steak is the most forgiving sous vide cook and the one where the gap against pan-cooking alone is most obvious.
You want a steak at least 2.5 cm (1 inch) thick. Thinner steaks work, but the sear starts eating into the interior before a crust forms. Ribeye, strip, or sirloin all behave well.
Step 1: Season
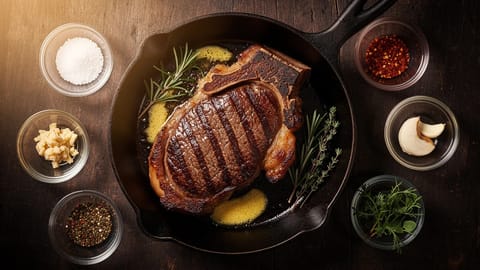
Salt the steak generously on both sides. Add black pepper if you like it. Skip the garlic for now. Put it in a bag and seal it using the water displacement method.
Step 2: Set up the bath
Fill your container with water, attach the circulator, and set it to 54°C (129°F) for medium-rare. Wait for it to hit temp before the steak goes in.
Step 3: Cook
Drop the bag in and set a timer for 1.5 hours. Then go do something else. The steak will not overcook in this window.
Step 4: Dry
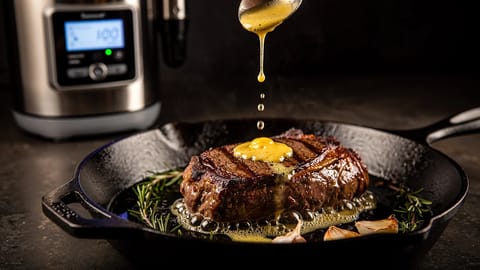
Take the steak out of the bag. There will be juice in there, worth saving for a pan sauce. Pat the steak dry on all sides with paper towels. This step matters more than it sounds like it should, because a wet surface steams instead of searing and you end up with a grey exterior.
Step 5: Sear
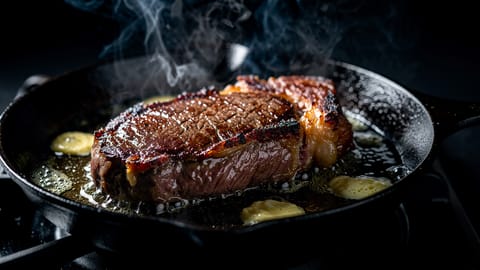
Heat a cast iron skillet until it is smoking. Add a high smoke-point oil such as avocado oil. Lay the steak in and leave it alone for 45 seconds. Flip and repeat. If there is a thick fat cap, hold the steak on its edge to render it.
Step 6: Rest and serve
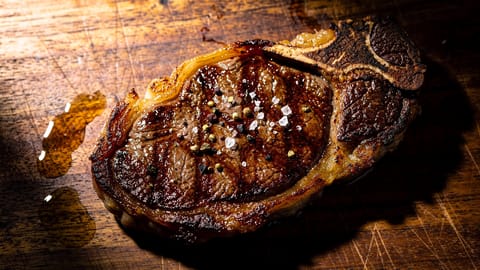
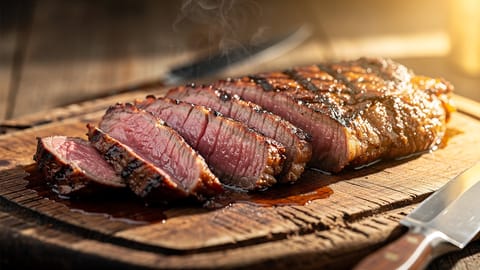
A sous vide steak does not need a long rest, because there is no carryover cooking to wait out. The interior is already at serving temperature. A minute on the board is plenty. Slice it and you will see even pink from edge to edge.
Finishing techniques
The sear is where sous vide food gets its appearance and its texture. You have a few routes.
The most accessible method. Get the pan properly hot, which takes 3-4 minutes over high heat. Use a thin layer of high smoke-point oil. The sear should take 30-60 seconds per side. Any longer and you start cooking into the interior, which undoes the precision you just spent two hours buying. Keep your exhaust fan on, because it will smoke.
A culinary torch lets you target specific areas and suits odd-shaped cuts or delicate proteins like fish. It takes longer than a pan sear, around 2-3 minutes total, and gives you more control over where the heat lands. Combining it with a quick pan sear gets you crust faster than either alone.
Set your oven broiler to high and move the rack as close to the element as it goes. Place the food on a wire rack over a sheet pan. Watch it the whole time, because broilers are inconsistent and the line between seared and burnt is thin. This is the option when you do not want a smoky kitchen.
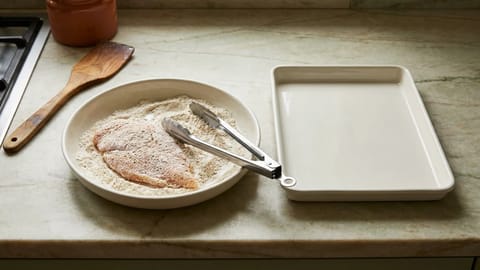
Less common, and very effective for chicken wings and thighs. After the sous vide cook, pat dry, optionally coat in seasoned flour or cornstarch, and fry at 200°C (400°F) for 2-3 minutes until golden. The skin crisps without the interior drying out, which is hard to pull off any other way.
Beyond meat: vegetables and more
Sous vide is not only for protein. Vegetables come out with concentrated flavor, because nothing leaches into a pot of boiling water. Carrots at 85°C (185°F) for an hour taste noticeably sweeter than boiled ones, since the sugars stay in the carrot rather than the cooking liquid.
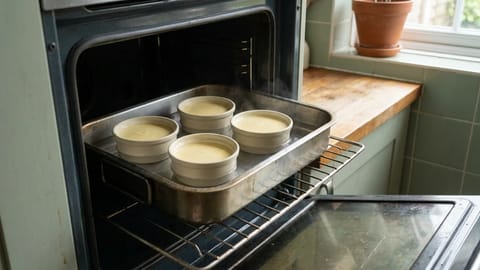
Eggs cooked in their shells at 65°C for 45 minutes give you the jammy yolk that ramen shops build a bowl around. Creme brulee in mason jars is another regular application, where the water bath does the same job as a bain-marie without any fussing.
Root vegetables, beets, and corn all work. The general shape: higher temperatures than meat (80-85°C / 176-185°F), longer times (1-2 hours), and a knob of butter or a splash of oil in the bag.
Meal prep with sous vide
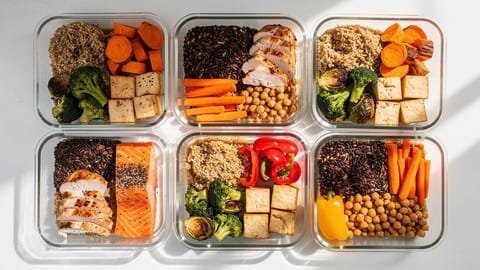
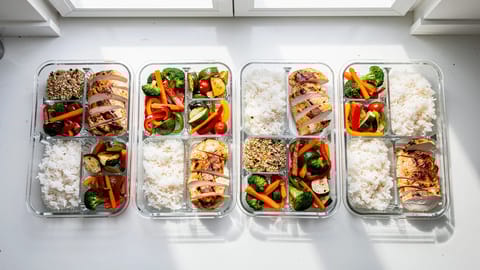
Sous vide and batch cooking fit together well. Wide time windows and identical results across a batch are exactly what you want when you are cooking eight portions at once.
Cook and refrigerate
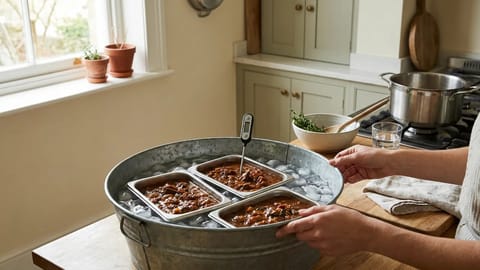
Cook a batch of chicken breasts or pork chops, chill the sealed bags in an ice bath until they are cold through, then refrigerate. Reheat by dropping the bag back in a water bath at the original temperature for 20-30 minutes, or slice them cold for salads and wraps. The safety limits on that fridge time are in the food safety section below, and they are stricter than most people assume.
Freeze, then cook
Season and vacuum-seal raw proteins, then freeze them flat. When you want to cook, drop the frozen bag straight into the water bath and add 30-60 minutes for thawing. Freezer to finished dinner with almost no active work.
Bulk proteins
Cook 6-8 chicken breasts at once and every one lands at the same doneness. Use them through the week in tacos, grain bowls, sandwiches, and stir-fries. No dry pieces, no undercooked ones.
Common mistakes
These are the errors that trip up most beginners, and all of them are easy to sidestep once you know the shape of them.
A floating bag means the exposed part sits above the water and never reaches the target temperature. Use binder clips to attach bags to the side of the container, or set a small ceramic plate on top to keep them under.
The surface was too wet. Pat everything dry with paper towels before searing. For a drier surface still, let the protein sit uncovered on a wire rack in the fridge for 15-20 minutes before it hits the pan.
Sous vide is forgiving on time, but not infinitely. A steak at 54°C is good from one to three hours. At six to eight, connective tissue has broken down far enough that the meat shreds instead of yielding. Fish is more sensitive again, so keep salmon to 45 minutes or less at the lower temperatures.
Fresh garlic does not mellow at sous vide temperatures the way it does in a hot pan. The harsh compounds don't fully break down at these temperatures. Use garlic powder, granulated garlic, or roasted garlic instead.
The sear ran too long. Keep it to 30-60 seconds per side rather than two or three minutes. A long sear drives heat deep into the meat and recreates exactly the uneven cooking you were avoiding.
What are the downsides of sous vide?
Sous vide is not the right tool for everything, and being clear about that saves disappointment.
It is slow. A steak takes one to two hours instead of ten minutes on a grill. For weeknights that means planning ahead or leaning on the freeze-then-cook workflow.
It does not brown food. There is always a separate finishing step, which is one more pan to wash, and some dishes are simply better with direct heat from the start. A roast chicken with crisp skin and a properly charred burger both fall in that group.
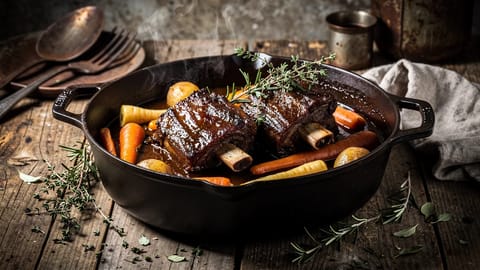
Collagen-heavy cuts are the interesting edge case. Sous vide will convert the collagen in a chuck roast or short rib given enough hours, but it cannot build the browned fond and reduced sauce that make braising worth doing. The texture is there; the flavor depth is not.
The equipment takes up counter and drawer space. A circulator, a container, bags, clips. Not a lot, but it adds up in a small kitchen.
And for vegetables the results are good without always being better. Roasting carrots gives you caramelization that a water bath cannot reach.
Food safety
Sous vide cooks at lower temperatures than most traditional methods, which raises fair food safety questions. Here is what actually matters.
Pasteurization is not sterilization
Pasteurization reduces target pathogens to a level considered safe. Sterilization kills everything including bacterial spores, which is what pressure canning at 121°C (250°F) is for. Sous vide does the first and never the second.
Pasteurization depends on three things: temperature, time, and thickness. Baldwin's poultry table assumes the food starts at 5°C and gives the time needed to reach at least a six-log reduction in Listeria and a seven-log reduction in Salmonella. A 25 mm chicken breast reaches that after about 1.5 hours at 60°C, about 1 hour 15 minutes at 63°C, or about 55 minutes at 65°C. Add thickness and everything stretches: at 40 mm those become roughly 2.5 hours, 2 hours, and 1 hour 45 minutes.
Two things follow from that. Time and temperature are useless without a thickness, so measure the thickest part rather than eyeballing it. And if that feels like more bookkeeping than you want on a Tuesday, the USDA's 74°C for poultry, verified with a thermometer before serving, needs no table at all.
The danger zone, and where sous vide sits
Standard food safety guidance puts the danger zone at 4-60°C (40-140°F) and gives perishable food a cumulative budget of two hours inside it. That range was drawn for traditional cooking, where food passes through it quickly on the way to a much higher finish.
Baldwin's argument, and the reason sous vide can operate the way it does, is that food pathogens stop multiplying somewhere around 52°C (126°F), well below the 60°C ceiling in the consumer rule. Above that point time works for you rather than against you: the food is slowly being pasteurized instead of incubated. Below it, the two-hour clock applies exactly as written.
That line is why 52°C keeps showing up in this article. Salmon at 41°C is the clearest case. Nothing is being pasteurized at that temperature, so treat it as raw fish that happens to be warm. Use fish you would eat as sashimi, keep the cook under 45 minutes, and skip it entirely if you are pregnant, immunocompromised, elderly, or cooking for young children.
Chill fast if you are not eating right away
Low-temperature cooking kills active bacteria and leaves their spores intact. Clostridium botulinum, C. perfringens, and Bacillus cereus all survive pasteurization as spores, sit dormant while the food is hot, and can wake up as the food cools. Slow cooling is what gives them the chance.
So chill deliberately. Move the sealed bag into an ice water bath that is at least half ice and leave it until the food is cold all the way through, which is roughly 50 minutes for a 25 mm slab and closer to 1 hour 45 minutes at 40 mm. Then refrigerate at 4°C or below and eat within three to four days. The limiting factor is your fridge temperature rather than how the food looks or smells, since neither spores nor the toxins some of them produce announce themselves.
When in doubt
Stay at or above 54°C (130°F) for red meat and 60°C (140°F) for poultry until the numbers feel familiar, and hold them for the times the tables give. Baldwin's guide, linked in the sources below, has the full pasteurization and cooling tables if you want to go deeper than one article can.